Climbing Holds
Ever wondered what types of climbing holds exist in the gym or how to hold them? Then this is the guide for you! I'll go over each type of hold and show you pictures of each. I'm also going to show you my hand placement so you can get a good idea on how you can hold them. I've also included a video of someone completing each route so you can see how they position their hands, feet and body.
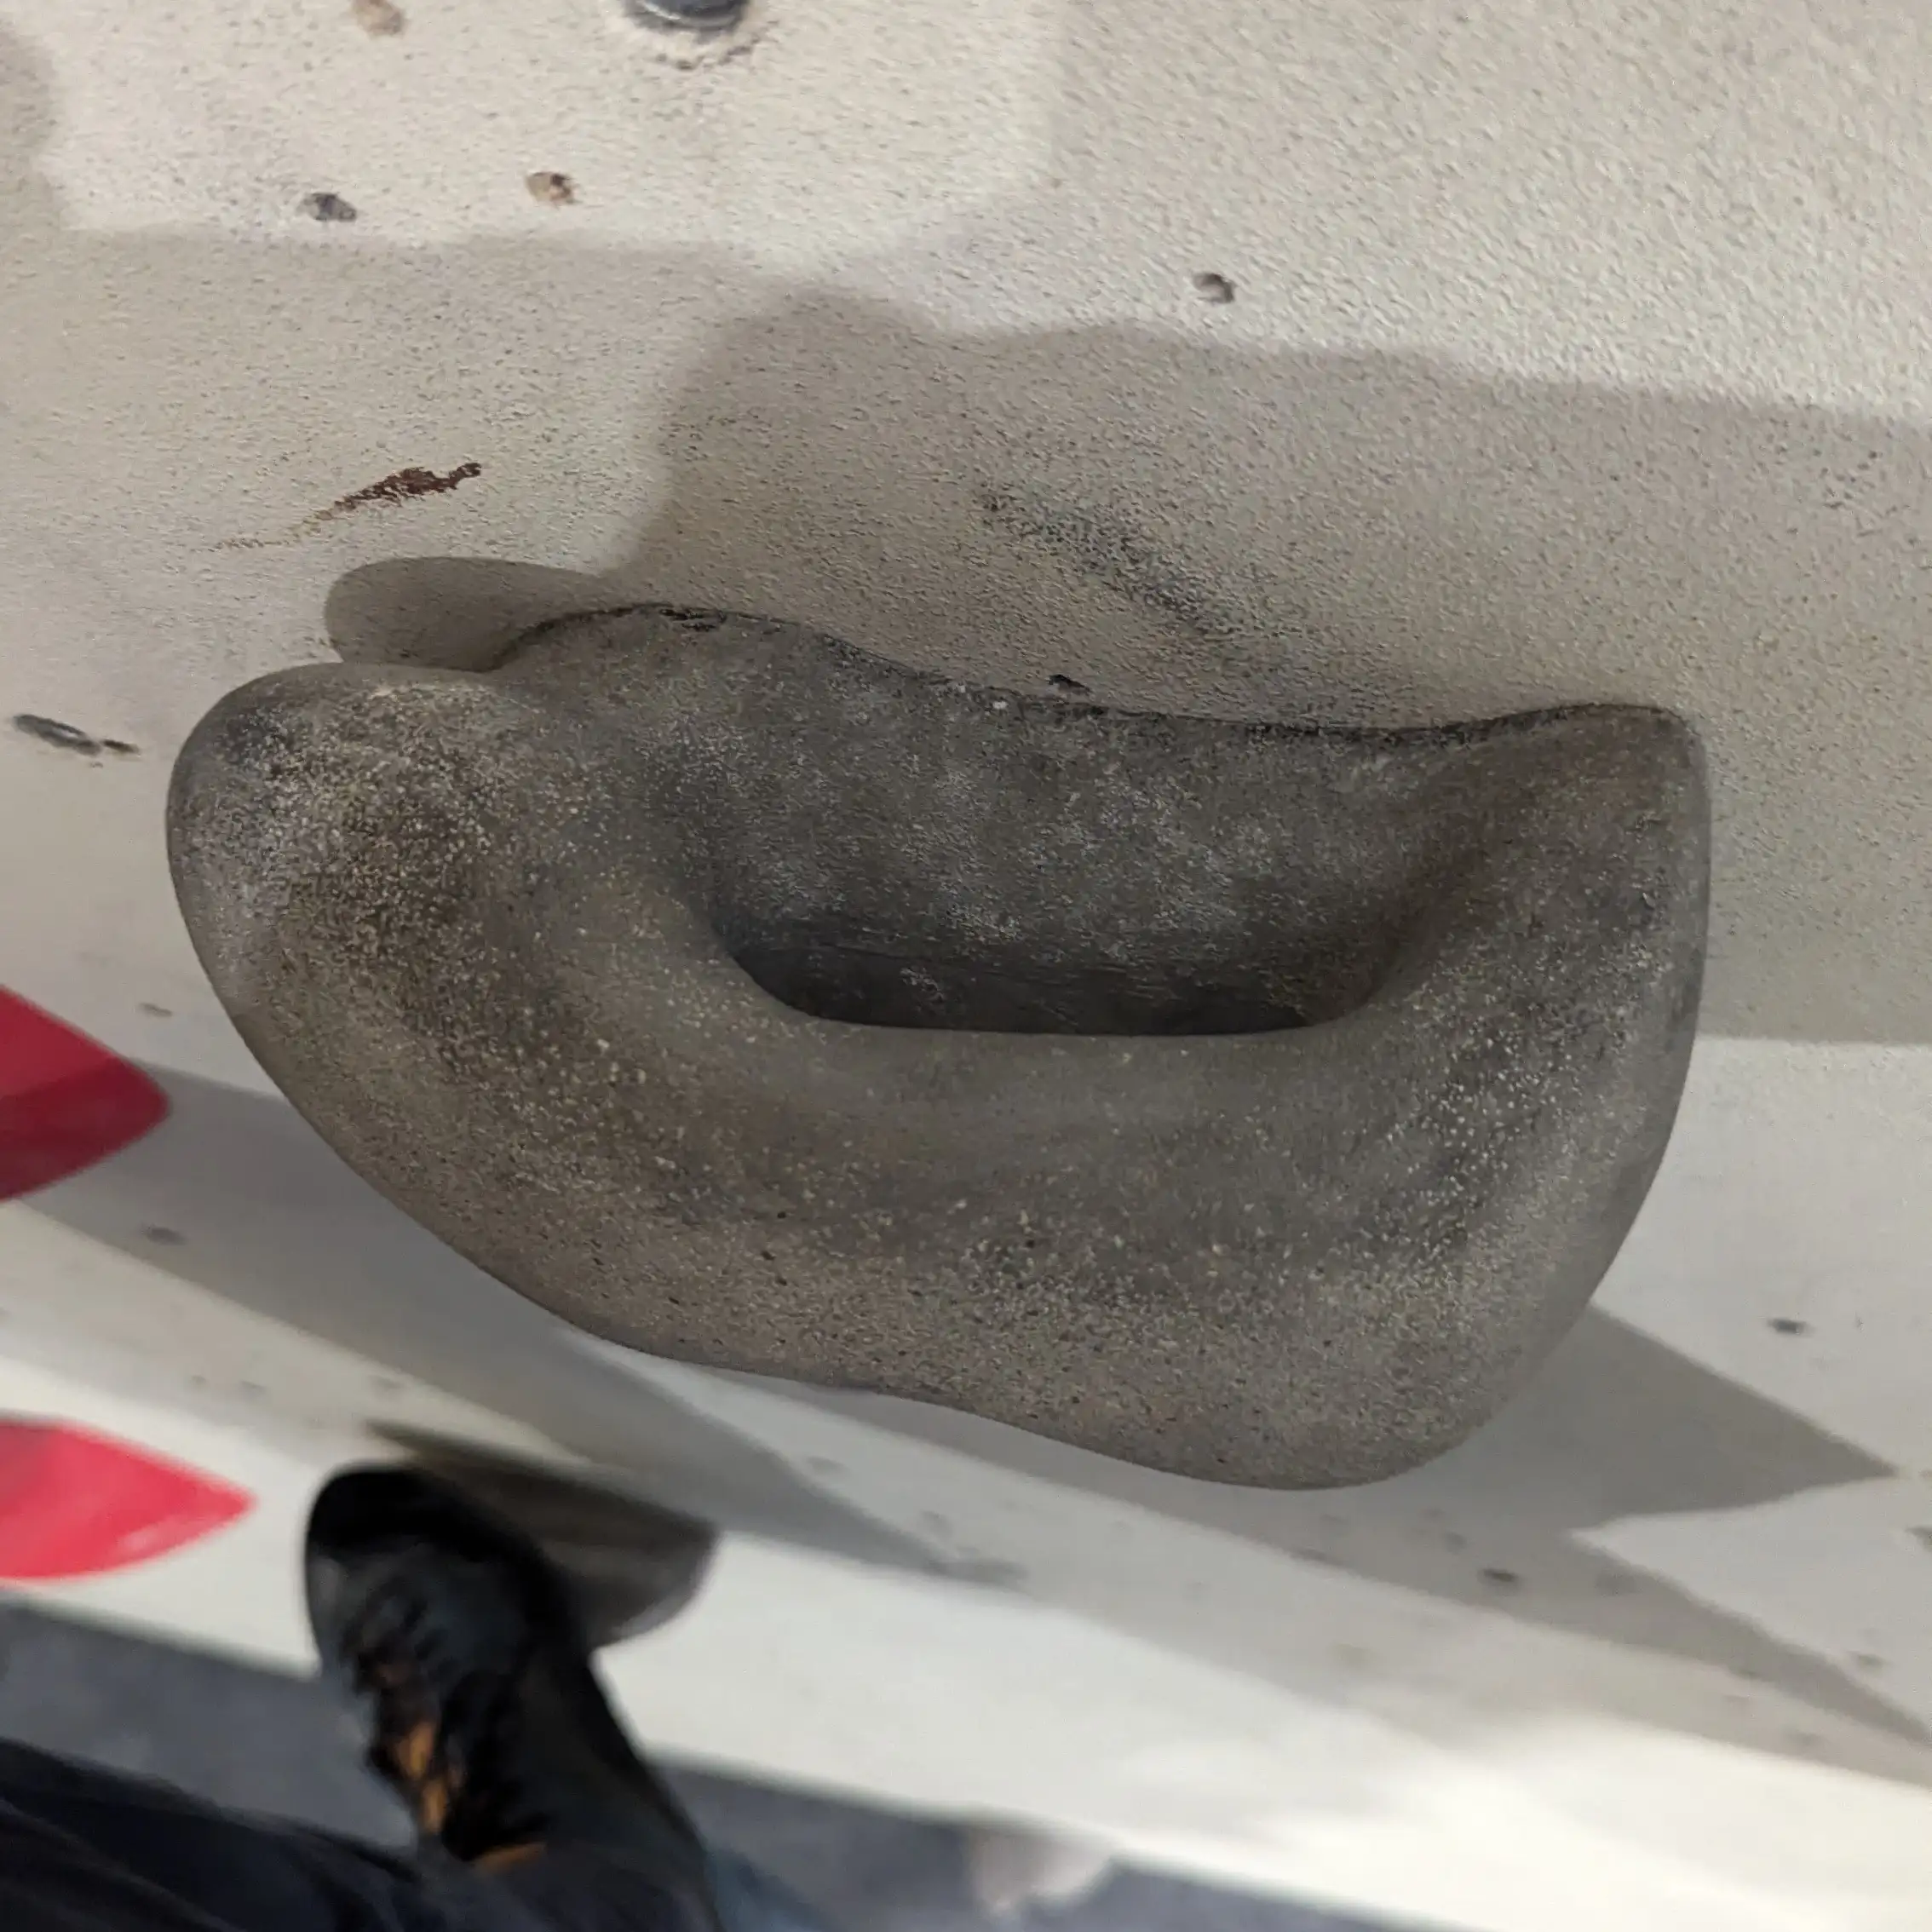
Jugs / Buckets
Jugs or buckets as they are sometimes known, usually end up being everyone's favourite. They make a great starting hold for beginners and you'll often see them on easier routes.
Jugs are usually very nice to grab hold of and give you lots of confidence when climbing. Typically they have a deep space where you can get your fingers into or even wrap your hand(s) around. You can sometimes find a jug type hold at the end of a climb even when the main focus of the route isn't a jug / bucket.
Jugs are also great to use as a warmup. It's common for people to start with an easy jug route to get the fingers and hands warmed up. I'd recommend a mix of easy jug routes and some stretching / light finger work for a good warmup.

Hand Positions for Jug holds
Given that jugs are usually very easy to grab hold of, you can spend some time experimenting with them when climbing. Because they offer good support, you can often adjust your hand placement to see what feels best to you. However don't get complacent, some jugs can be deceiving in that they look like a good hold from below, but once you reach them they turn out to be more of a sloper with a much more shallow hole for your fingers to go!
Climbing Video for Jug holds
Here's a quick video of me climbing a jug route.
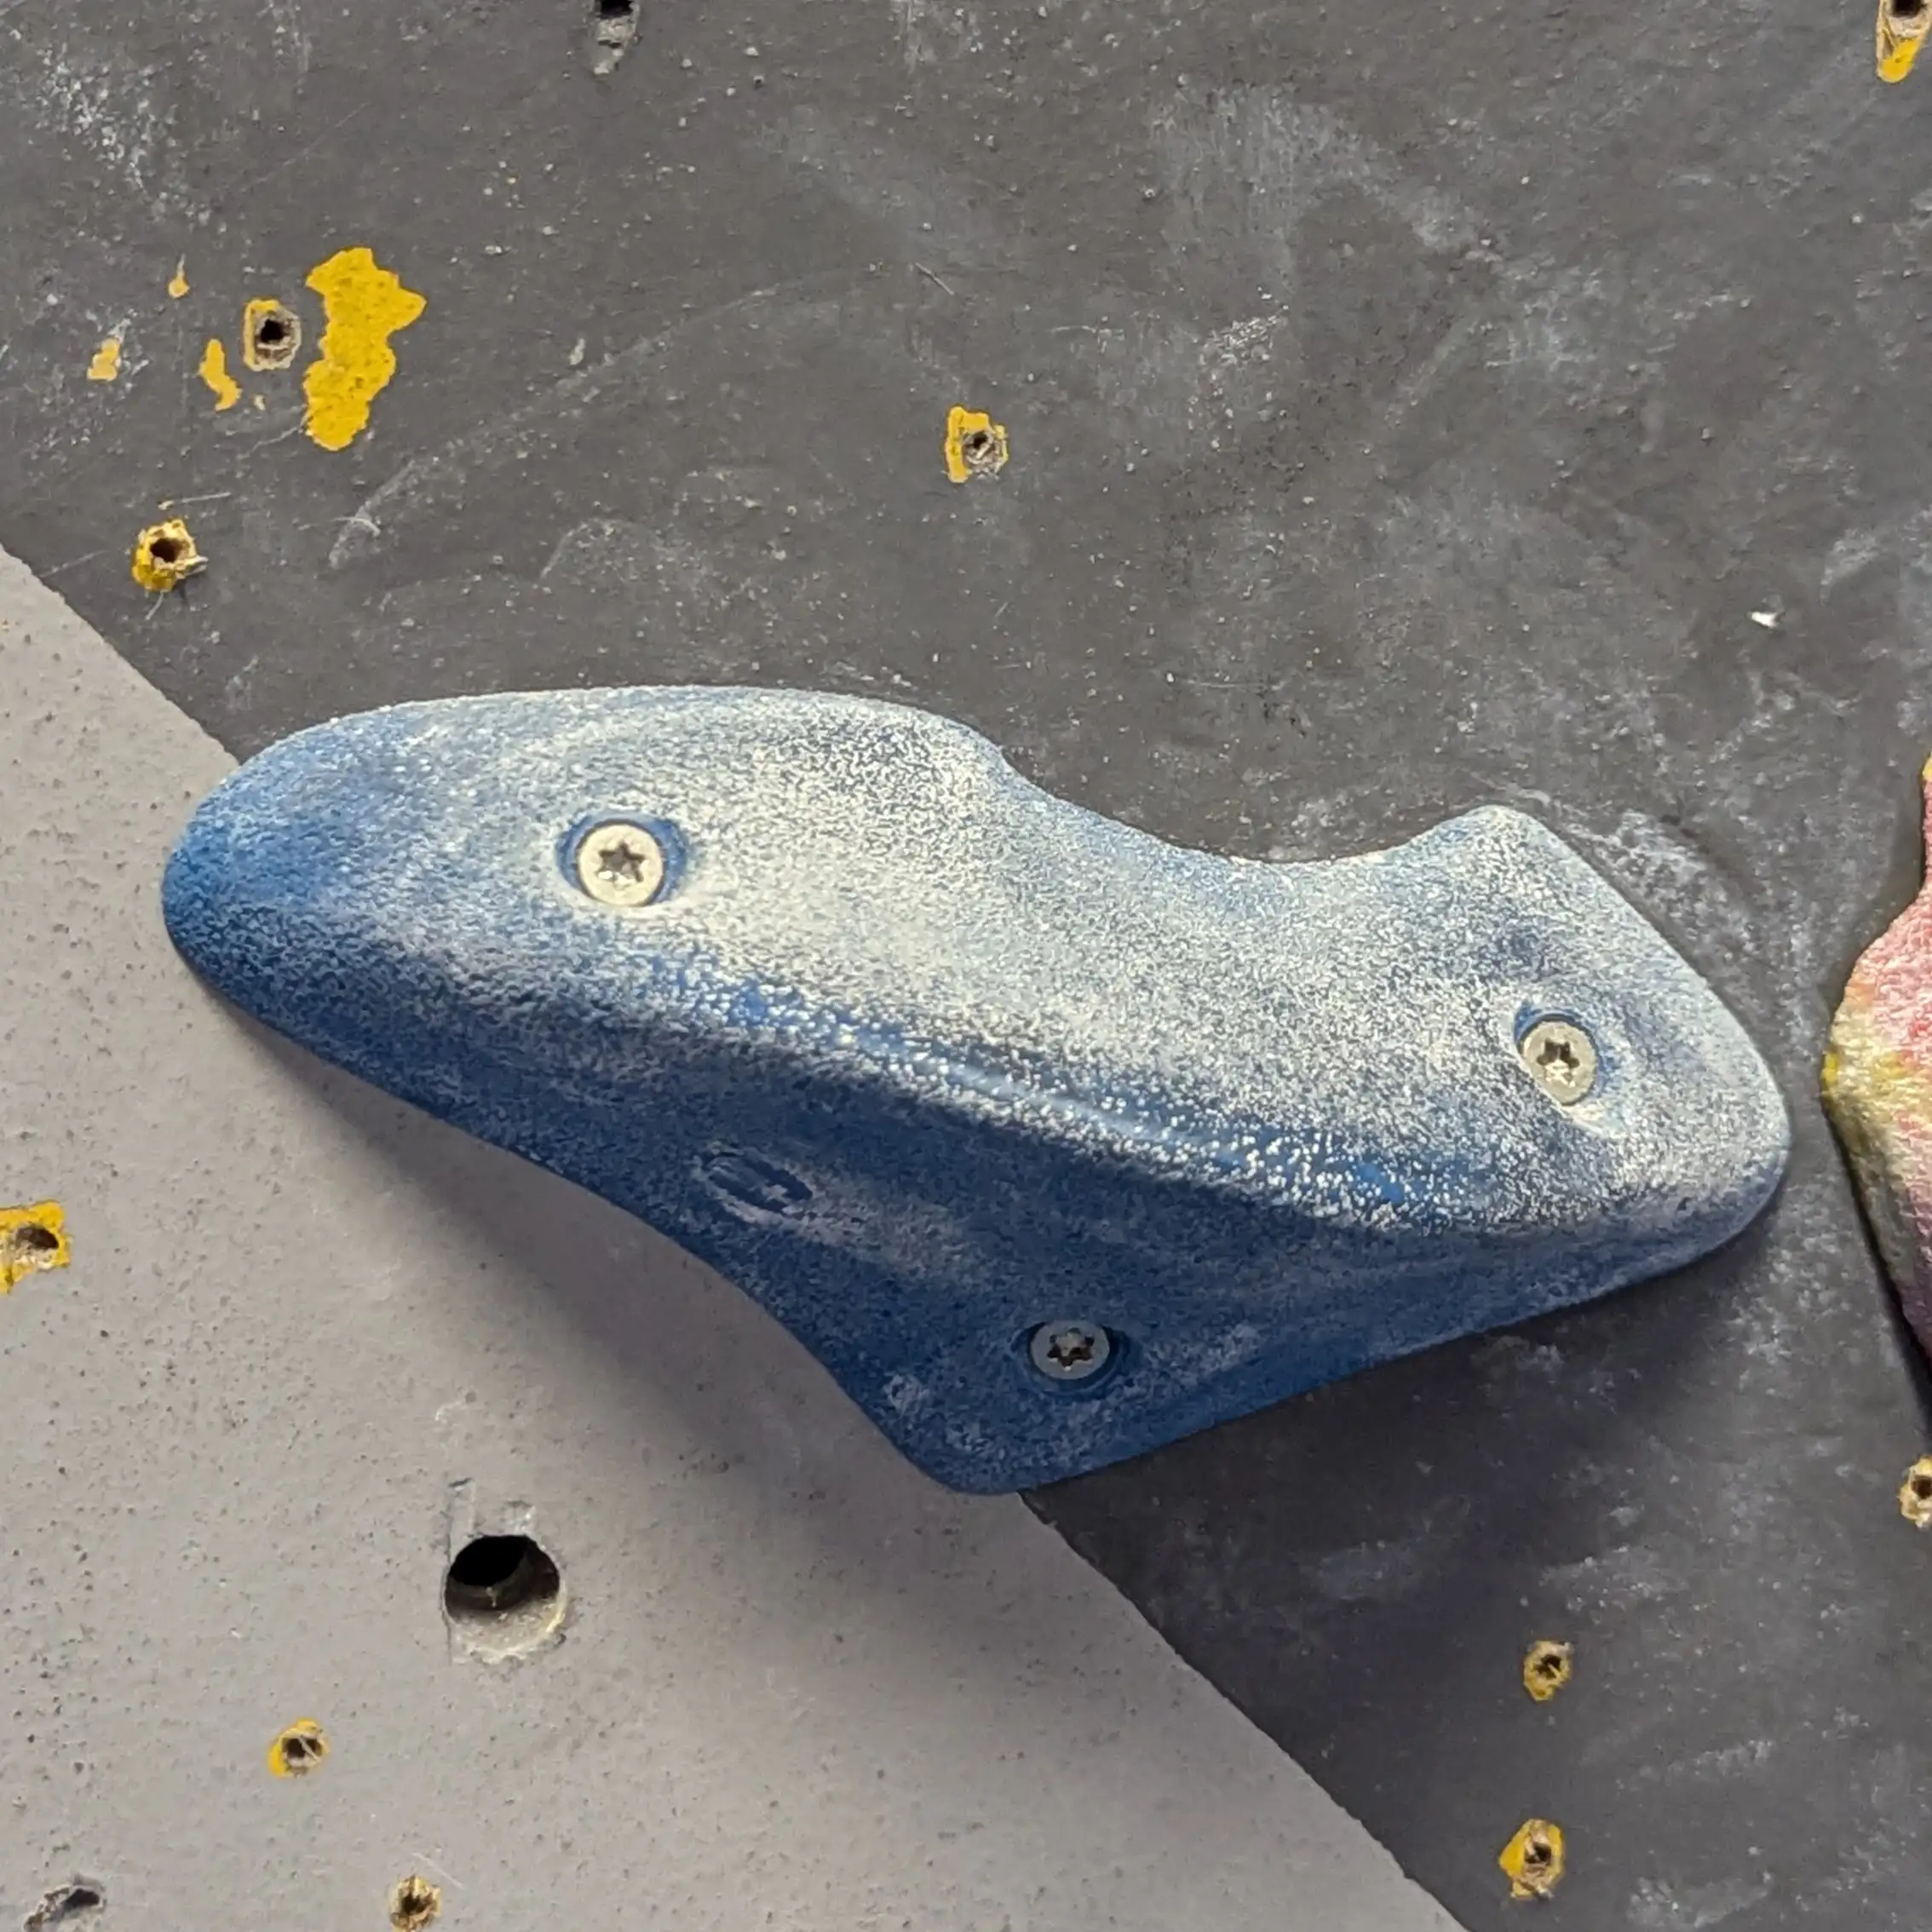
Pinches
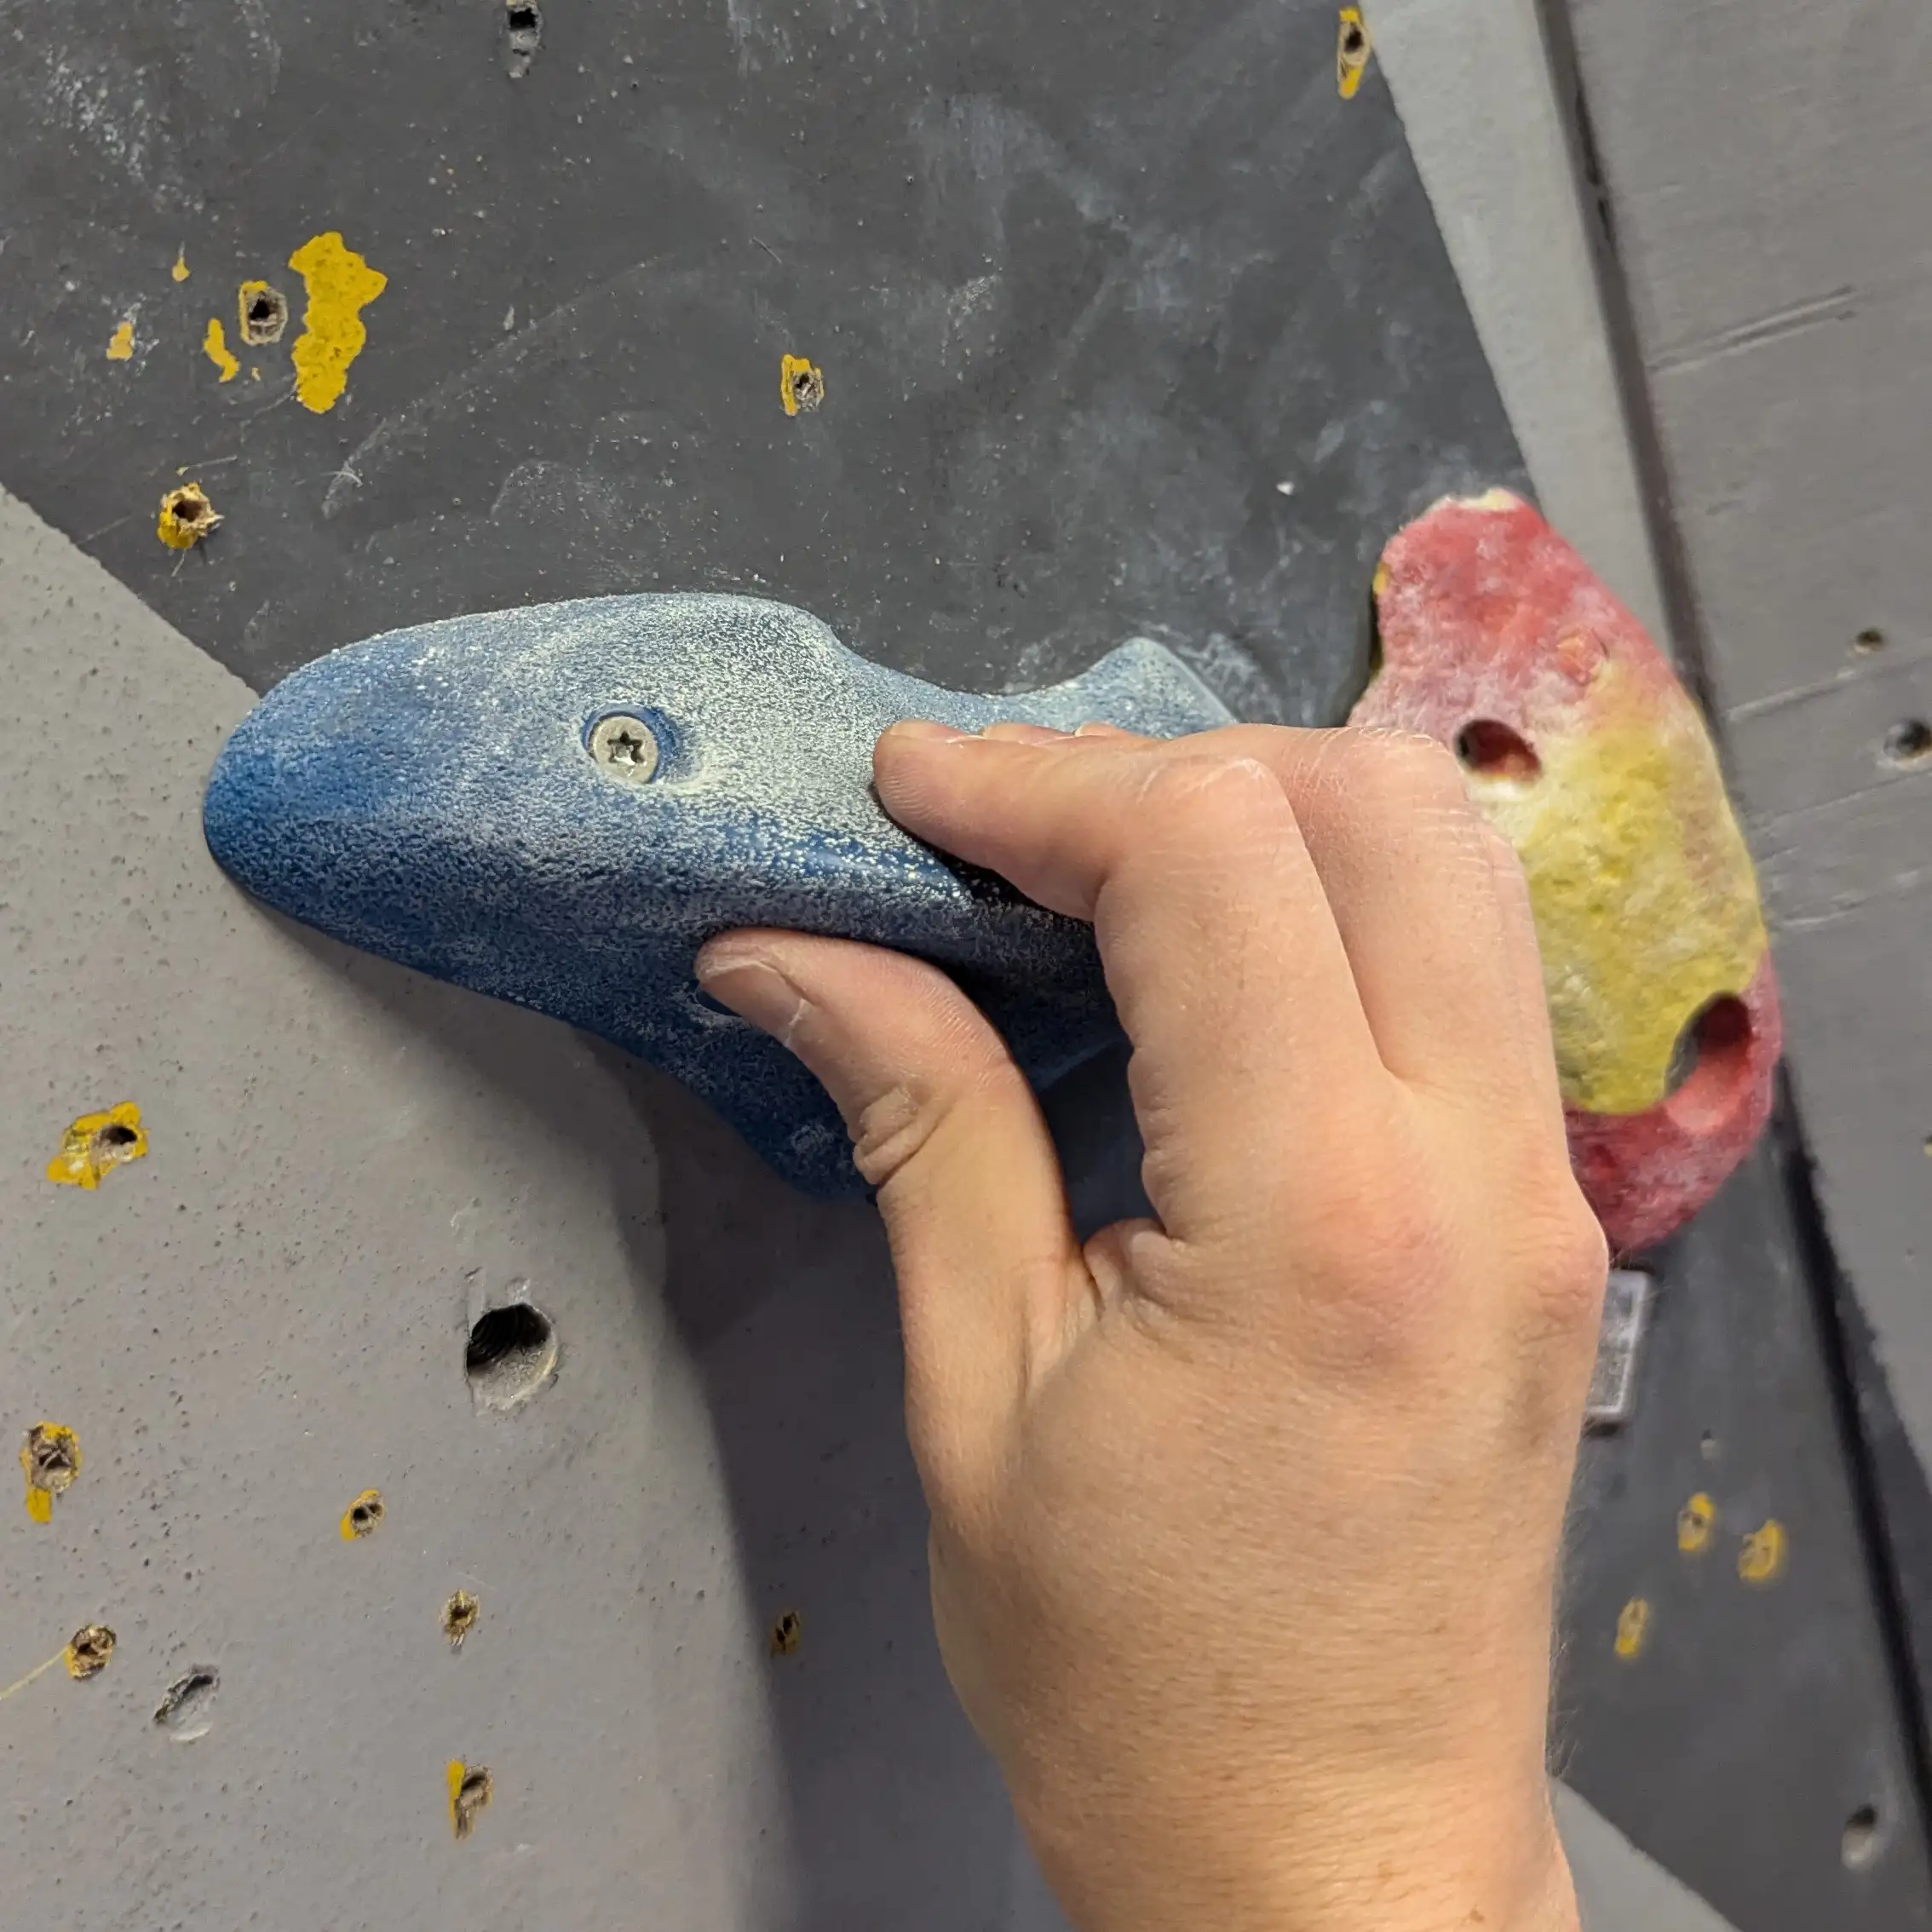
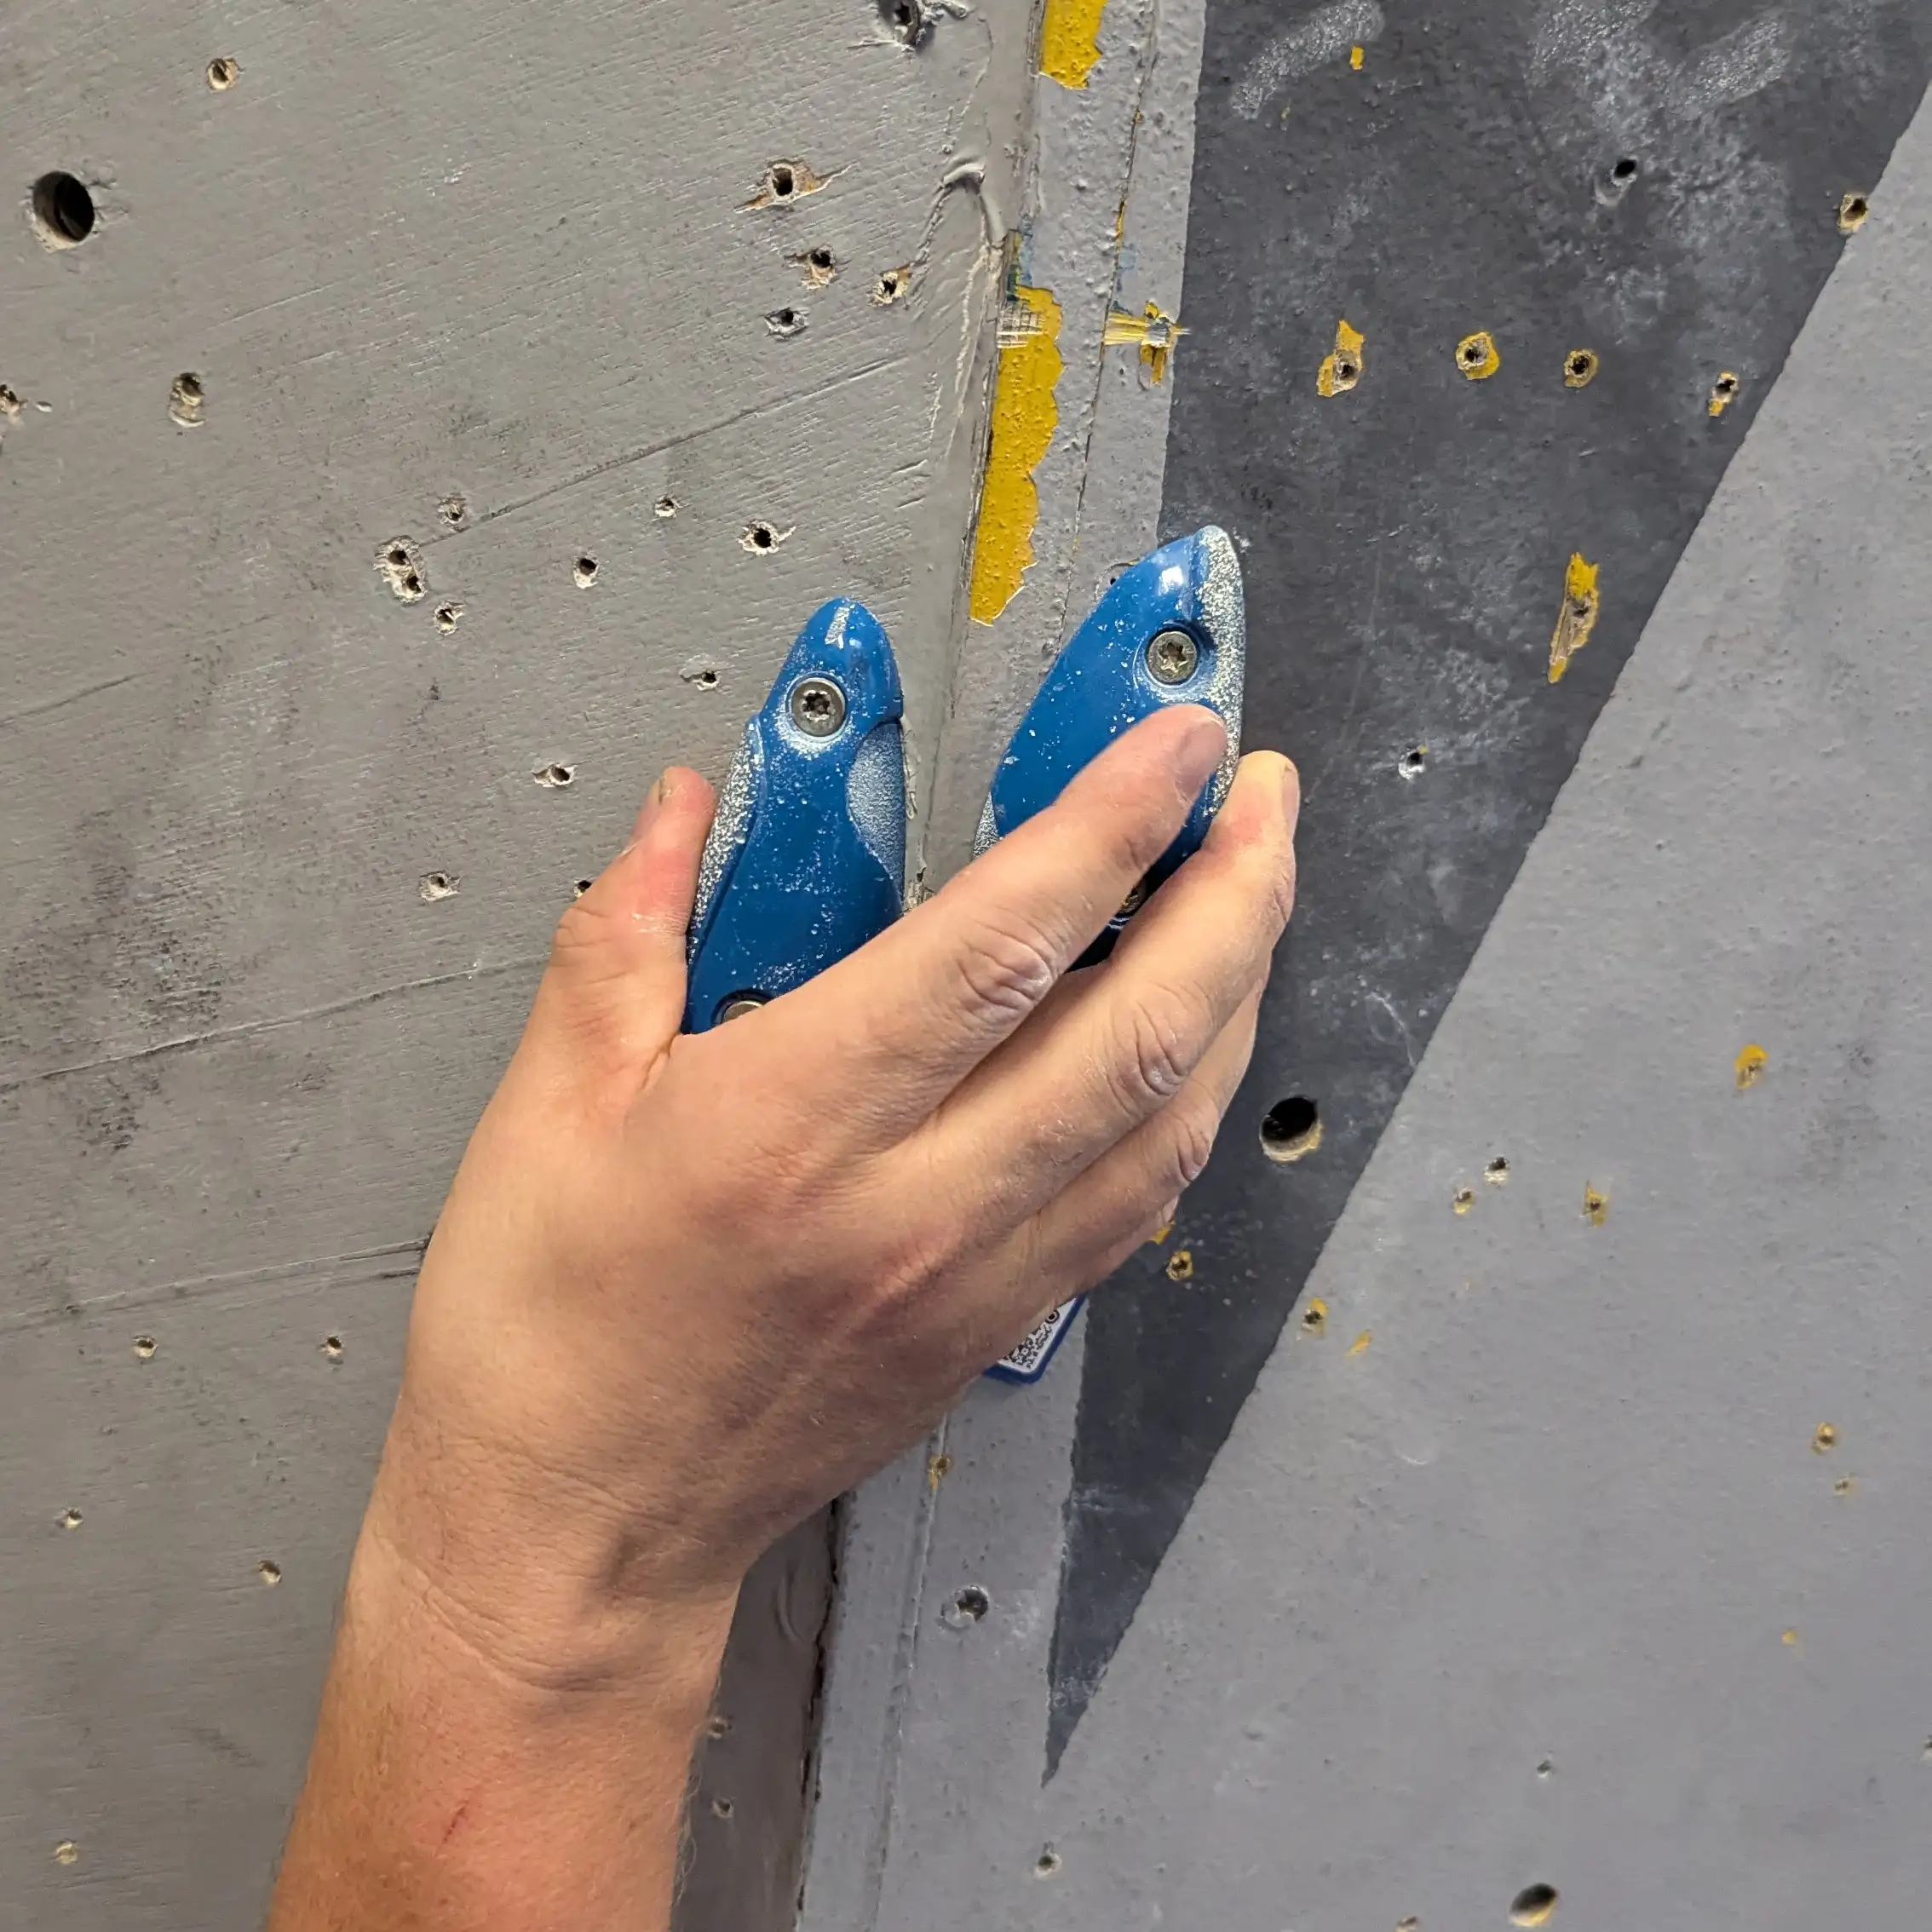
Pinches are definitely a step up in terms of difficulty from jugs. For starters, the way you grip them is different. If you imagine a crab and it's pincers 🦀 and make that shape with your thumb and fingers, then you've got the basic hand shape for a pinch hold. You'll be able to tell right away that this is a harder move. My advice is to really get a good feel for the hold if you can. Try out different positions and see what feels best. You'll need thumb and finger strength for these types of holds.
The pinch hold is a unique and challenging grip style in bouldering. It involves grasping a hold by "pinching" it between the thumb and the fingers, rather than wrapping the fingers around it. This grip requires significant finger and hand strength, as well as precise control and technique. Pinch holds are often found on overhanging or steep boulder problems, where the climber needs to generate a lot of force to pull themselves up and over the hold.
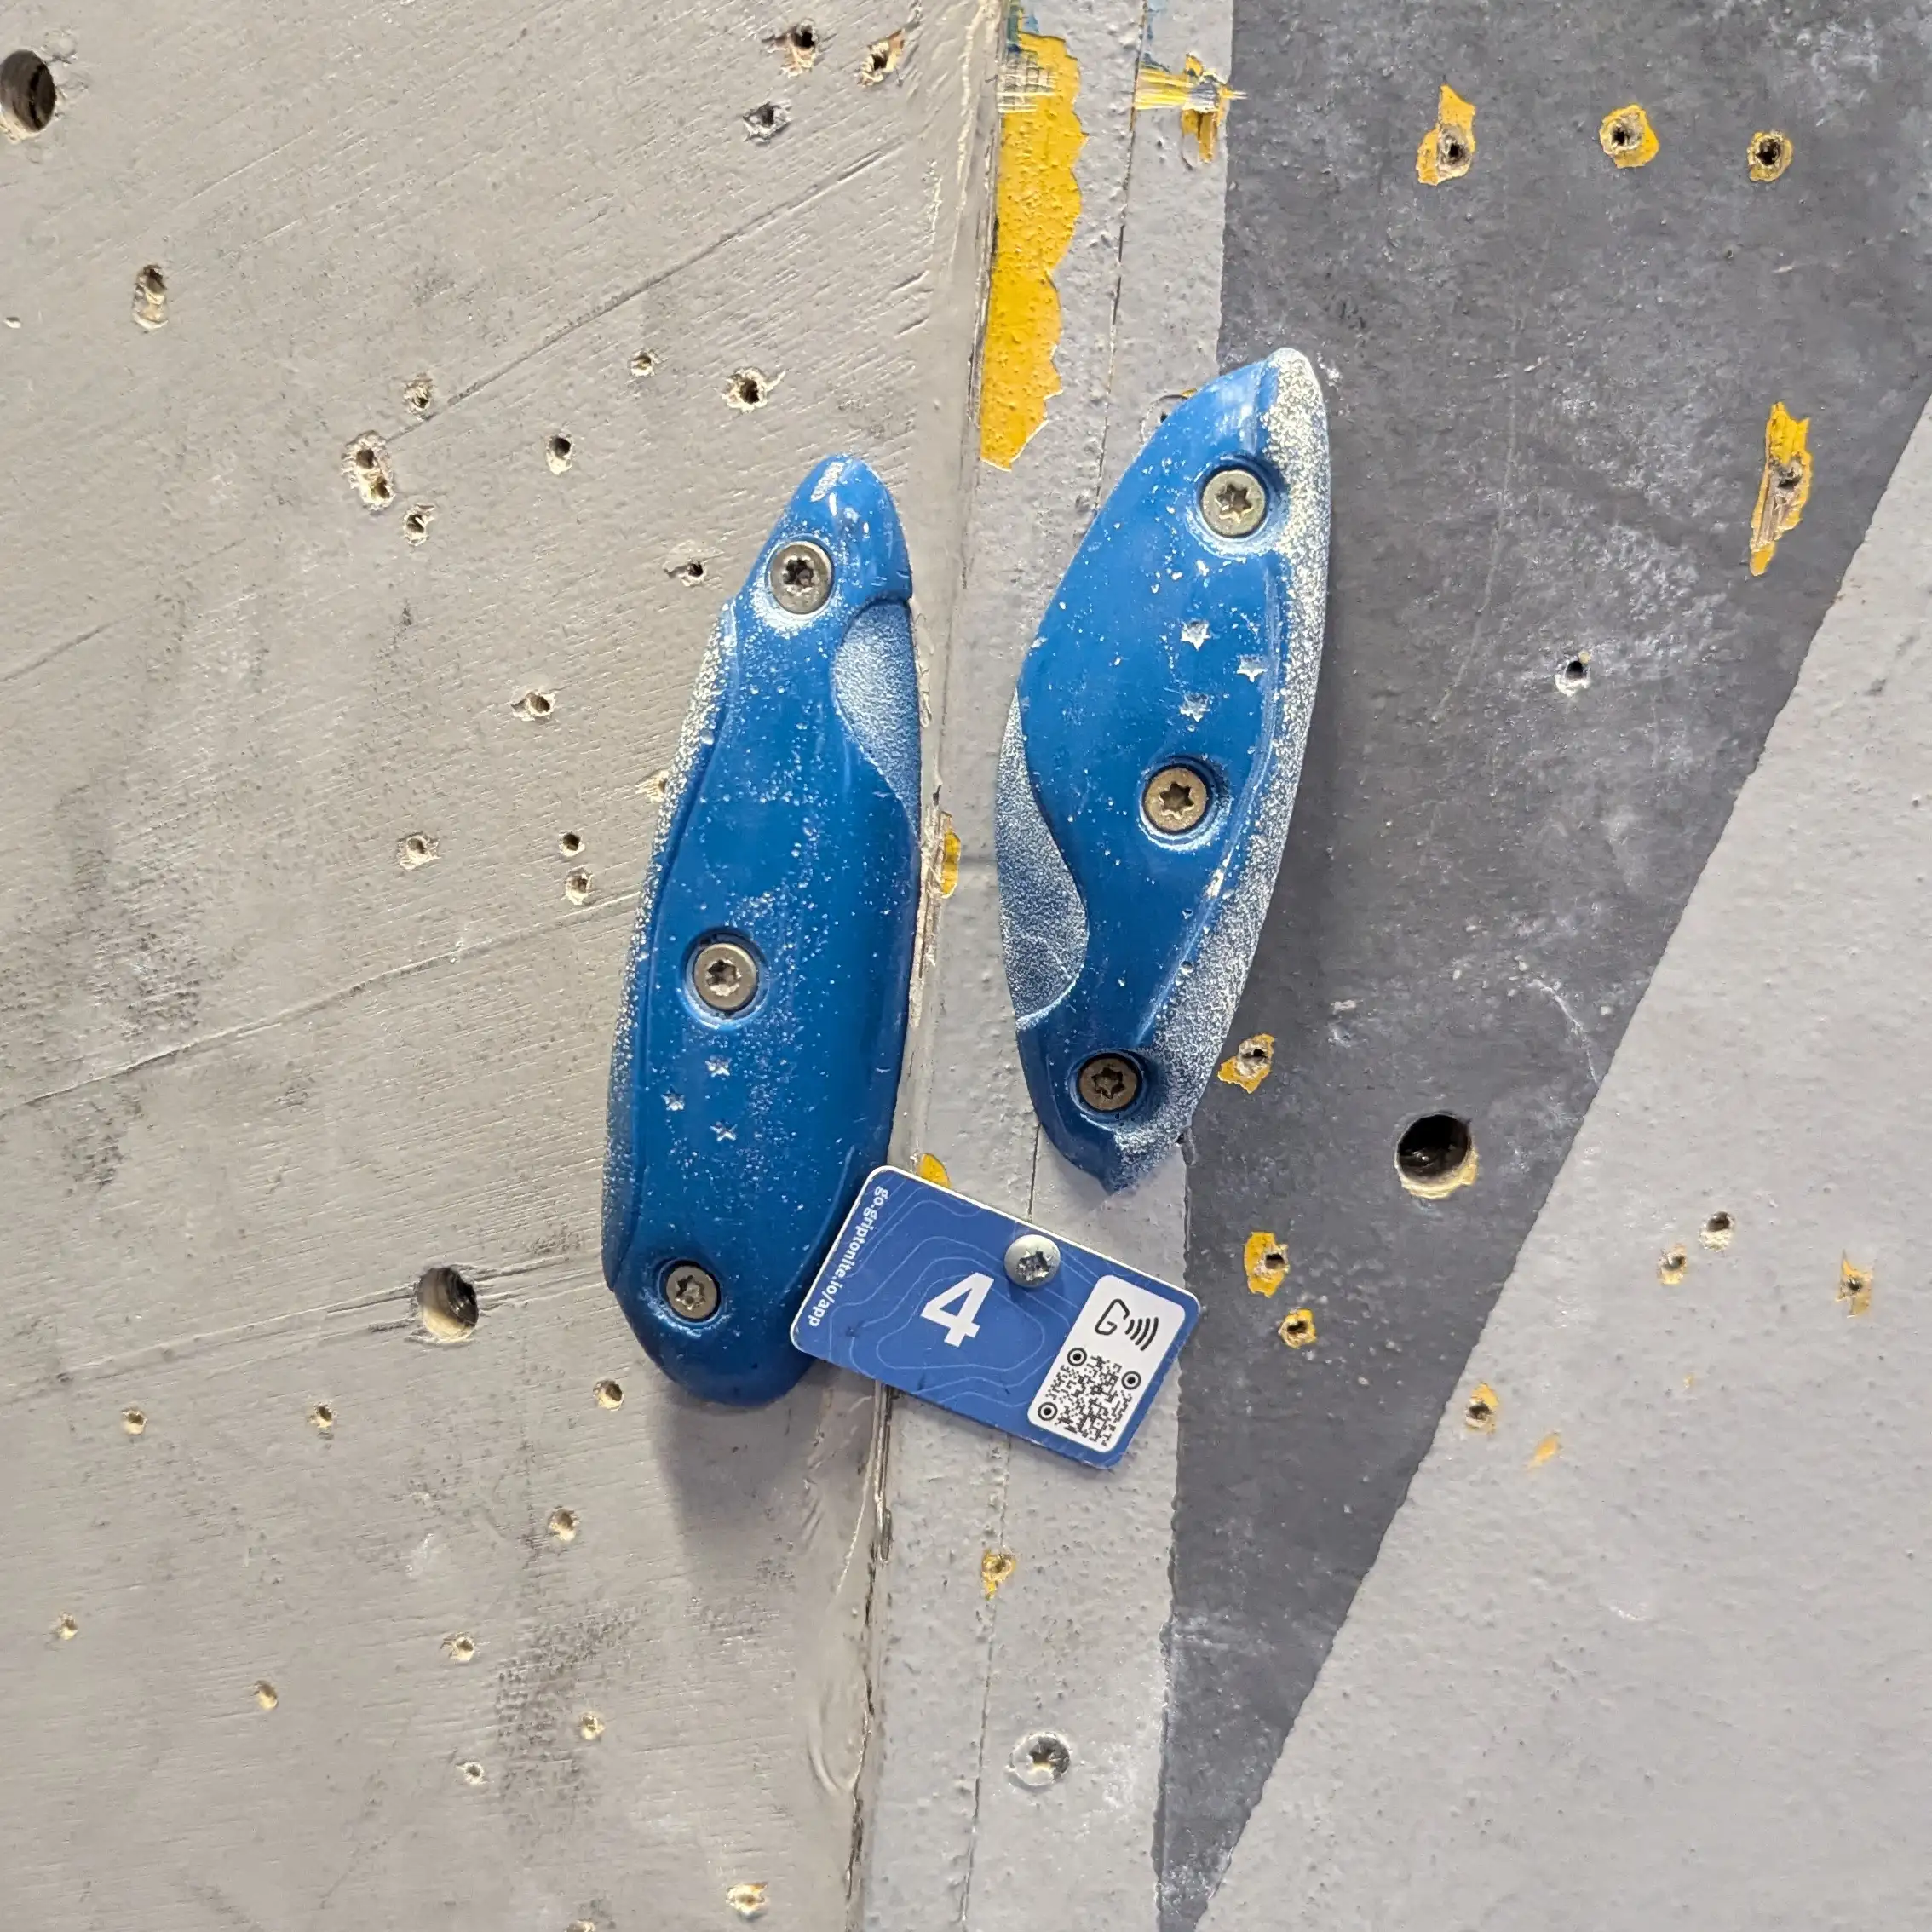
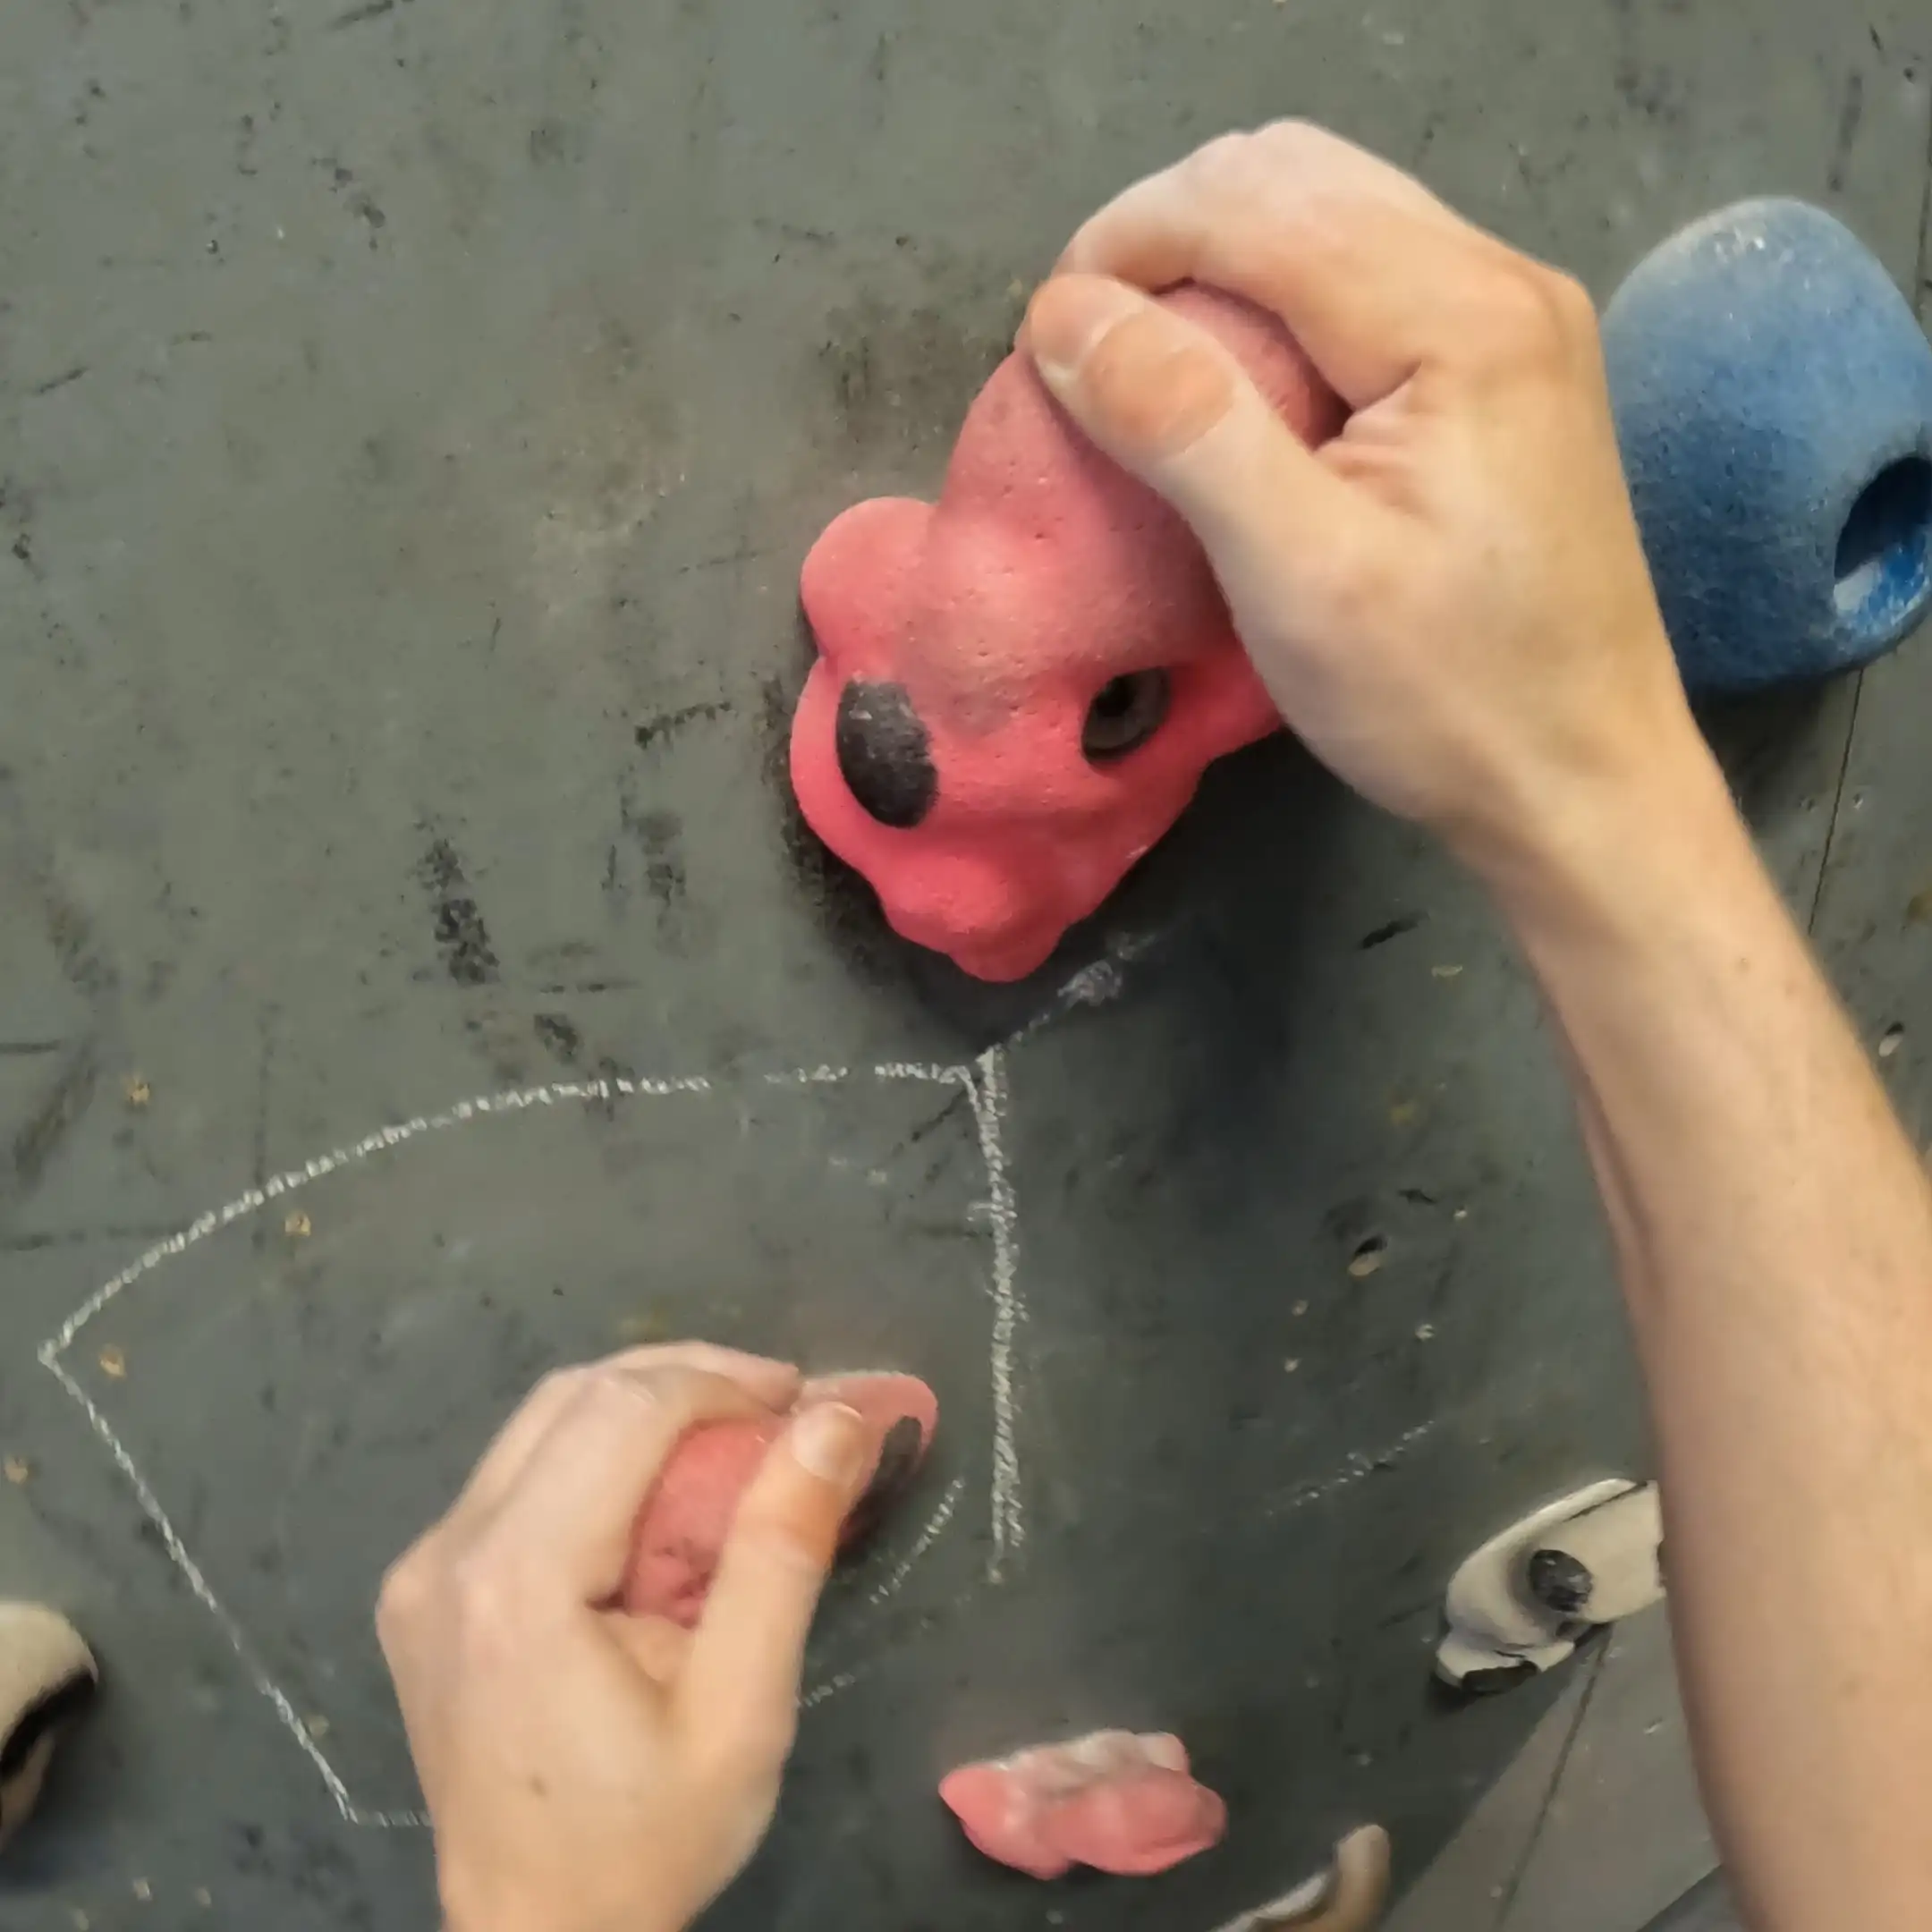
Hand Positions for Pinch holds
Here are how I'd approach the pinch holds. As you can see each hold is completely different, some pinch holds will require two hands to get a good enough grip. Usually the setter will indicate a 2 handed start by putting the grade or tape directly below the hold. See the 4th picture of an example of this.

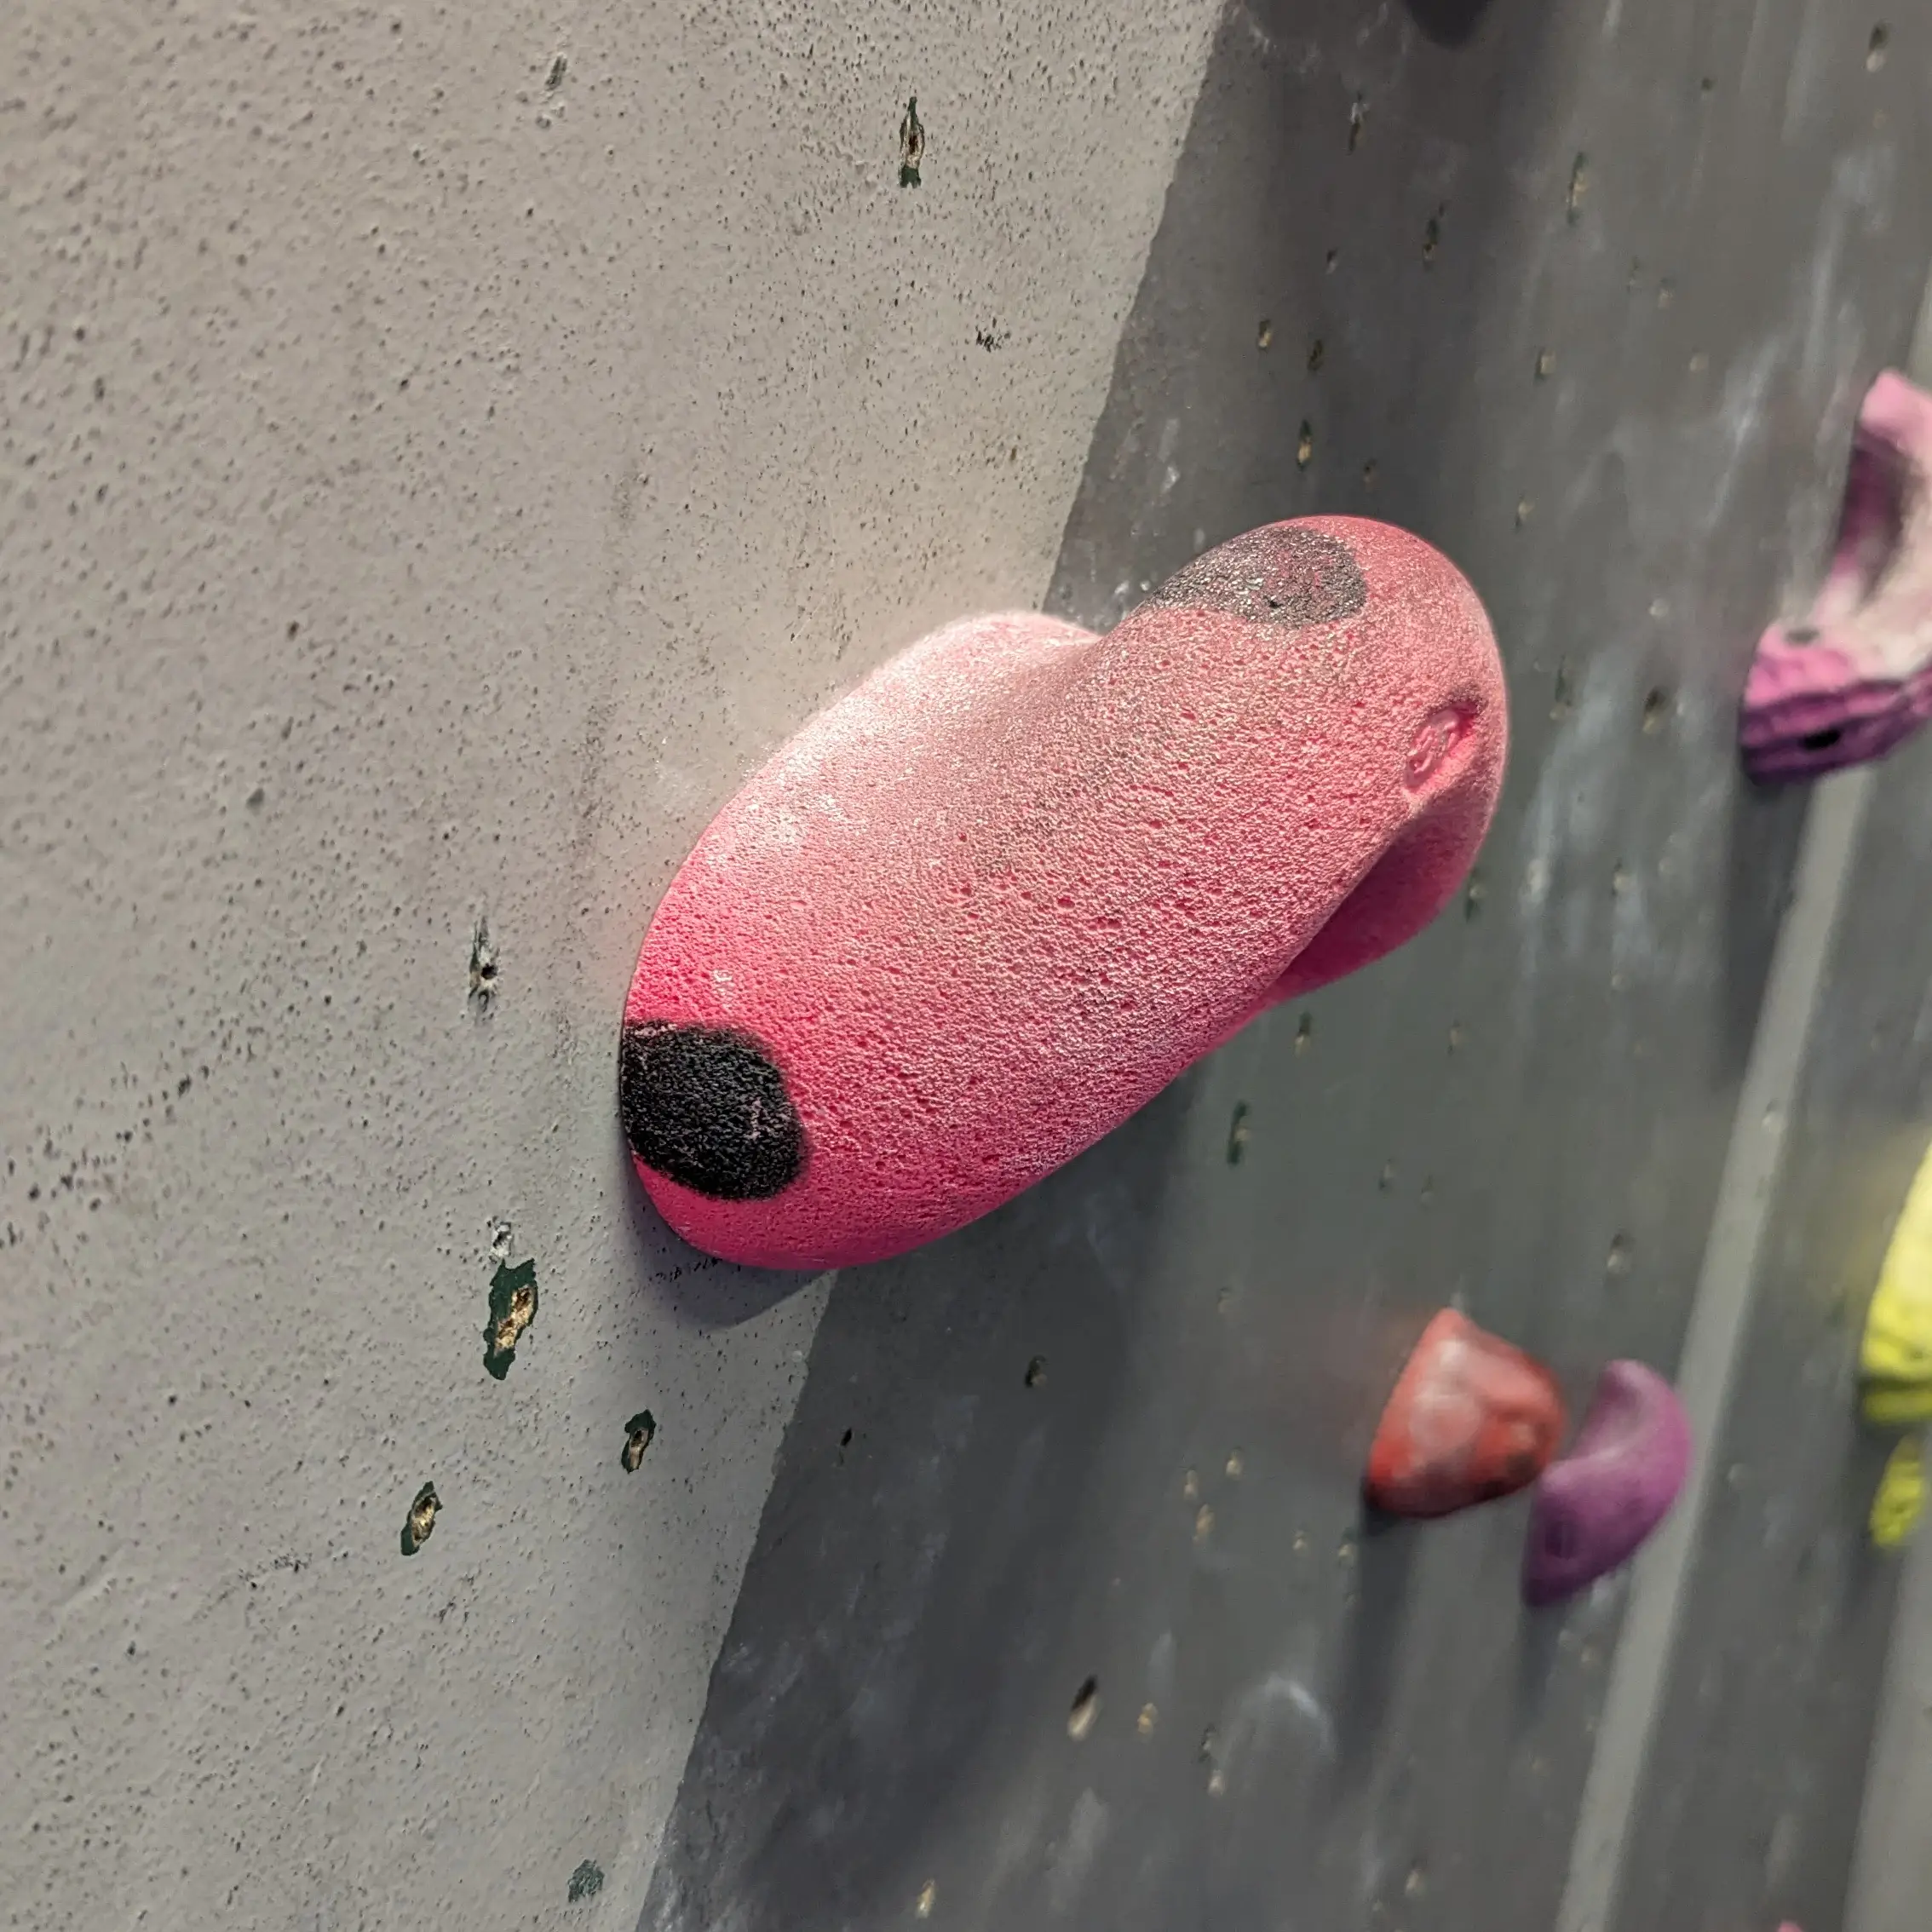
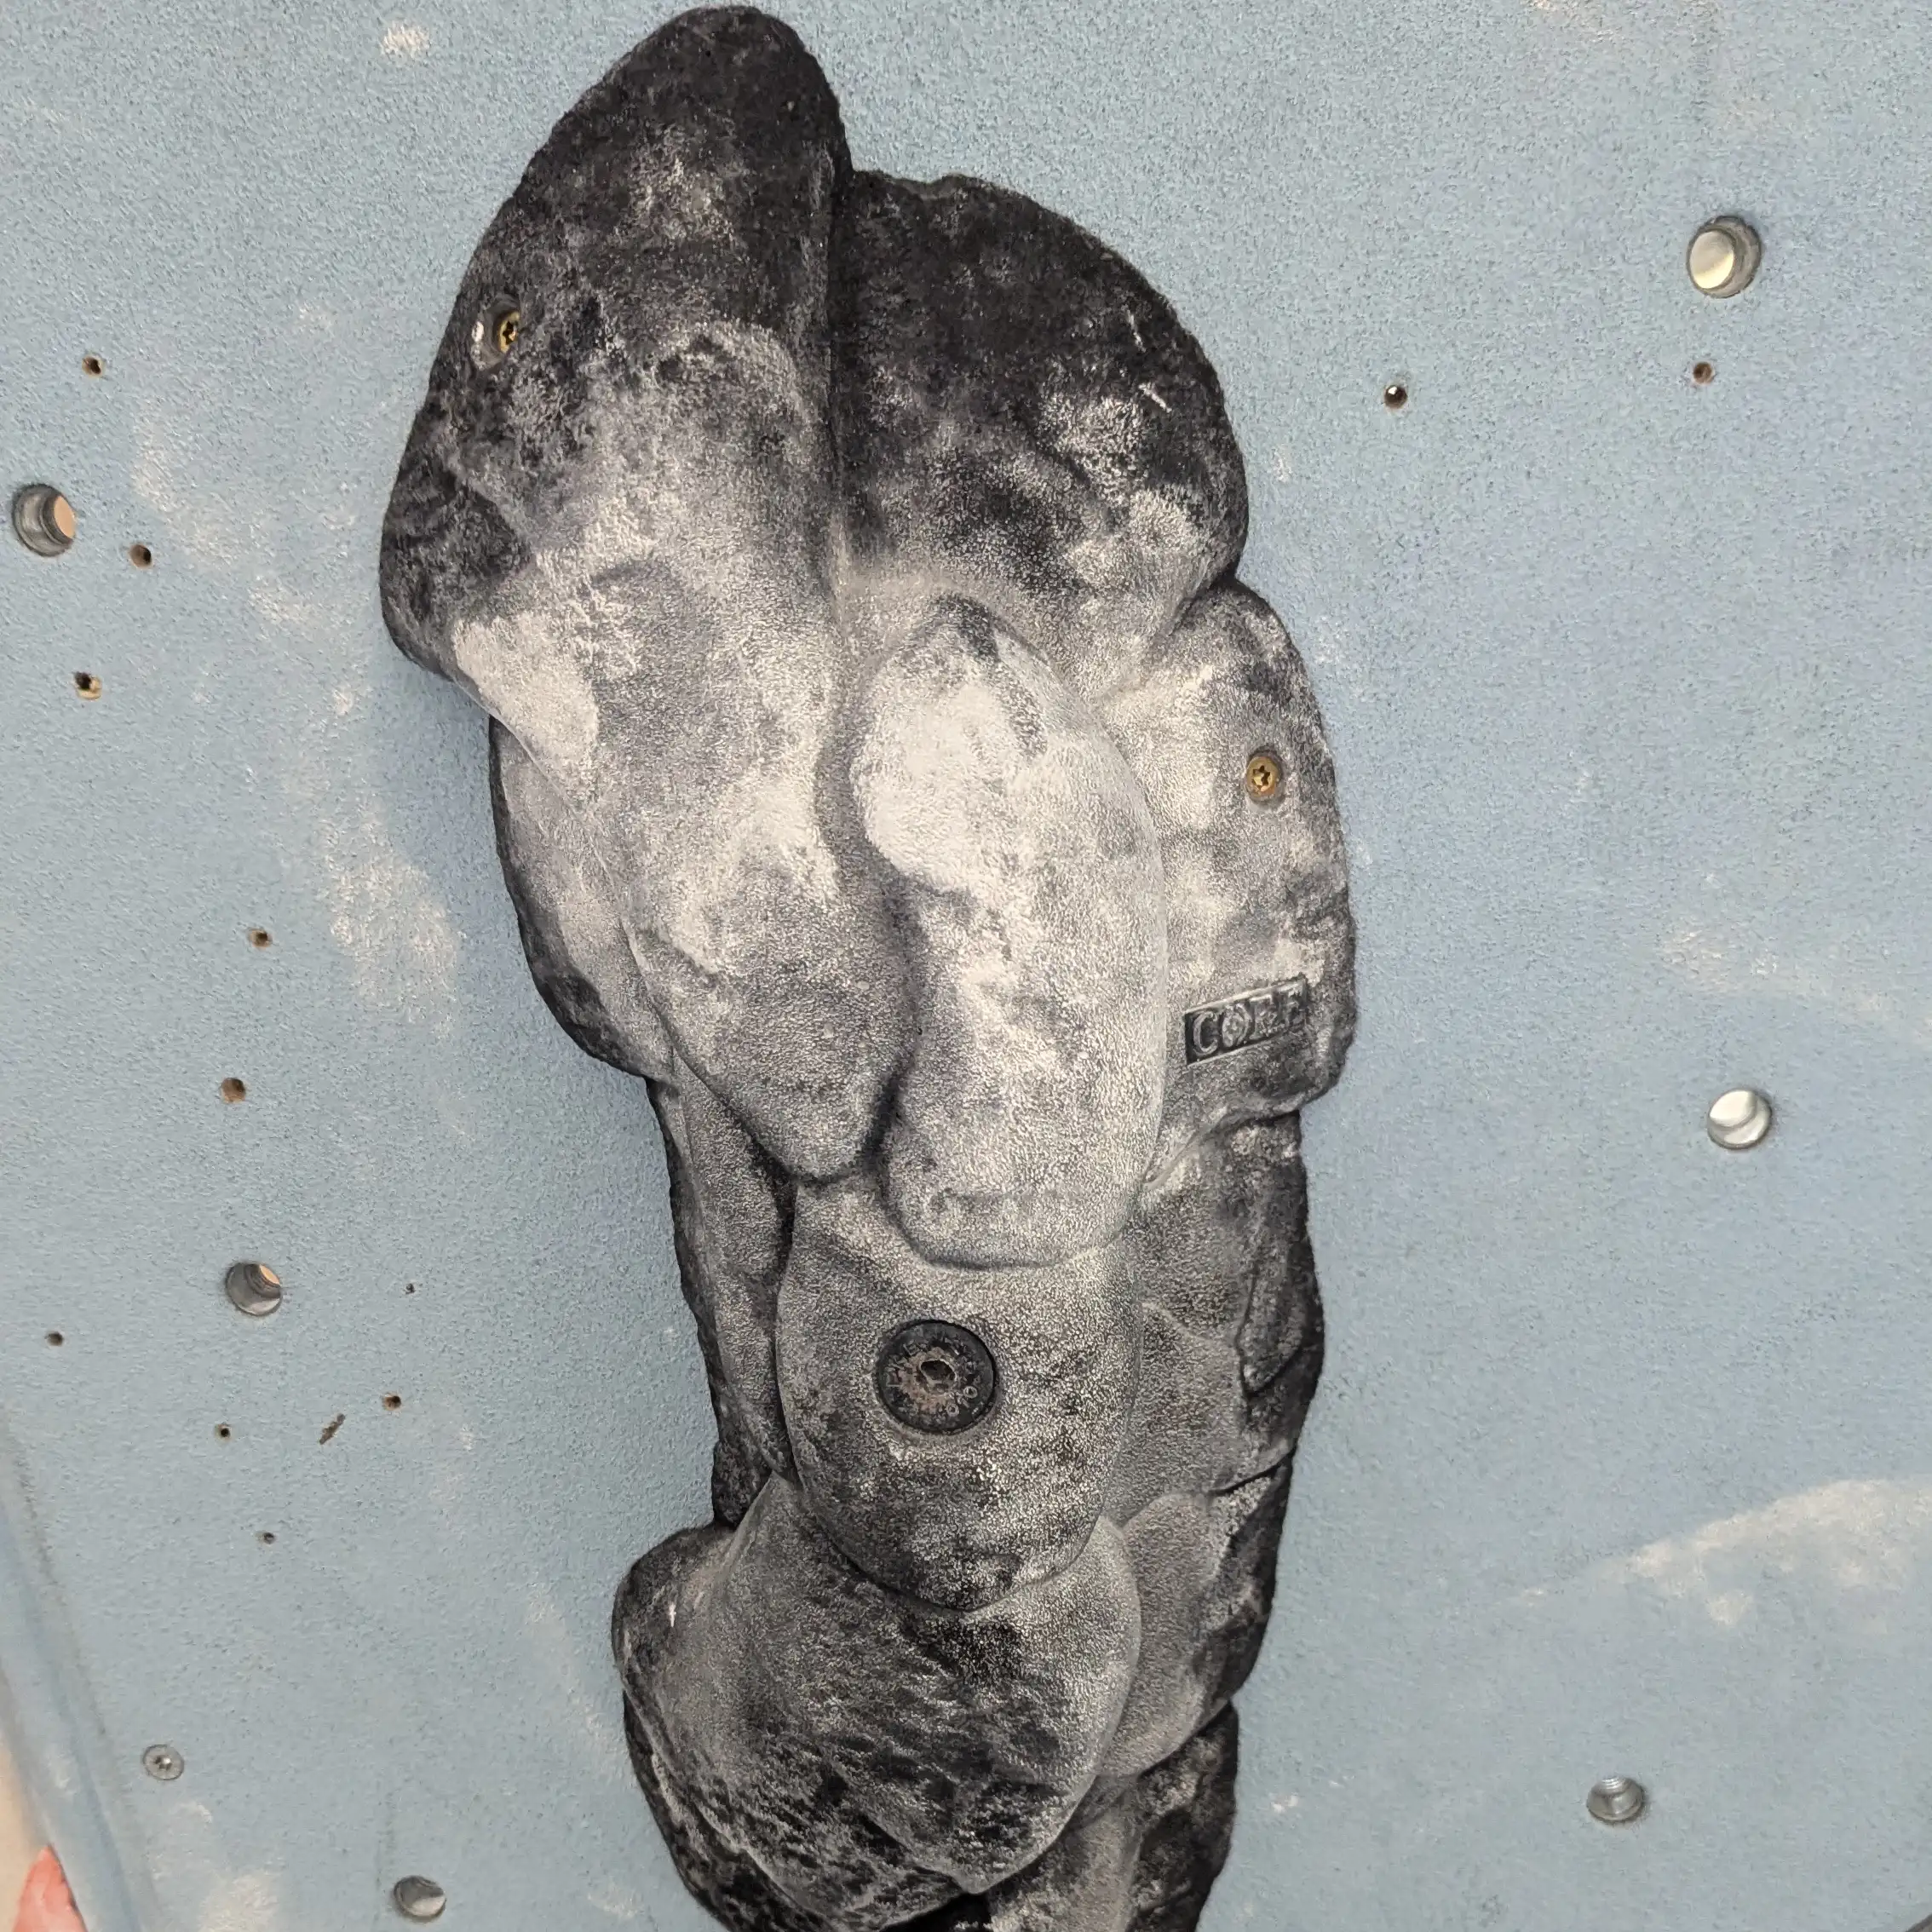
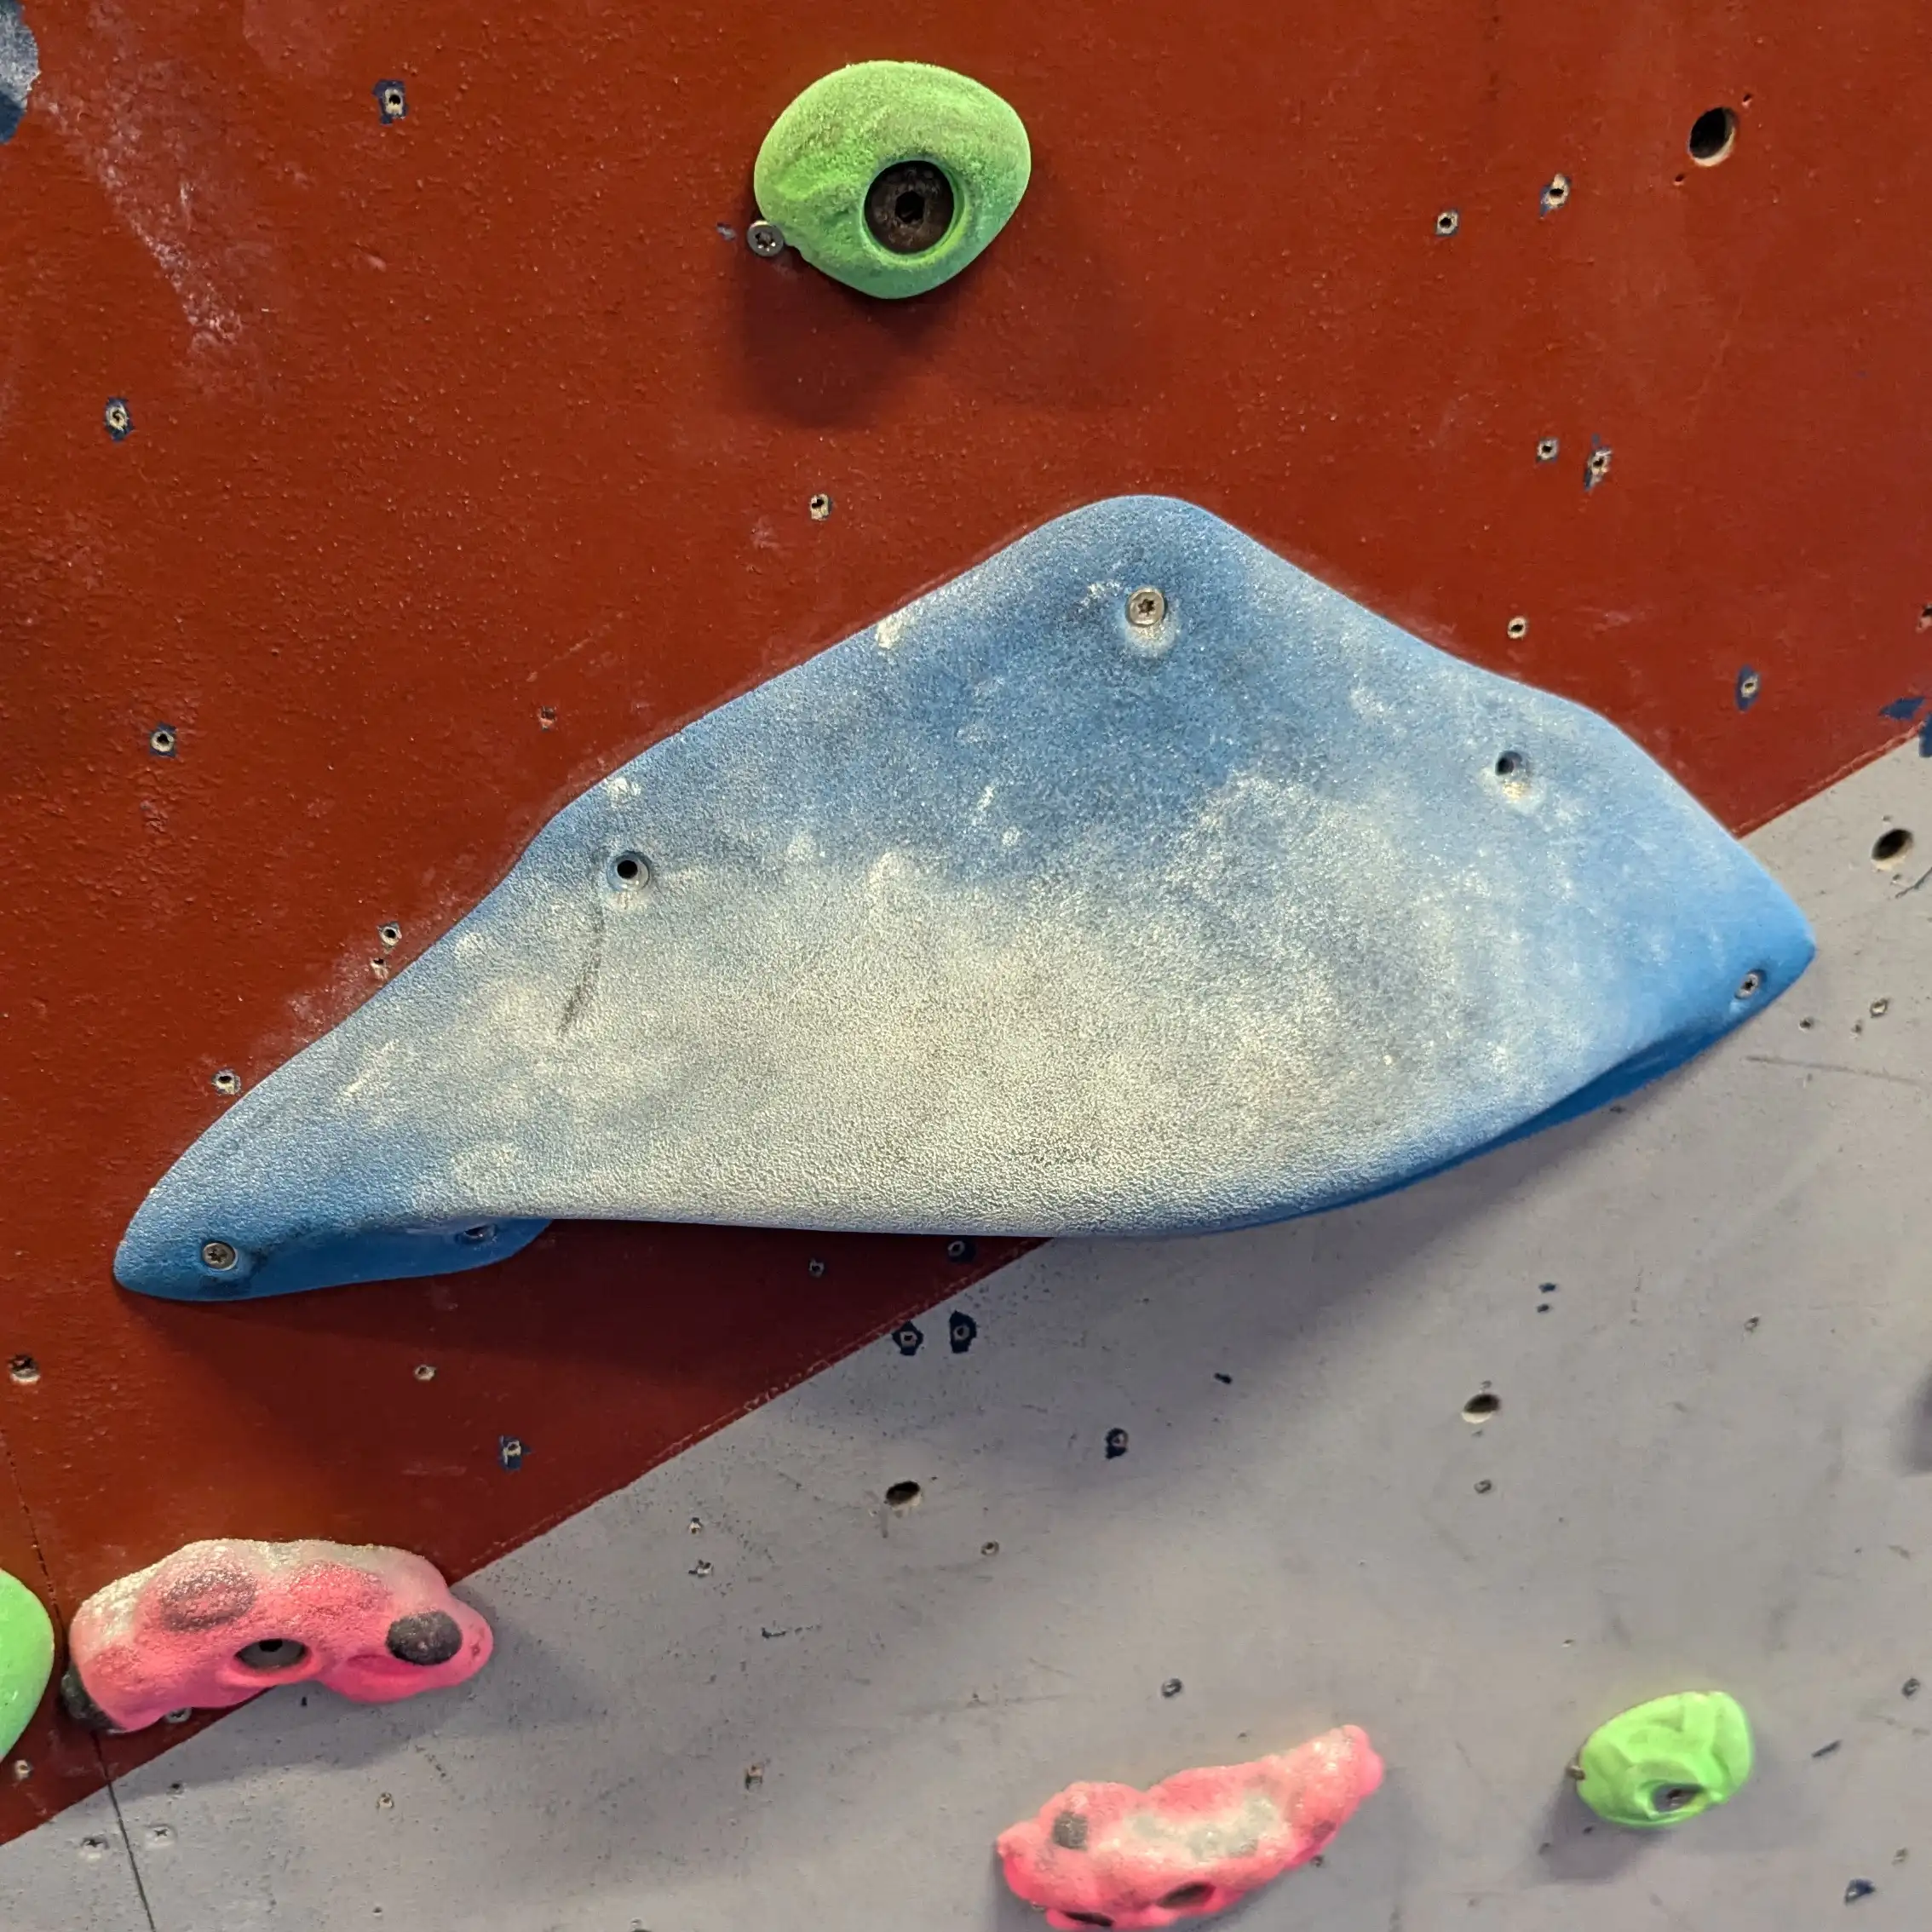
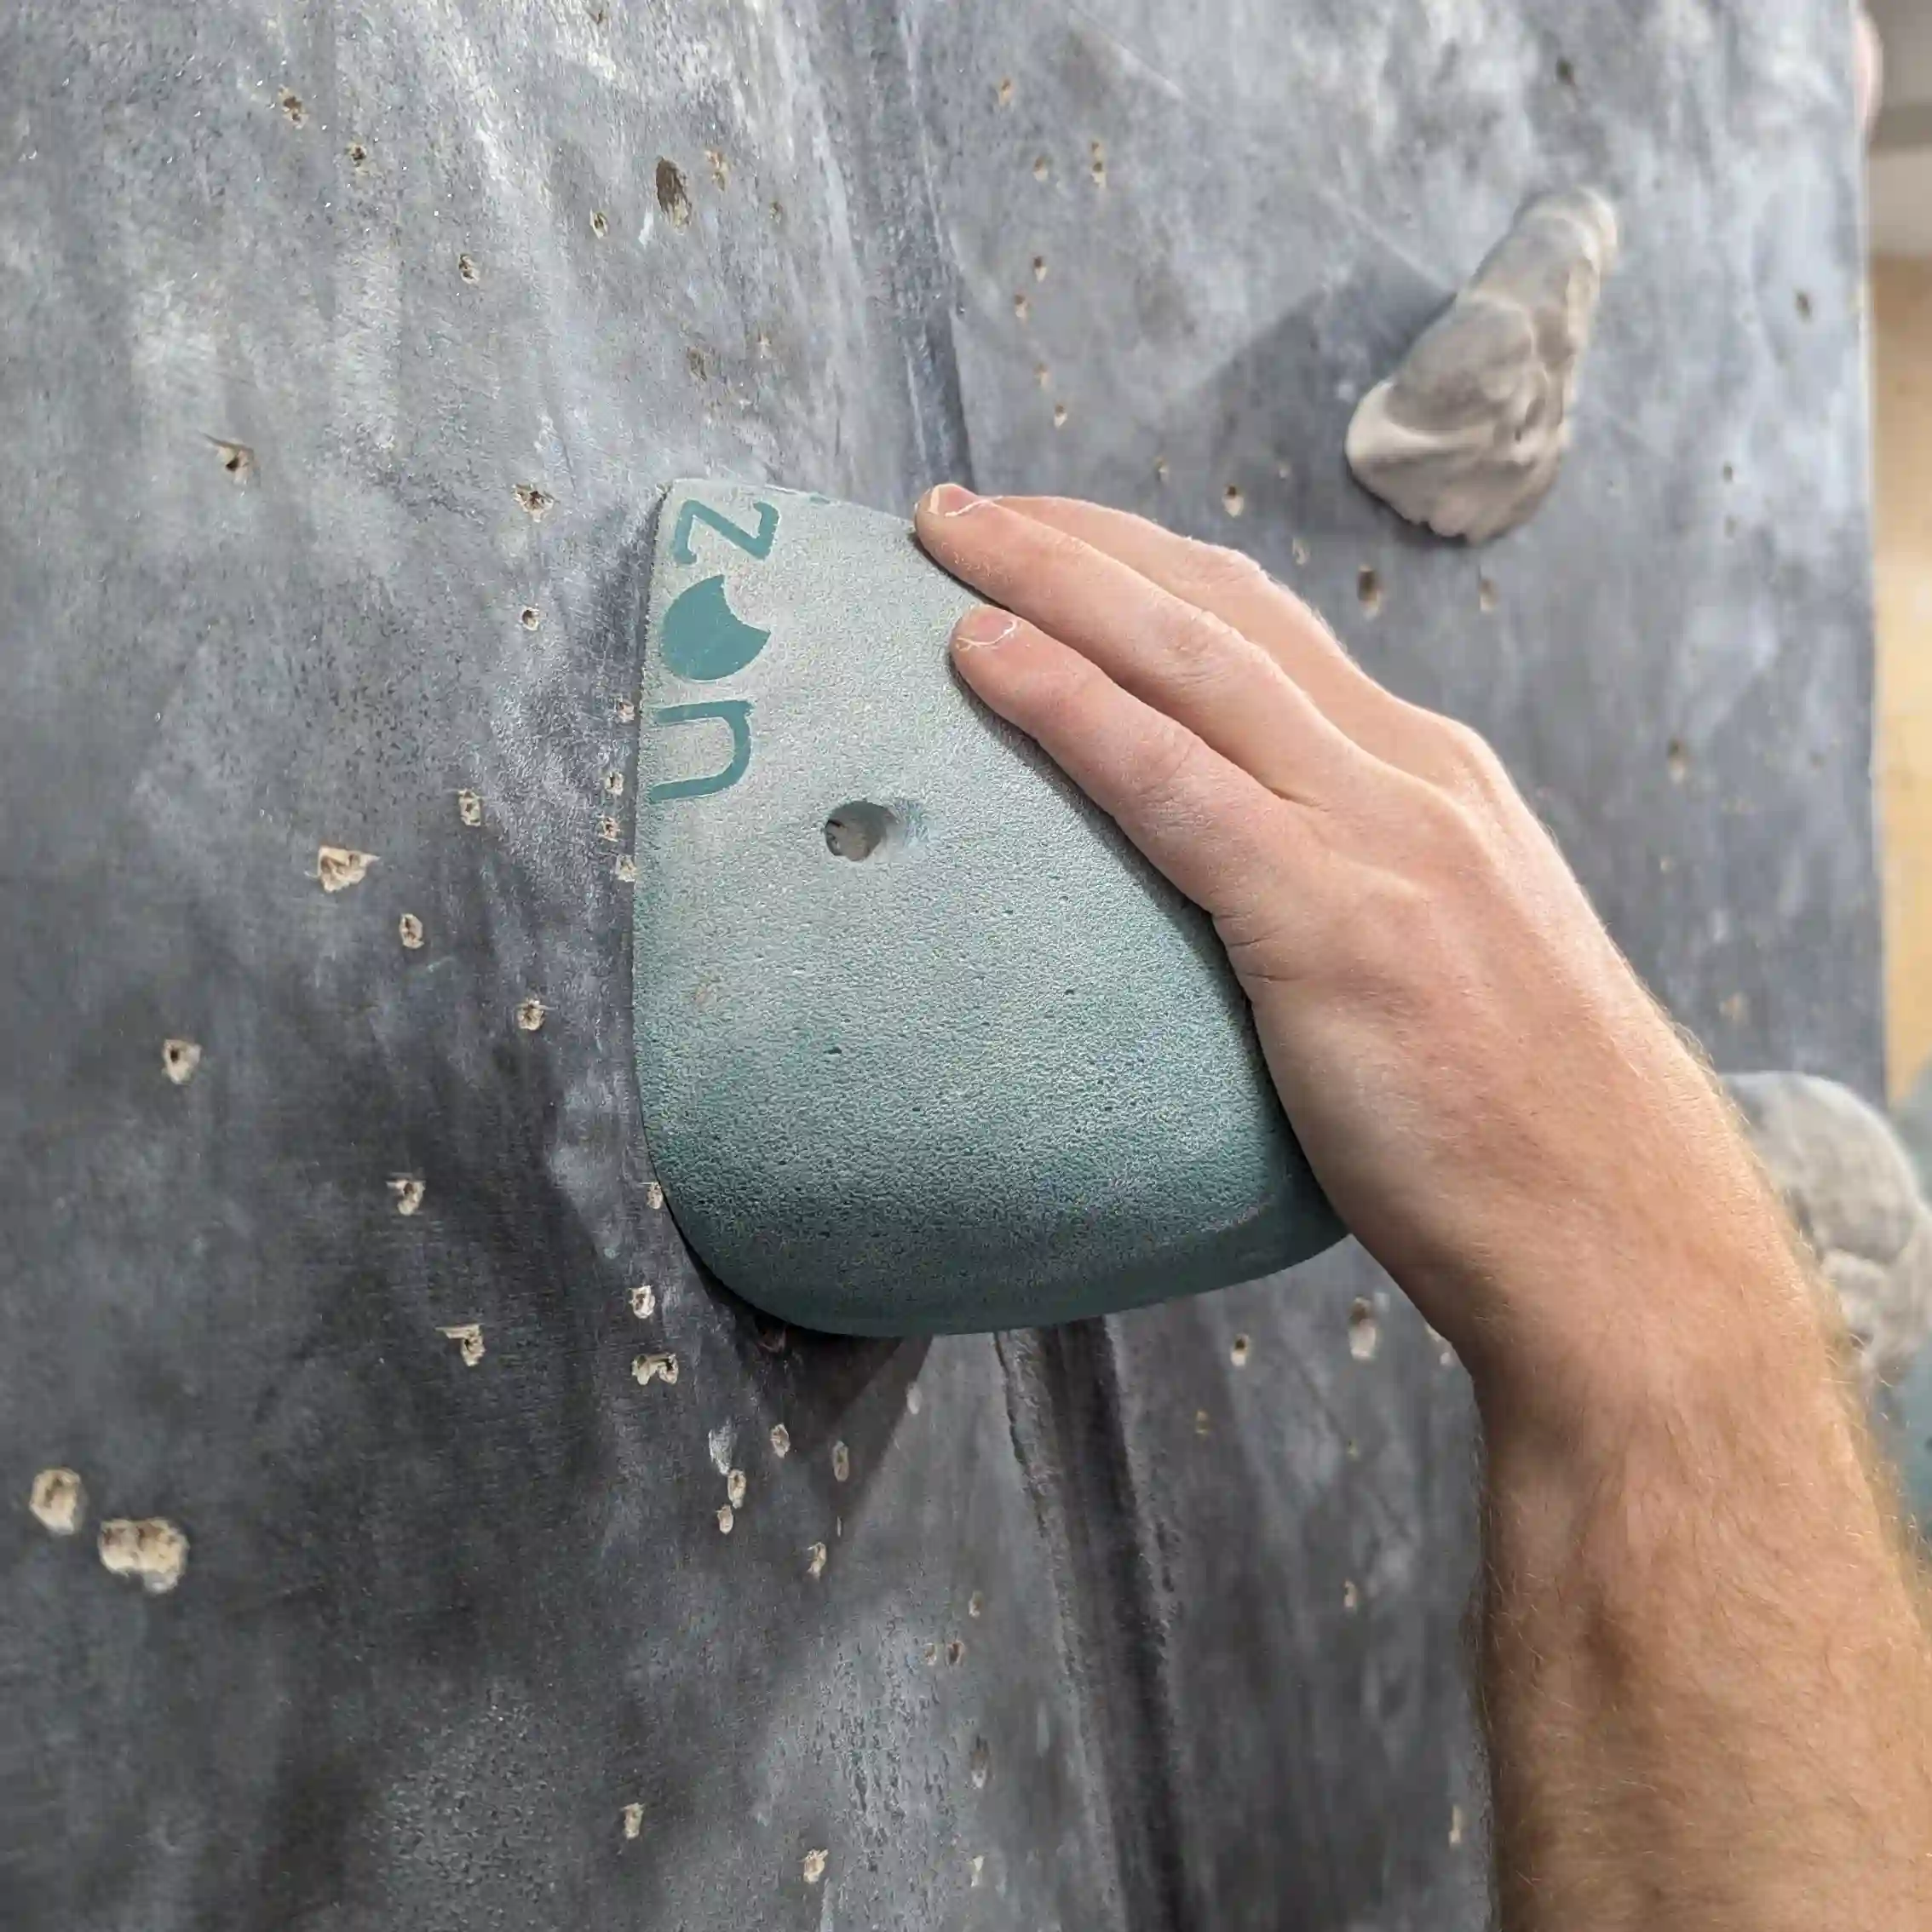
Slopers
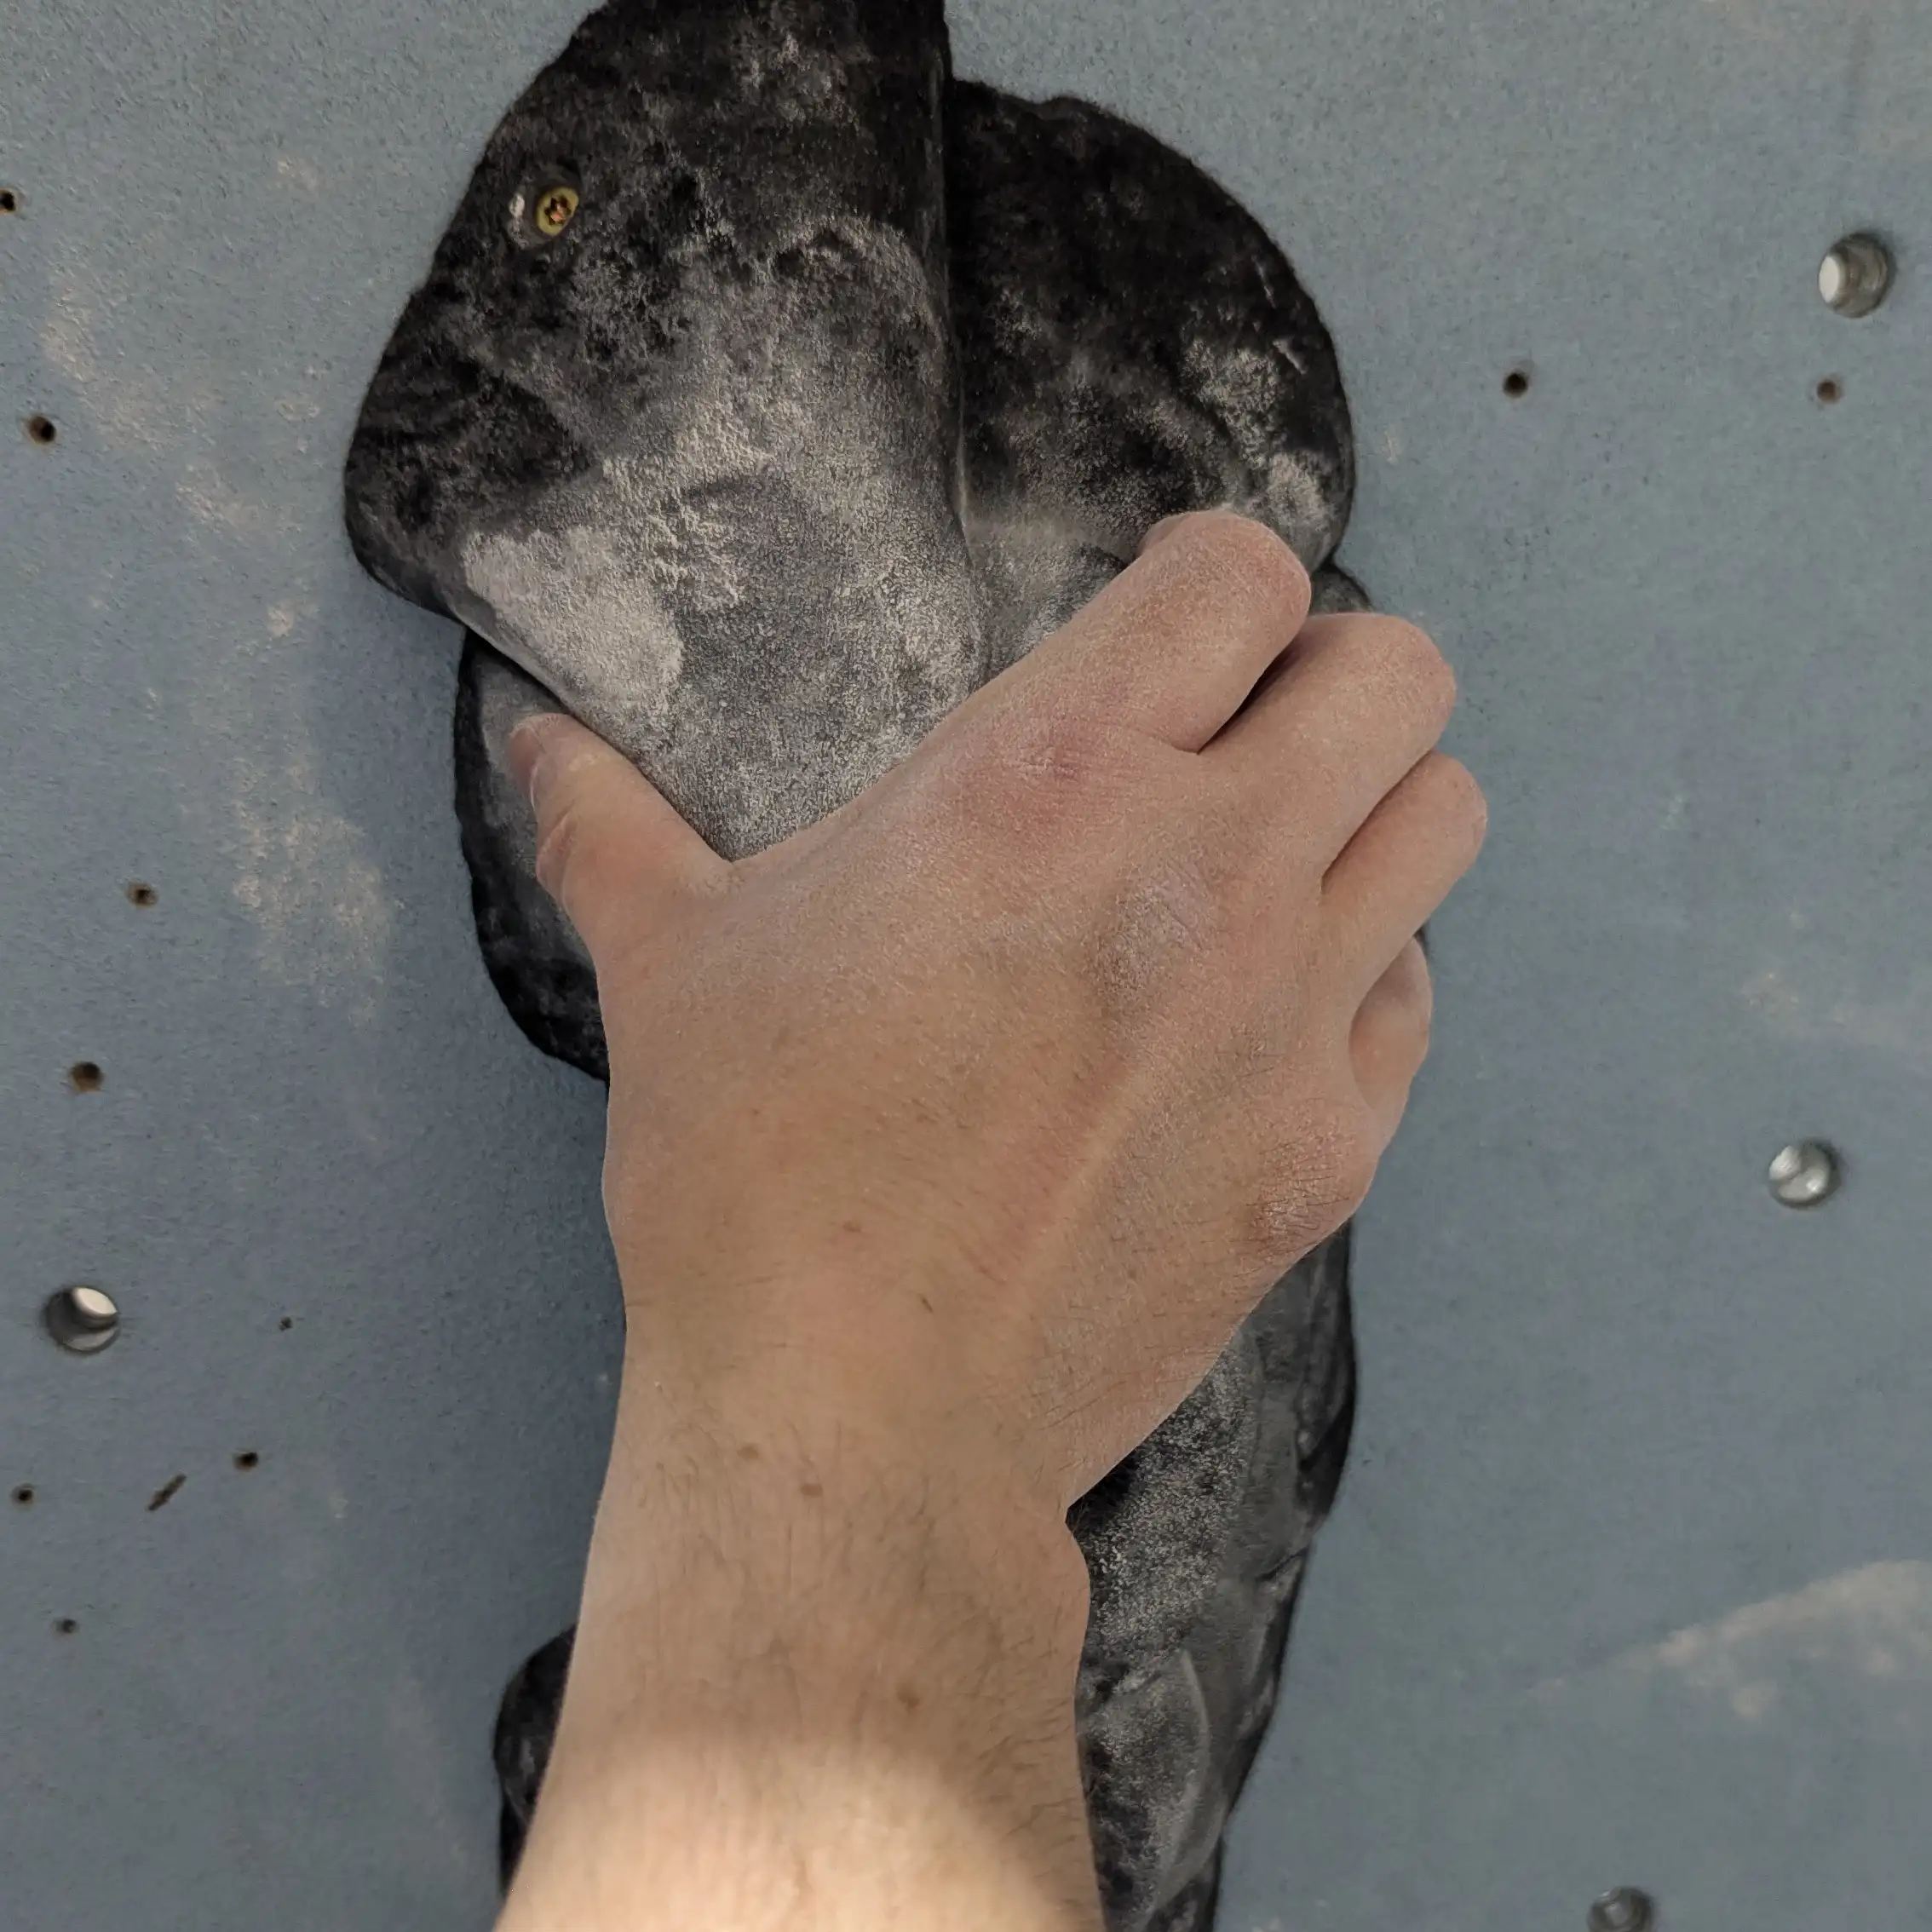
The best way to describe slopers would be awkward. They can come in different shapes and sizes and are usually slanted in a way that means you have to use an open handed grip on them. If you can imagine trying to hold a football in your hand with your palm facing forward then that will give you a general idea of how to approach them. The sloper requires strength, however good technique often keeps you on the wall for longer. They are usually something you can't use brute strength on to get you higher. It's generally a good idea to keep your body under the hold and not above it as you won't be able to hold on if your head / chest is above.

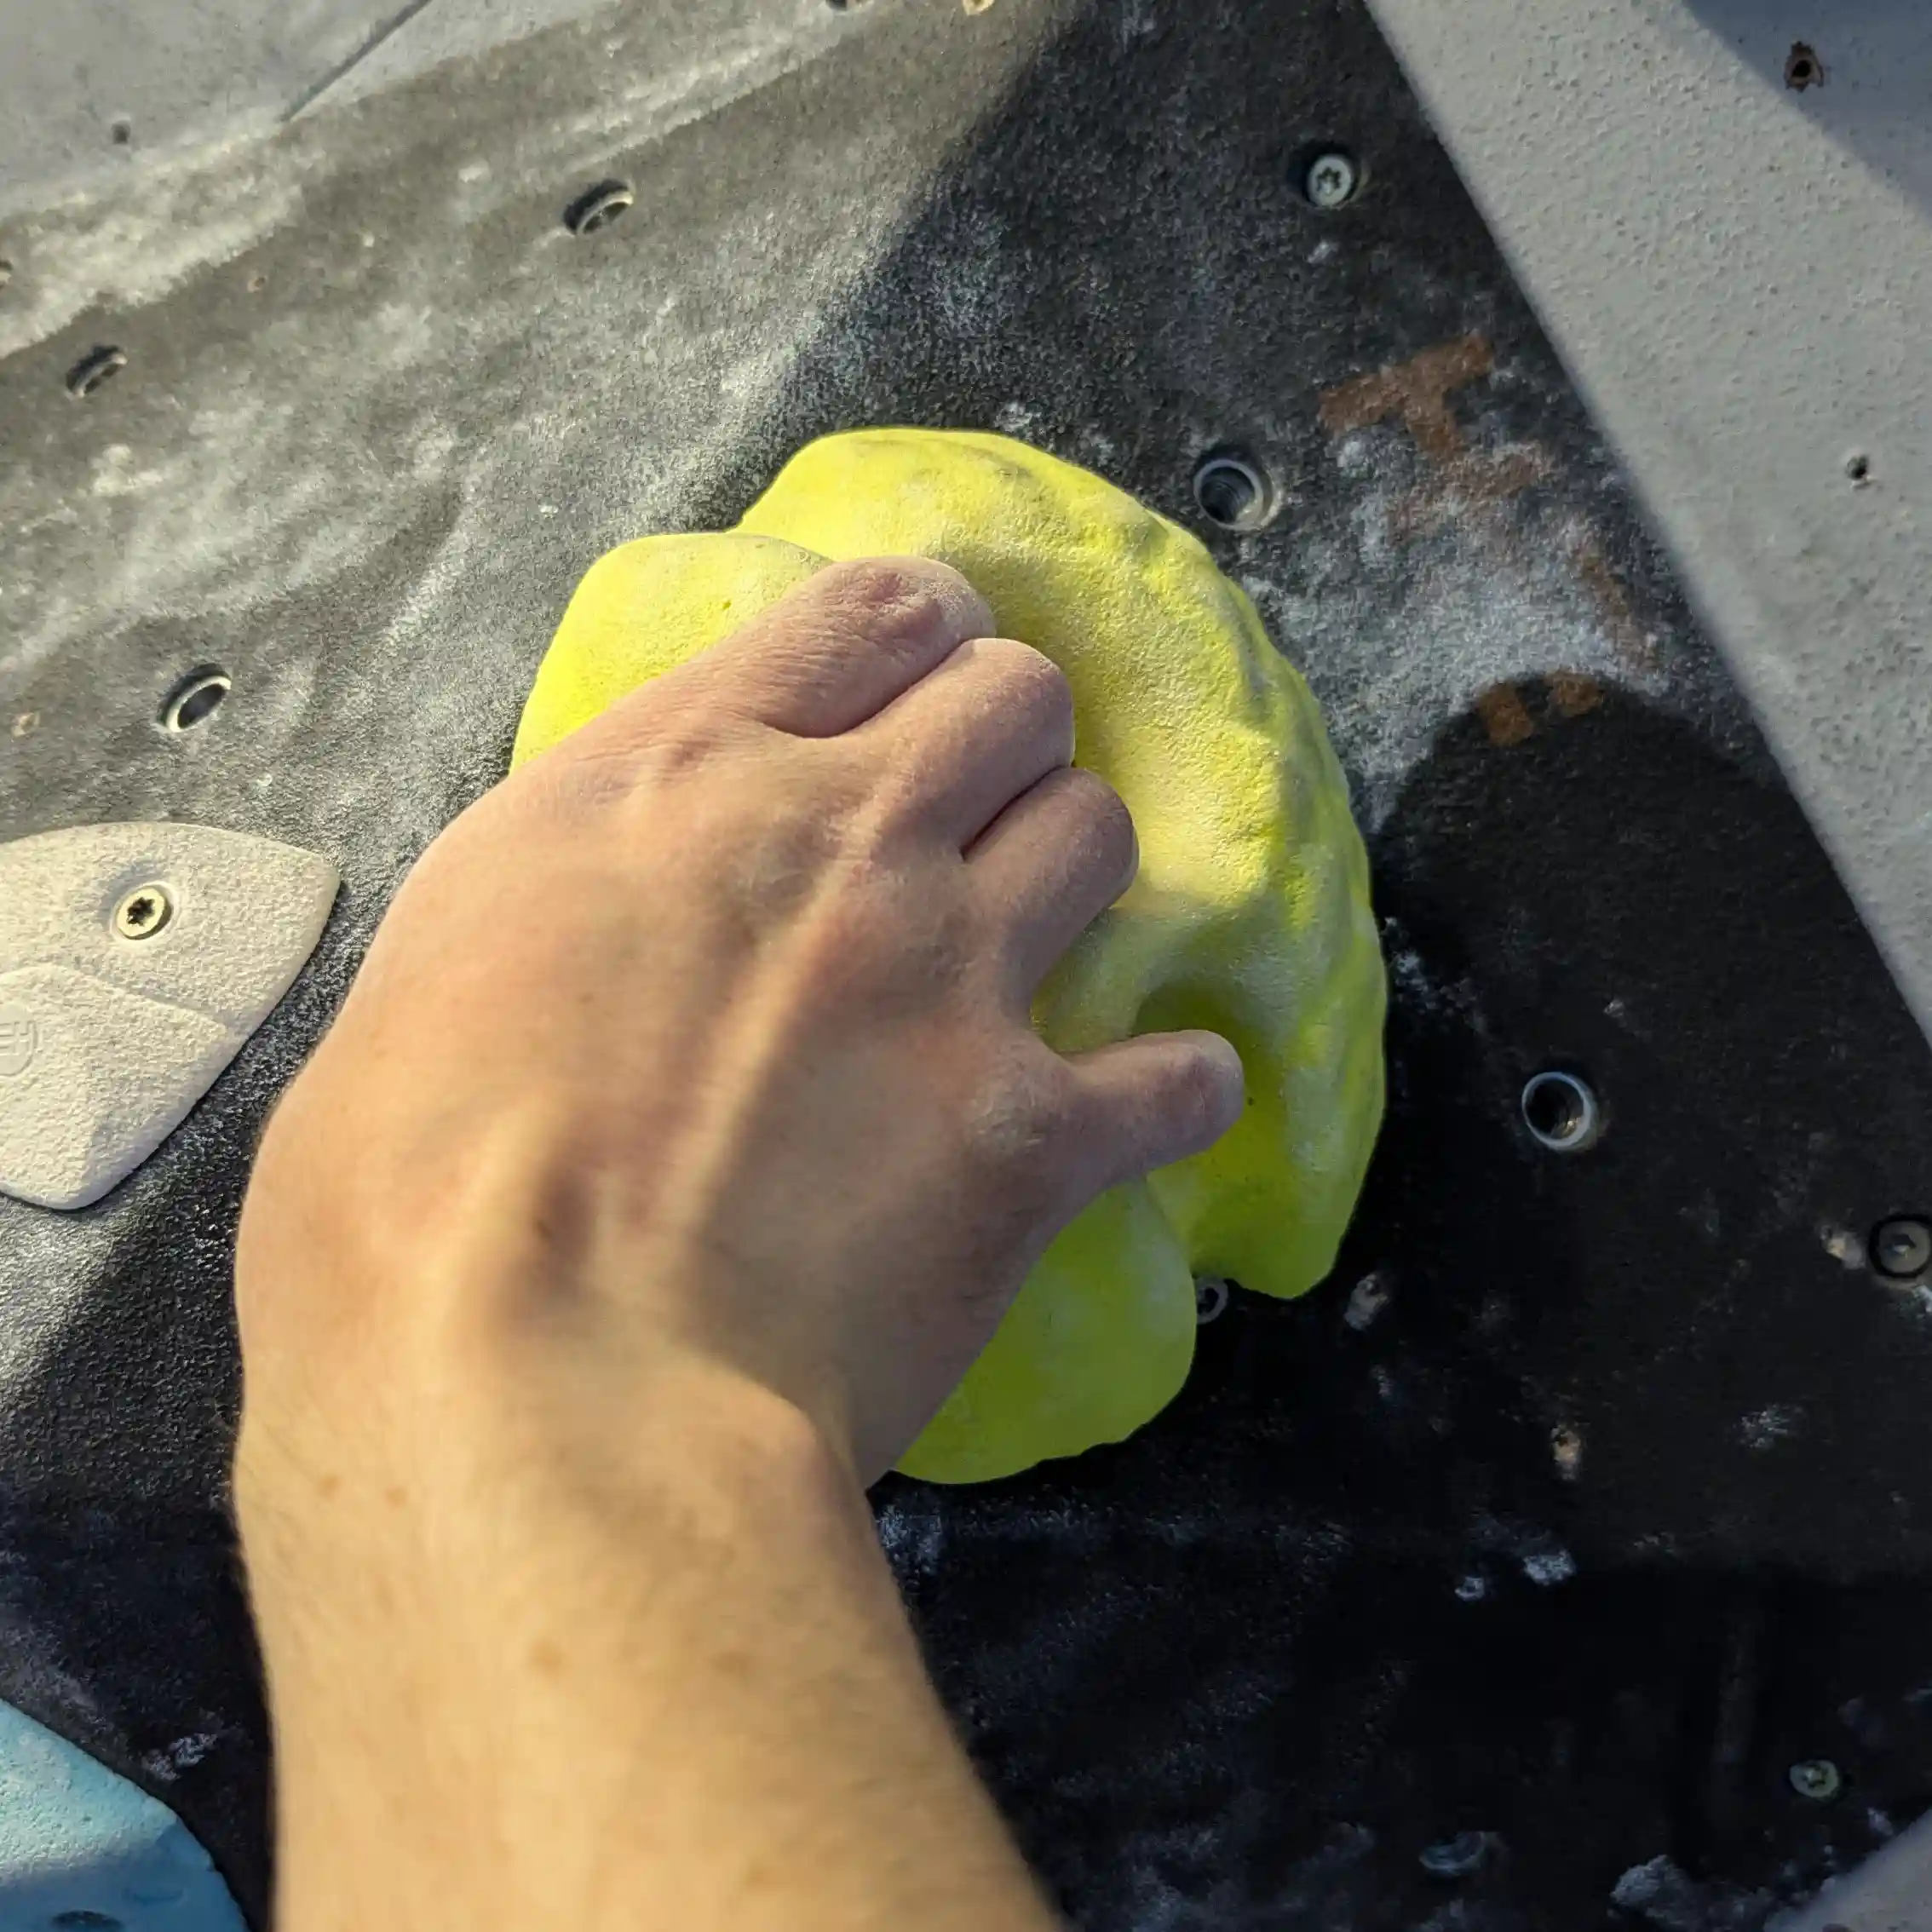
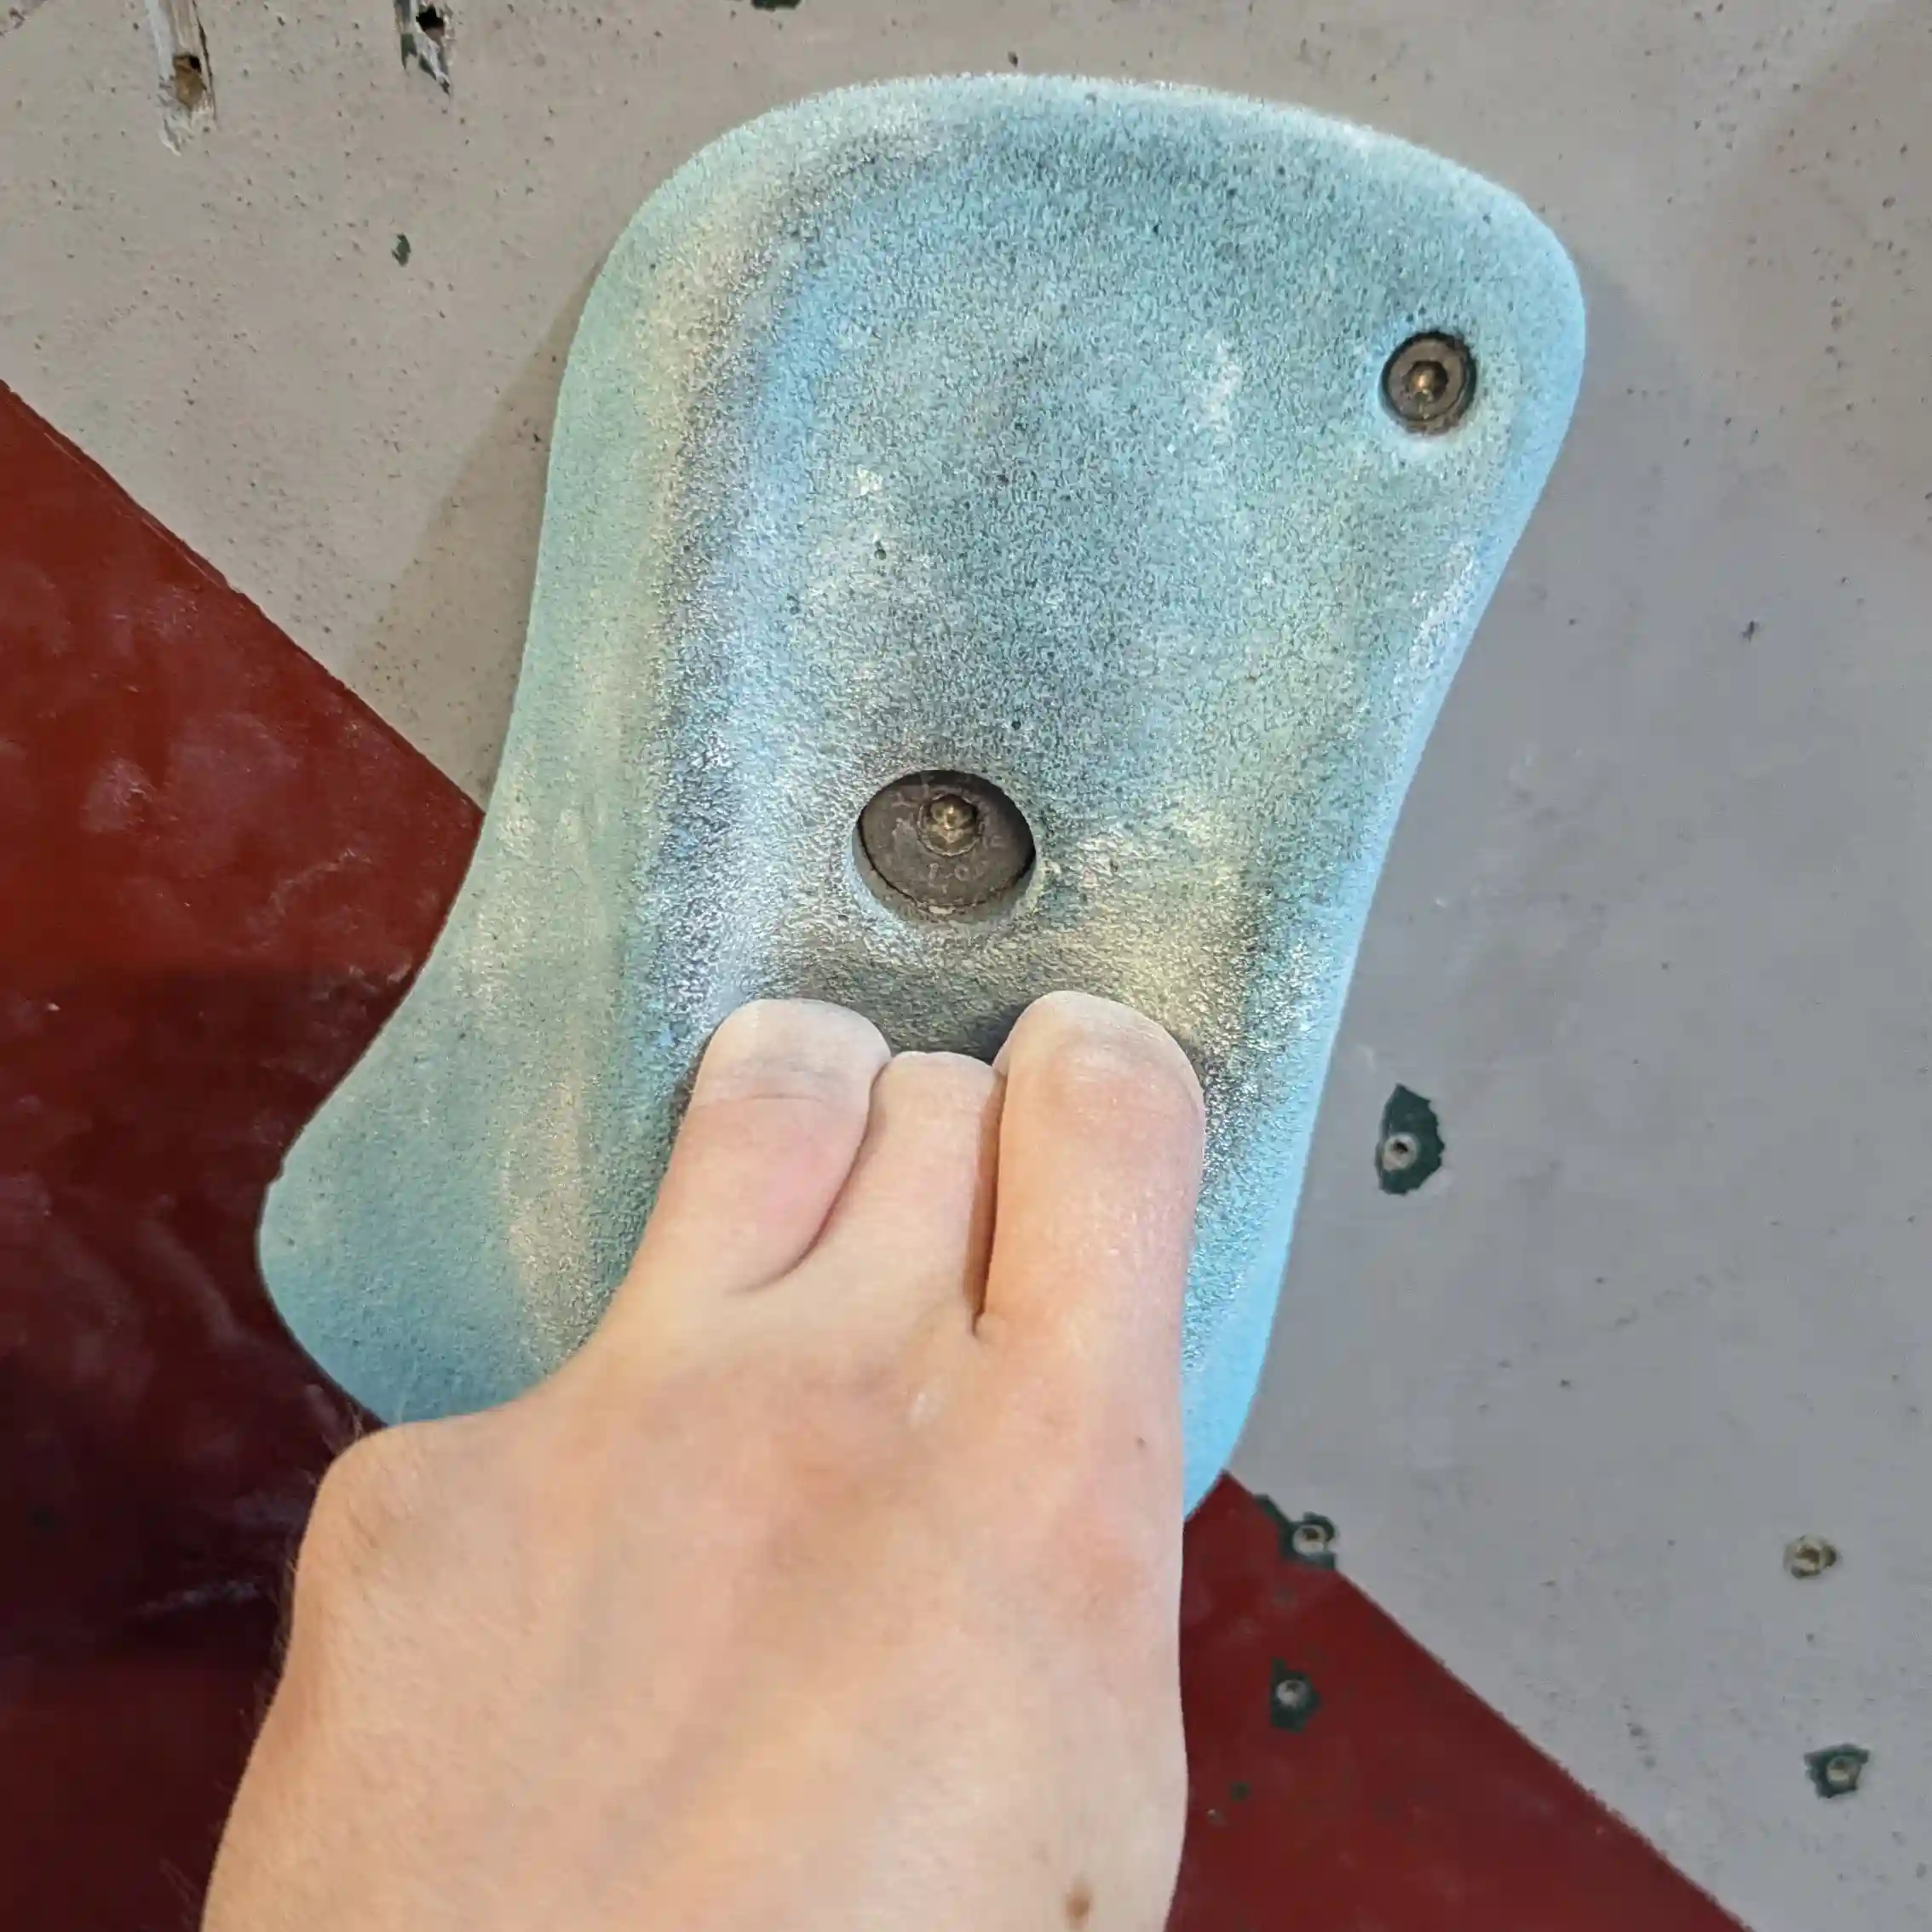
Hand Positions for Sloper holds
Slopers usually require you to have a good body position in order to stay on the wall. If you can get your center of gravity directly below the hold with your weight evenly distributed over both feet and then use your palm to make contact first and then your fingers. Keeping your arms straight / locked out will also help you out a lot.
A good tip I've found is to try and not make too many adjustments with your hands once you've got a grip on the sloper hold. The more you move your hands about, the more energy you use and the less chalk you have on your hands which makes coming off the wall much easier.
Some slopers can be more of a side grip, where you need to shift your weight away from the hold in order to stay on. With these it's still important to try and keep your body low.

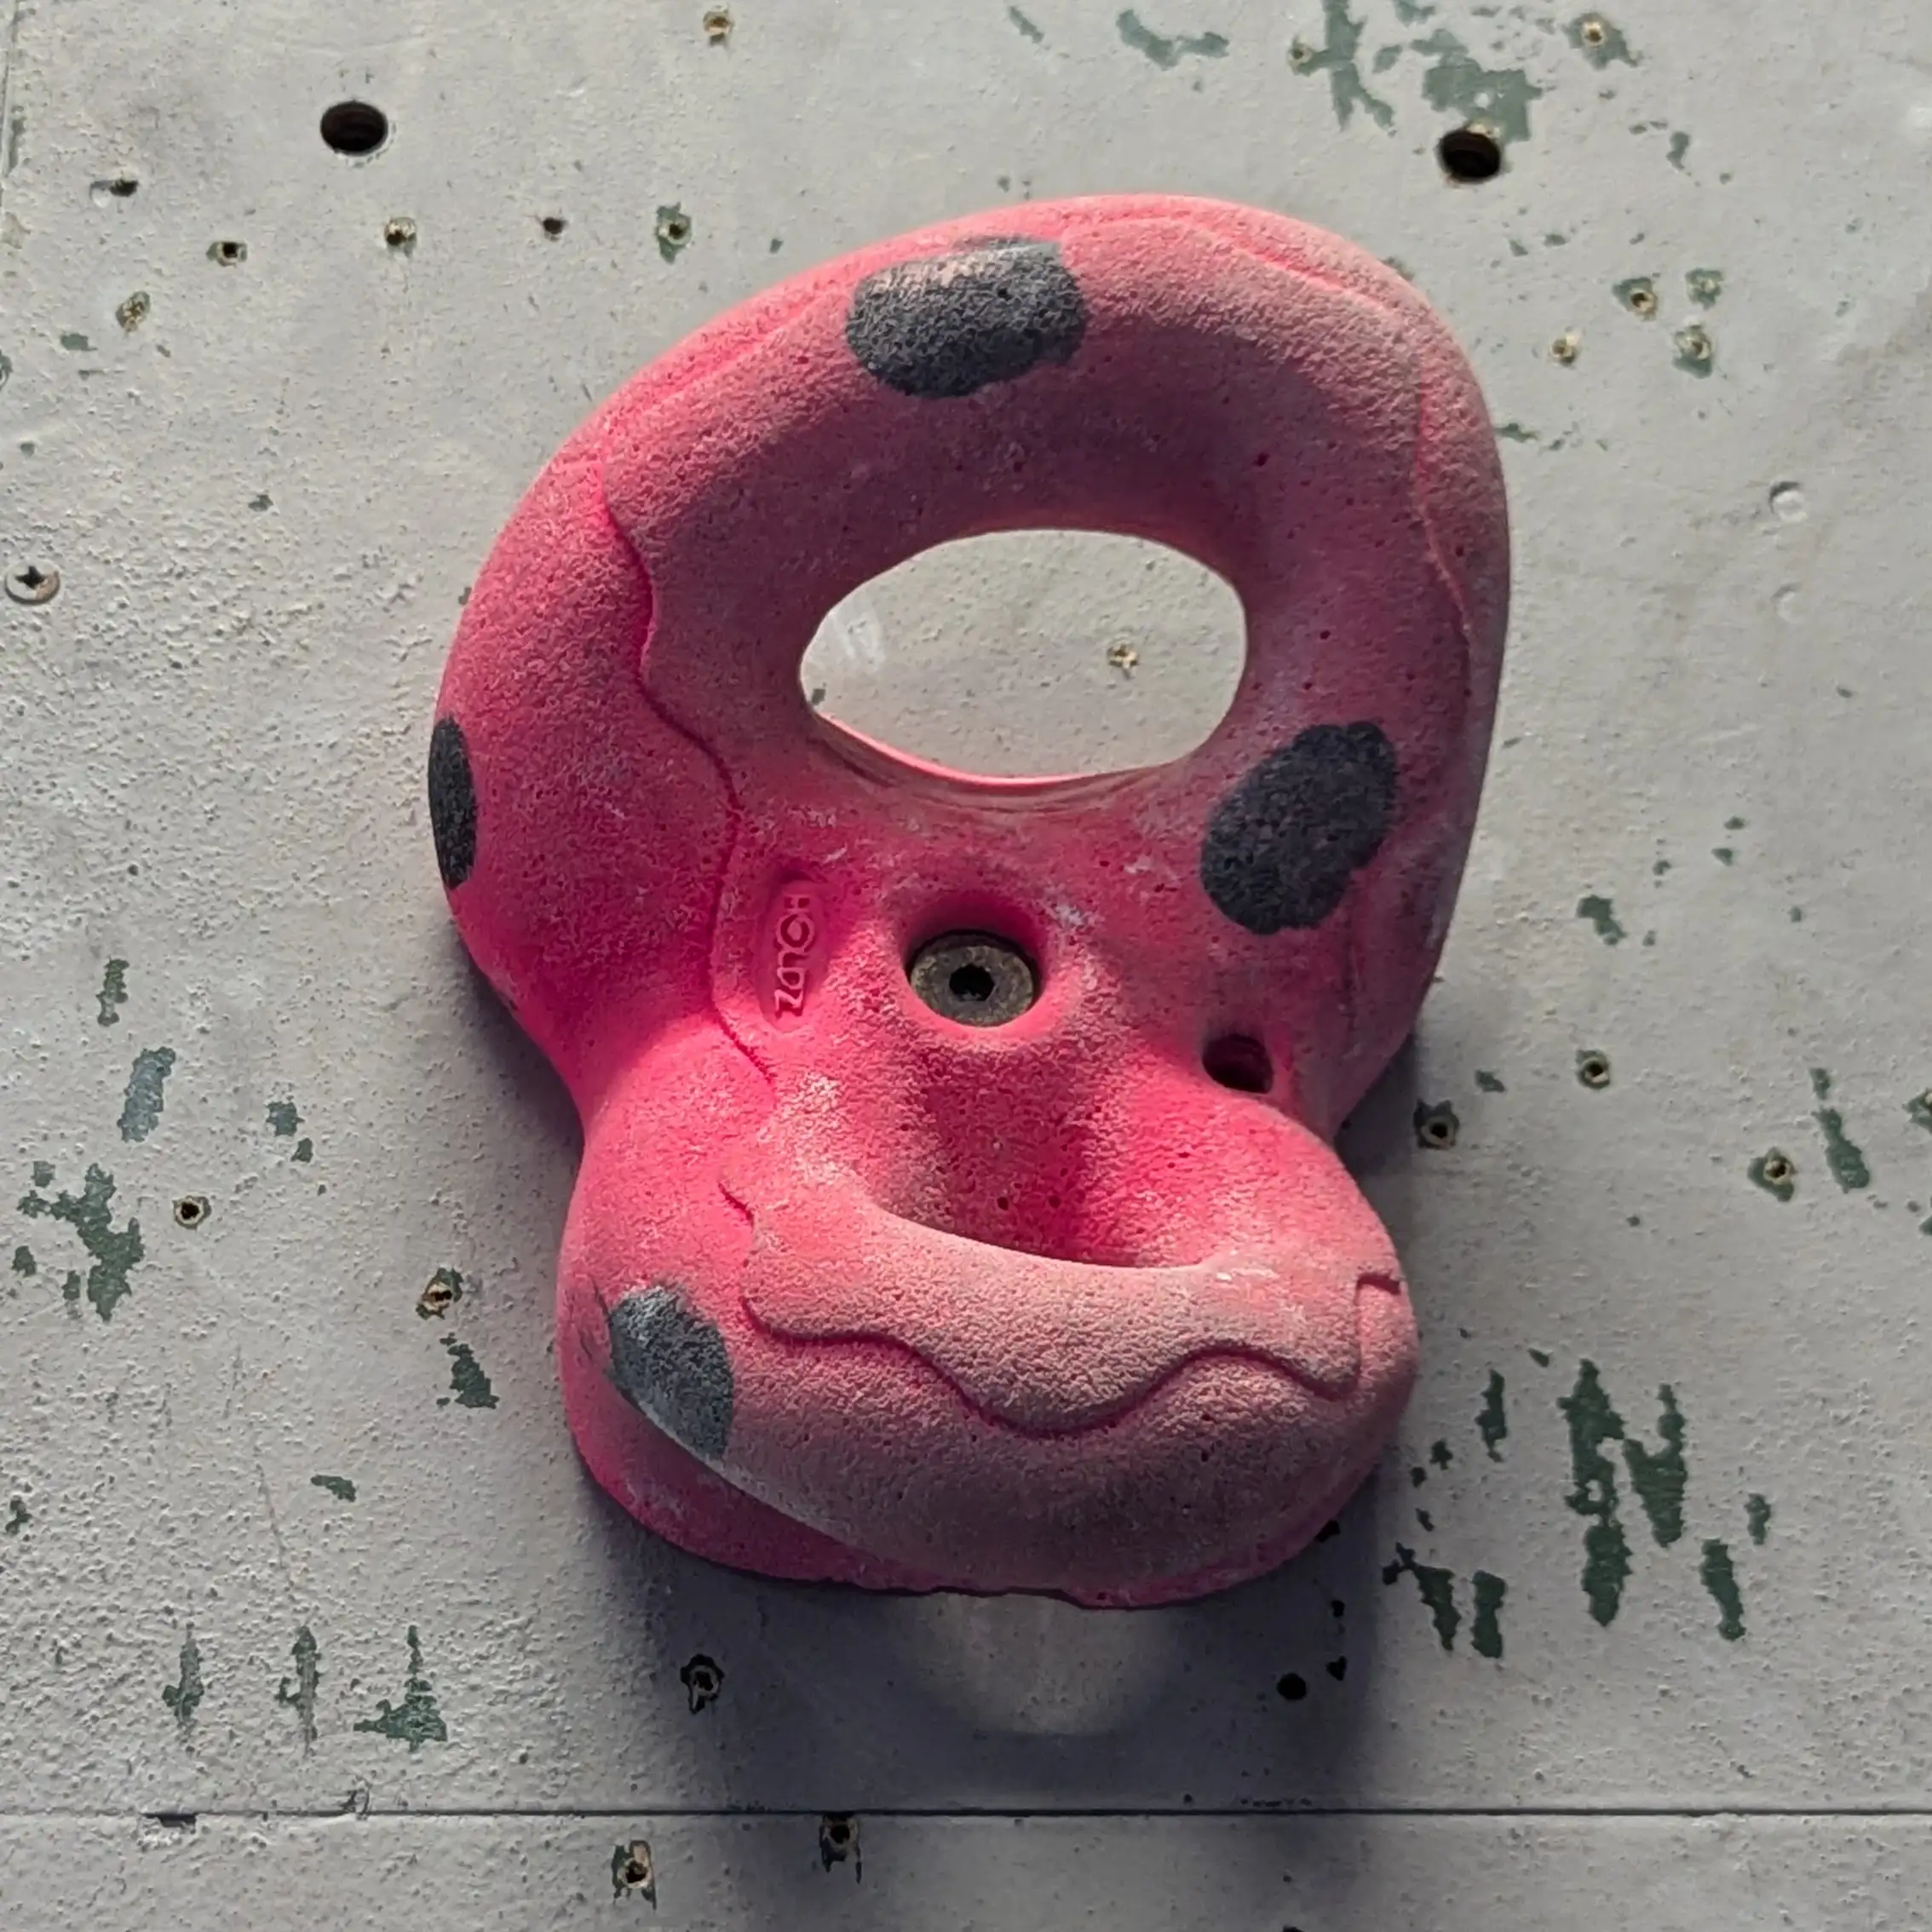
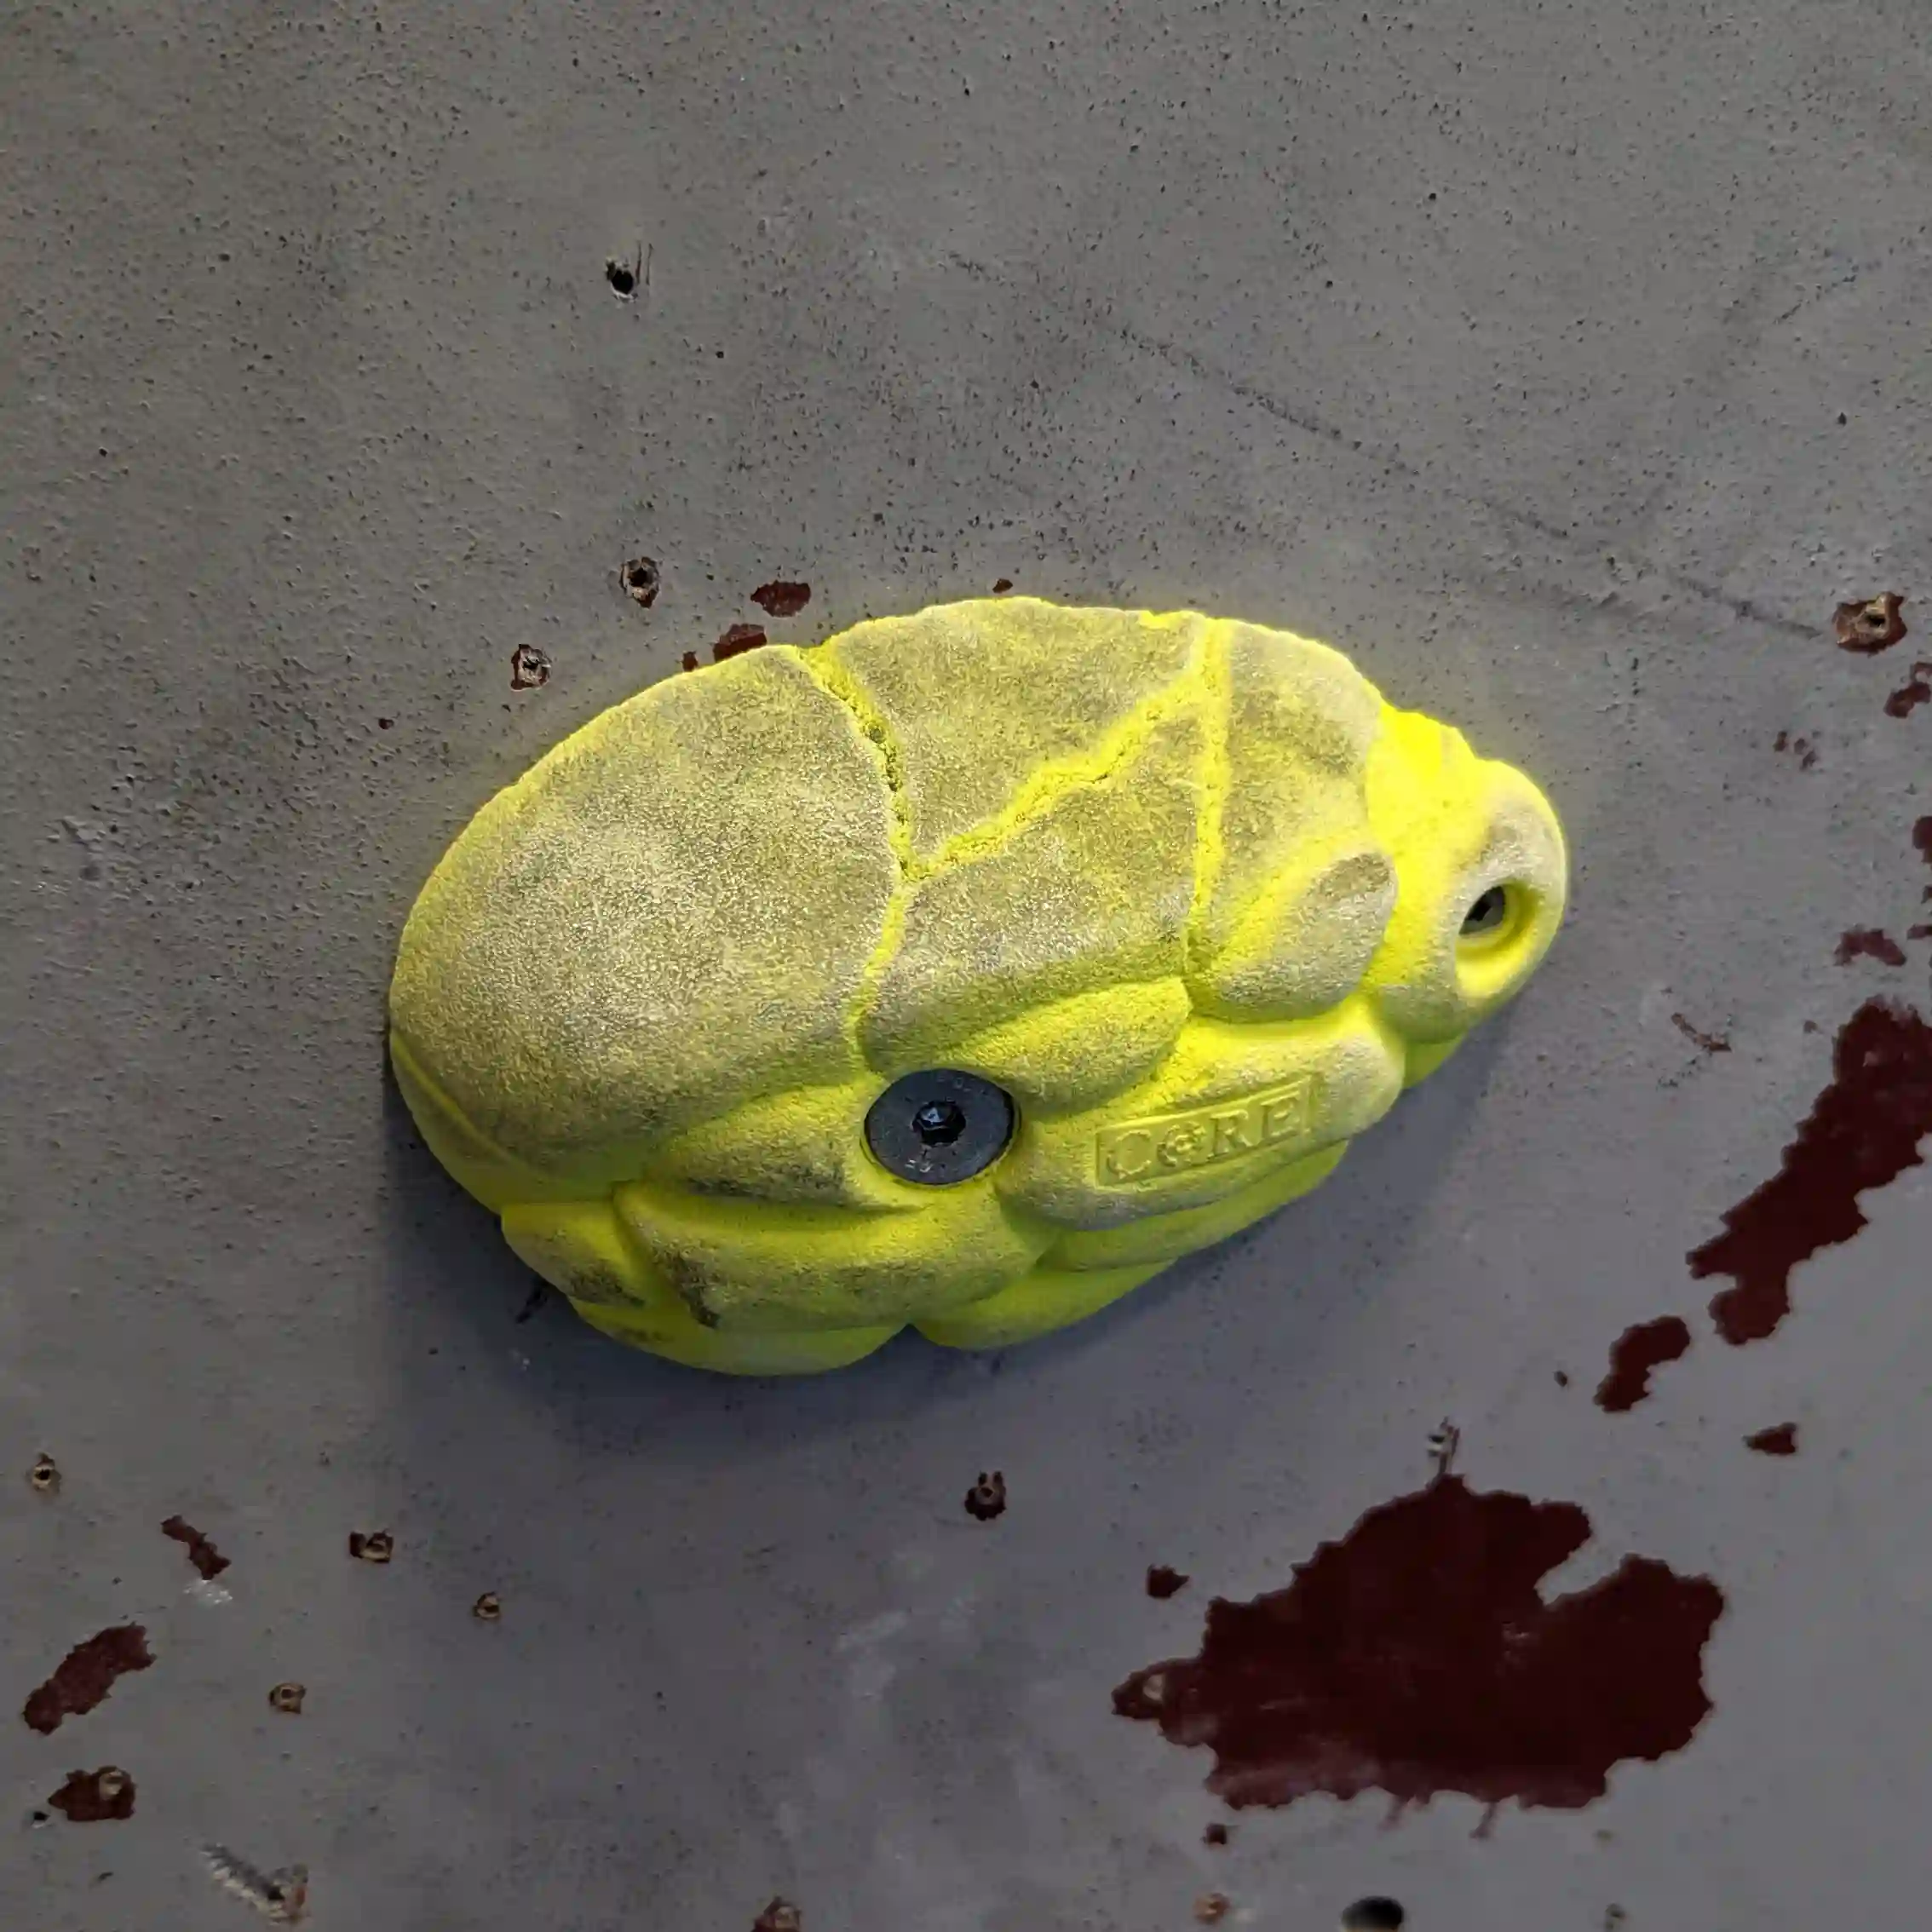
Pockets
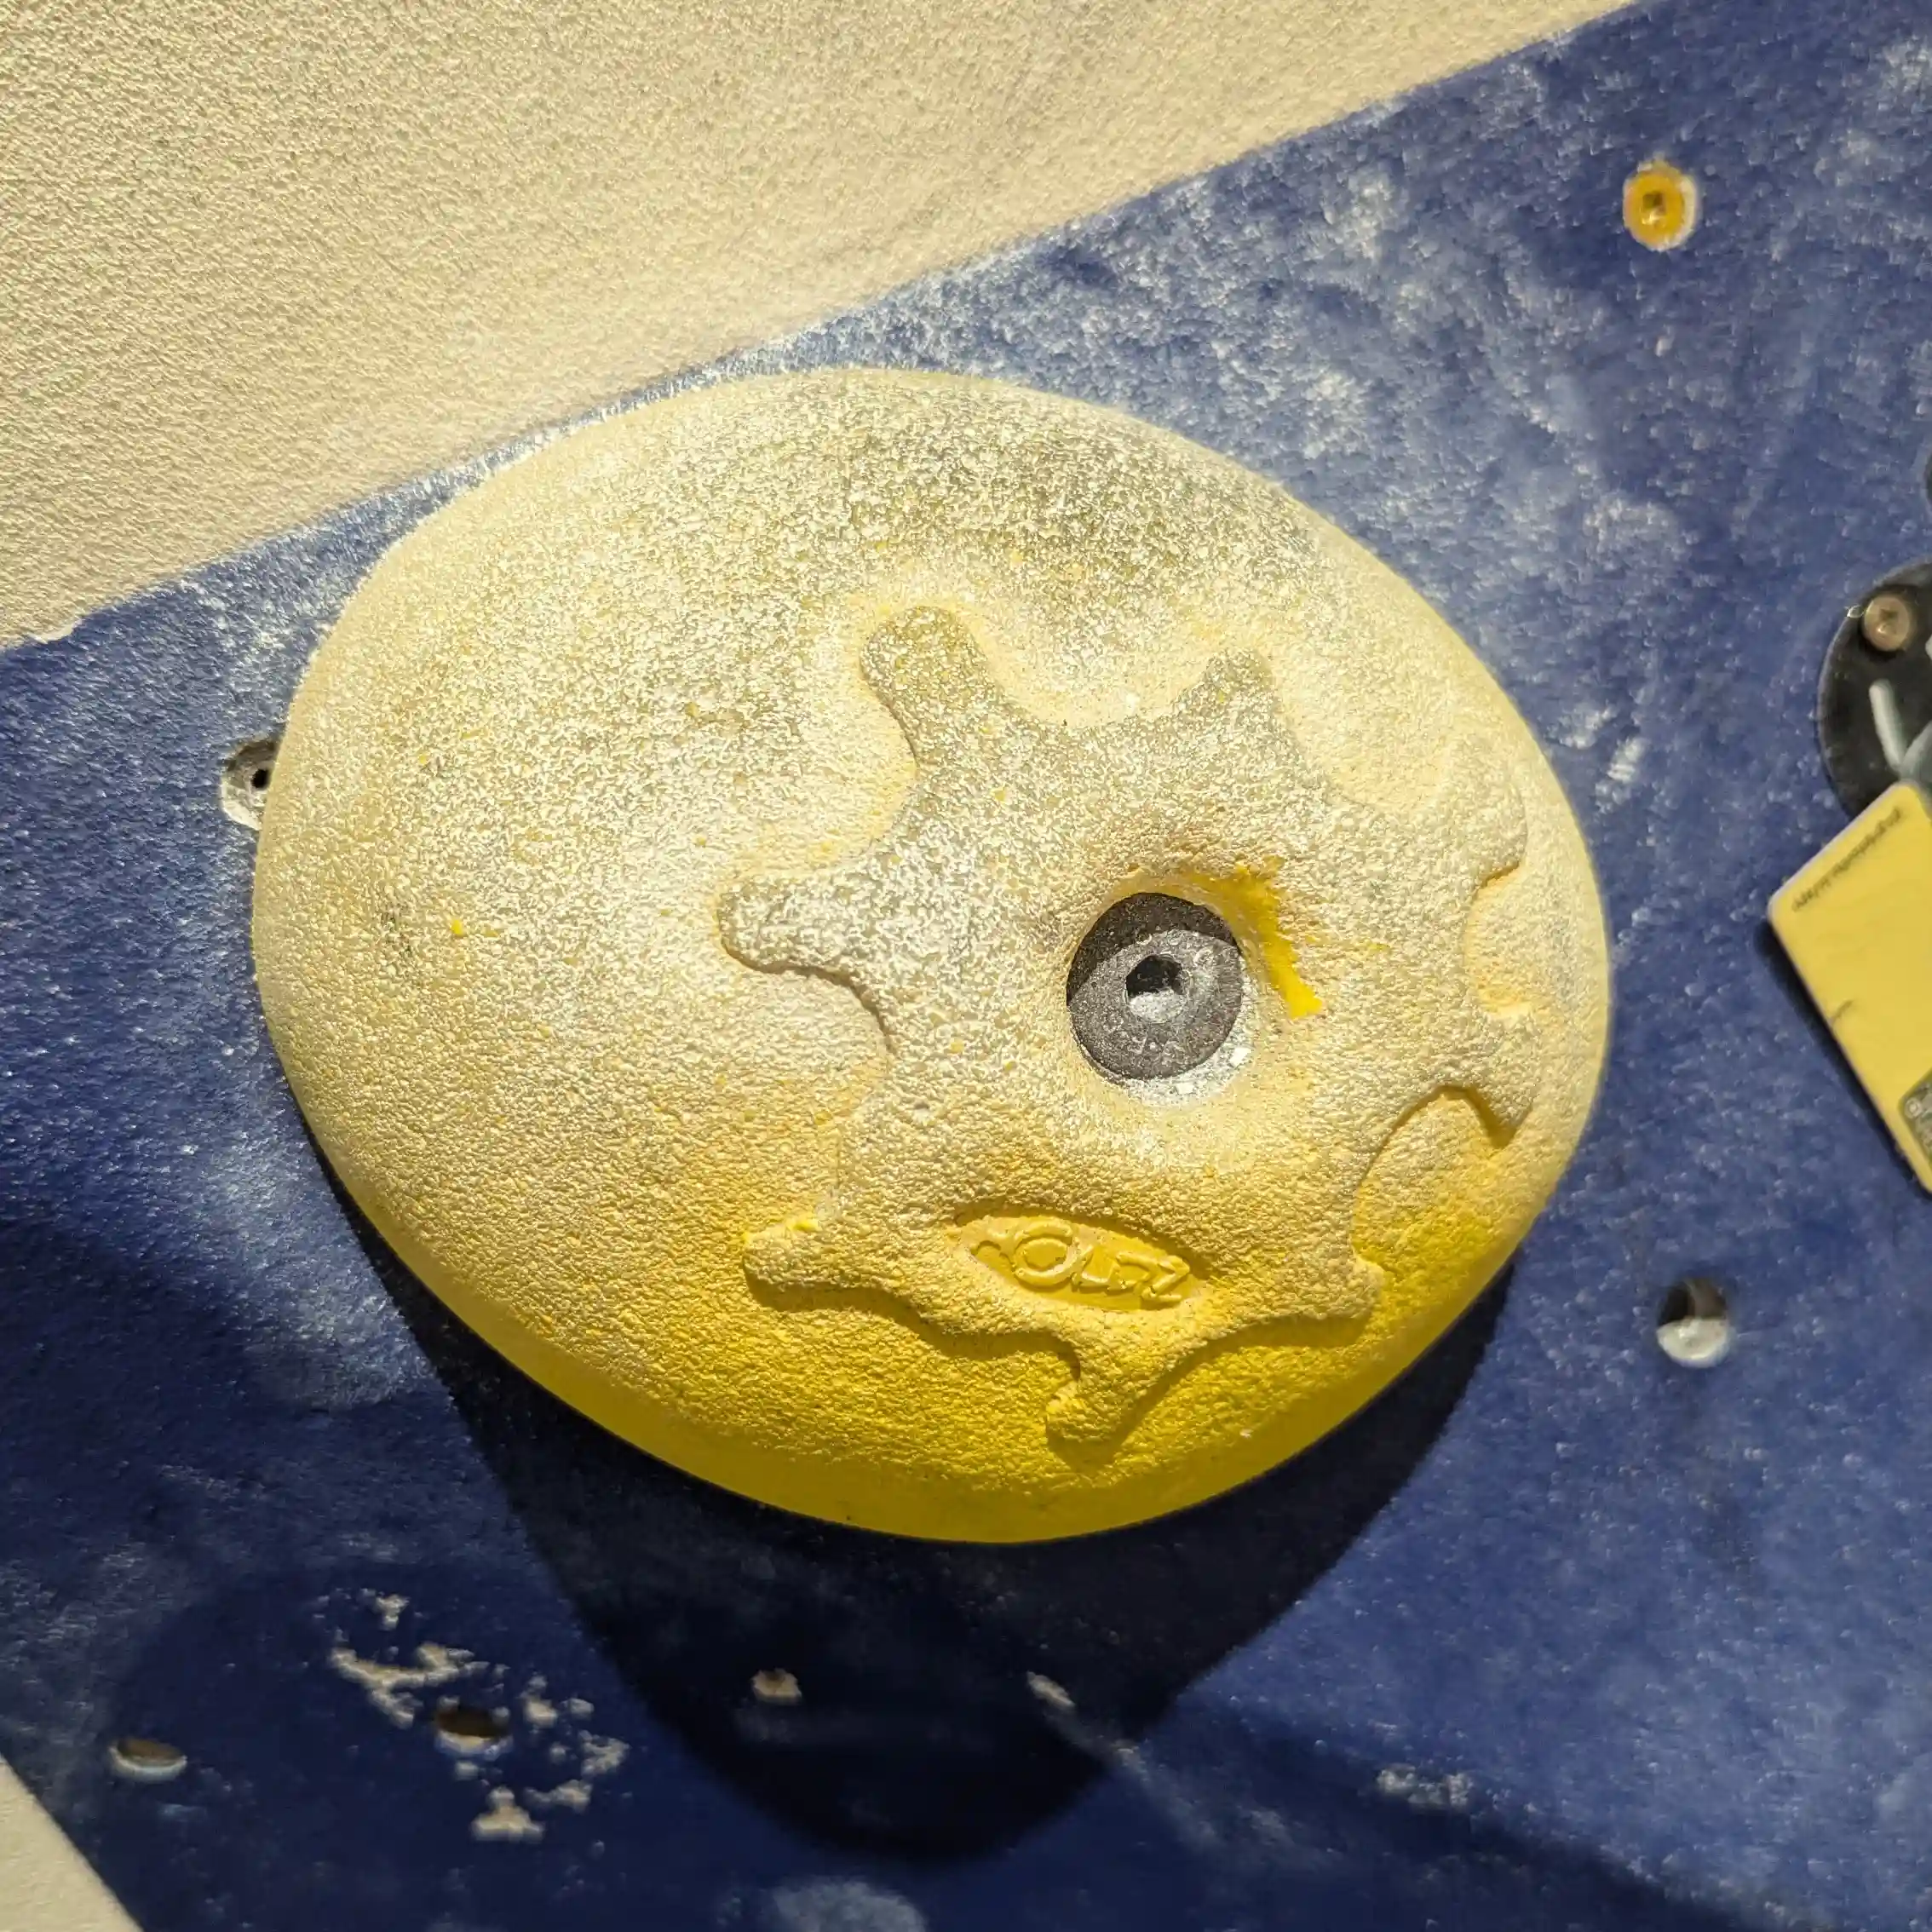
Pockets are a type of hold that have a hole or space where you can only fit your fingers or thumb in. I've not really come across any pockets where I could fit all 4 of my fingers in. Instead you should expect 2 - 3 finger holds or even 1 in some more difficult routes!
Having good finger strength is a massive benefit when it comes to pockets. If you're new to climbing, try and use your dominant hand and stick to the easier routes until you've built up your finger strength before tackling the harder routes.
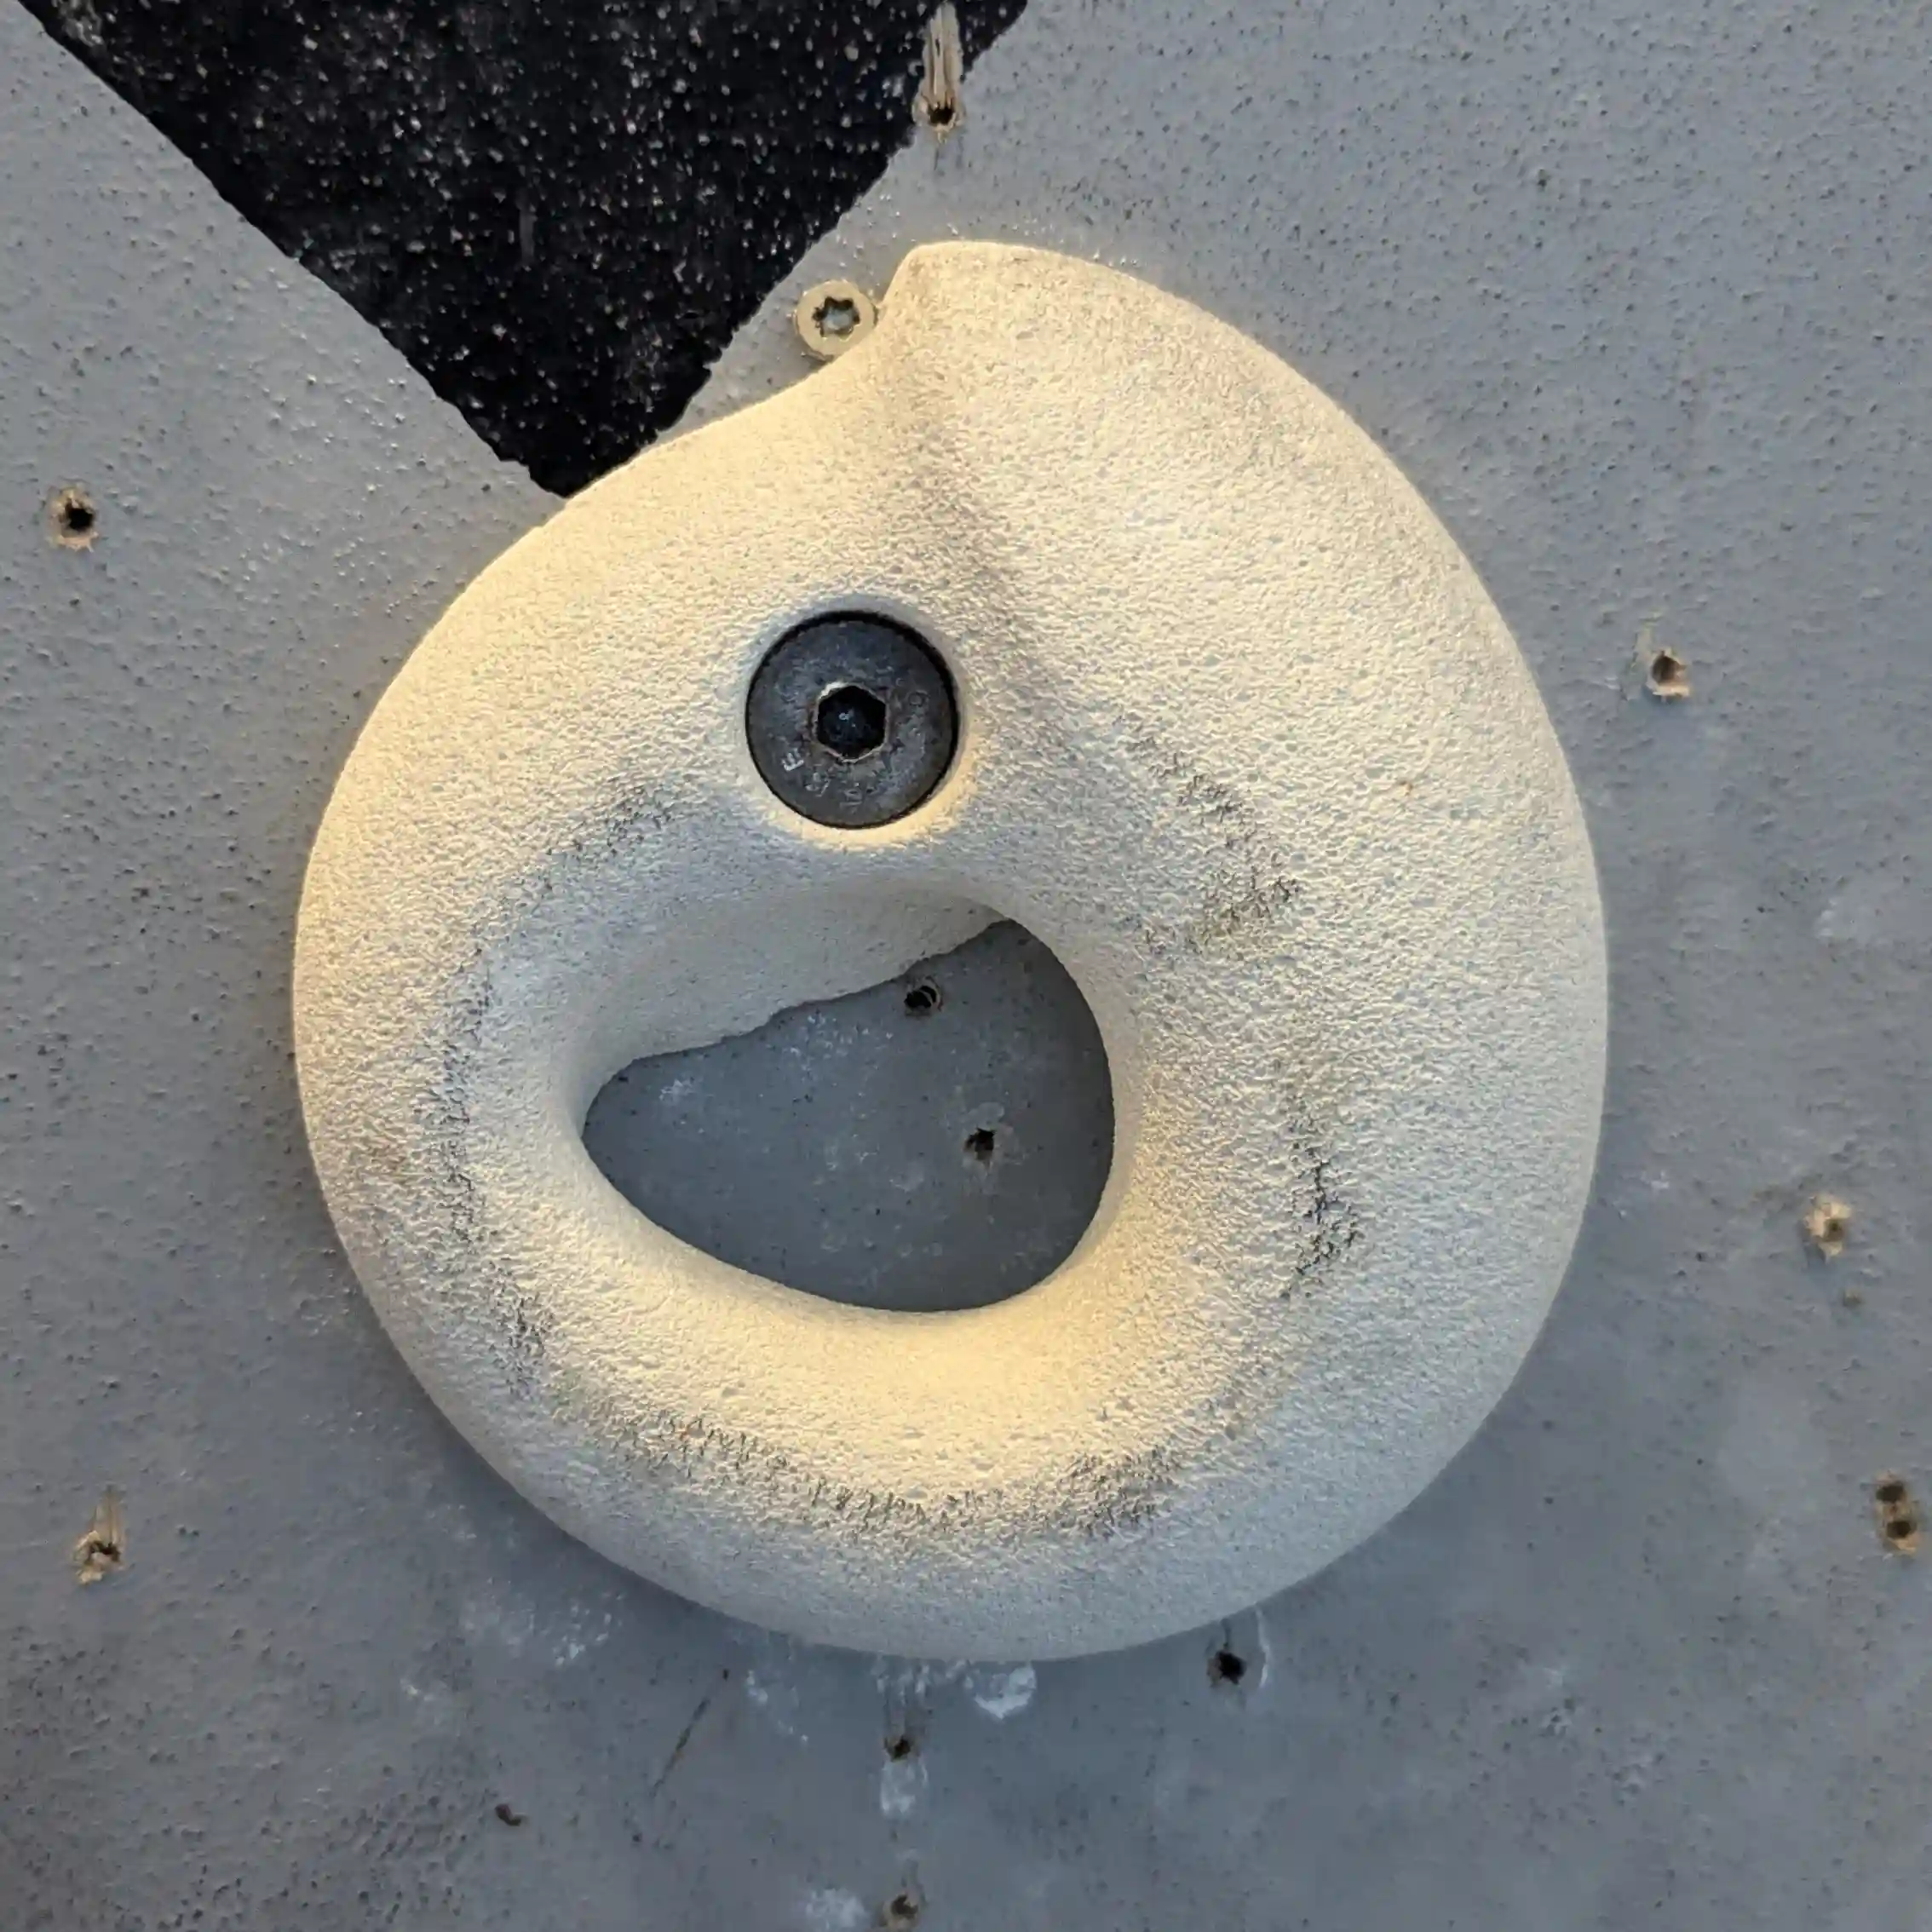
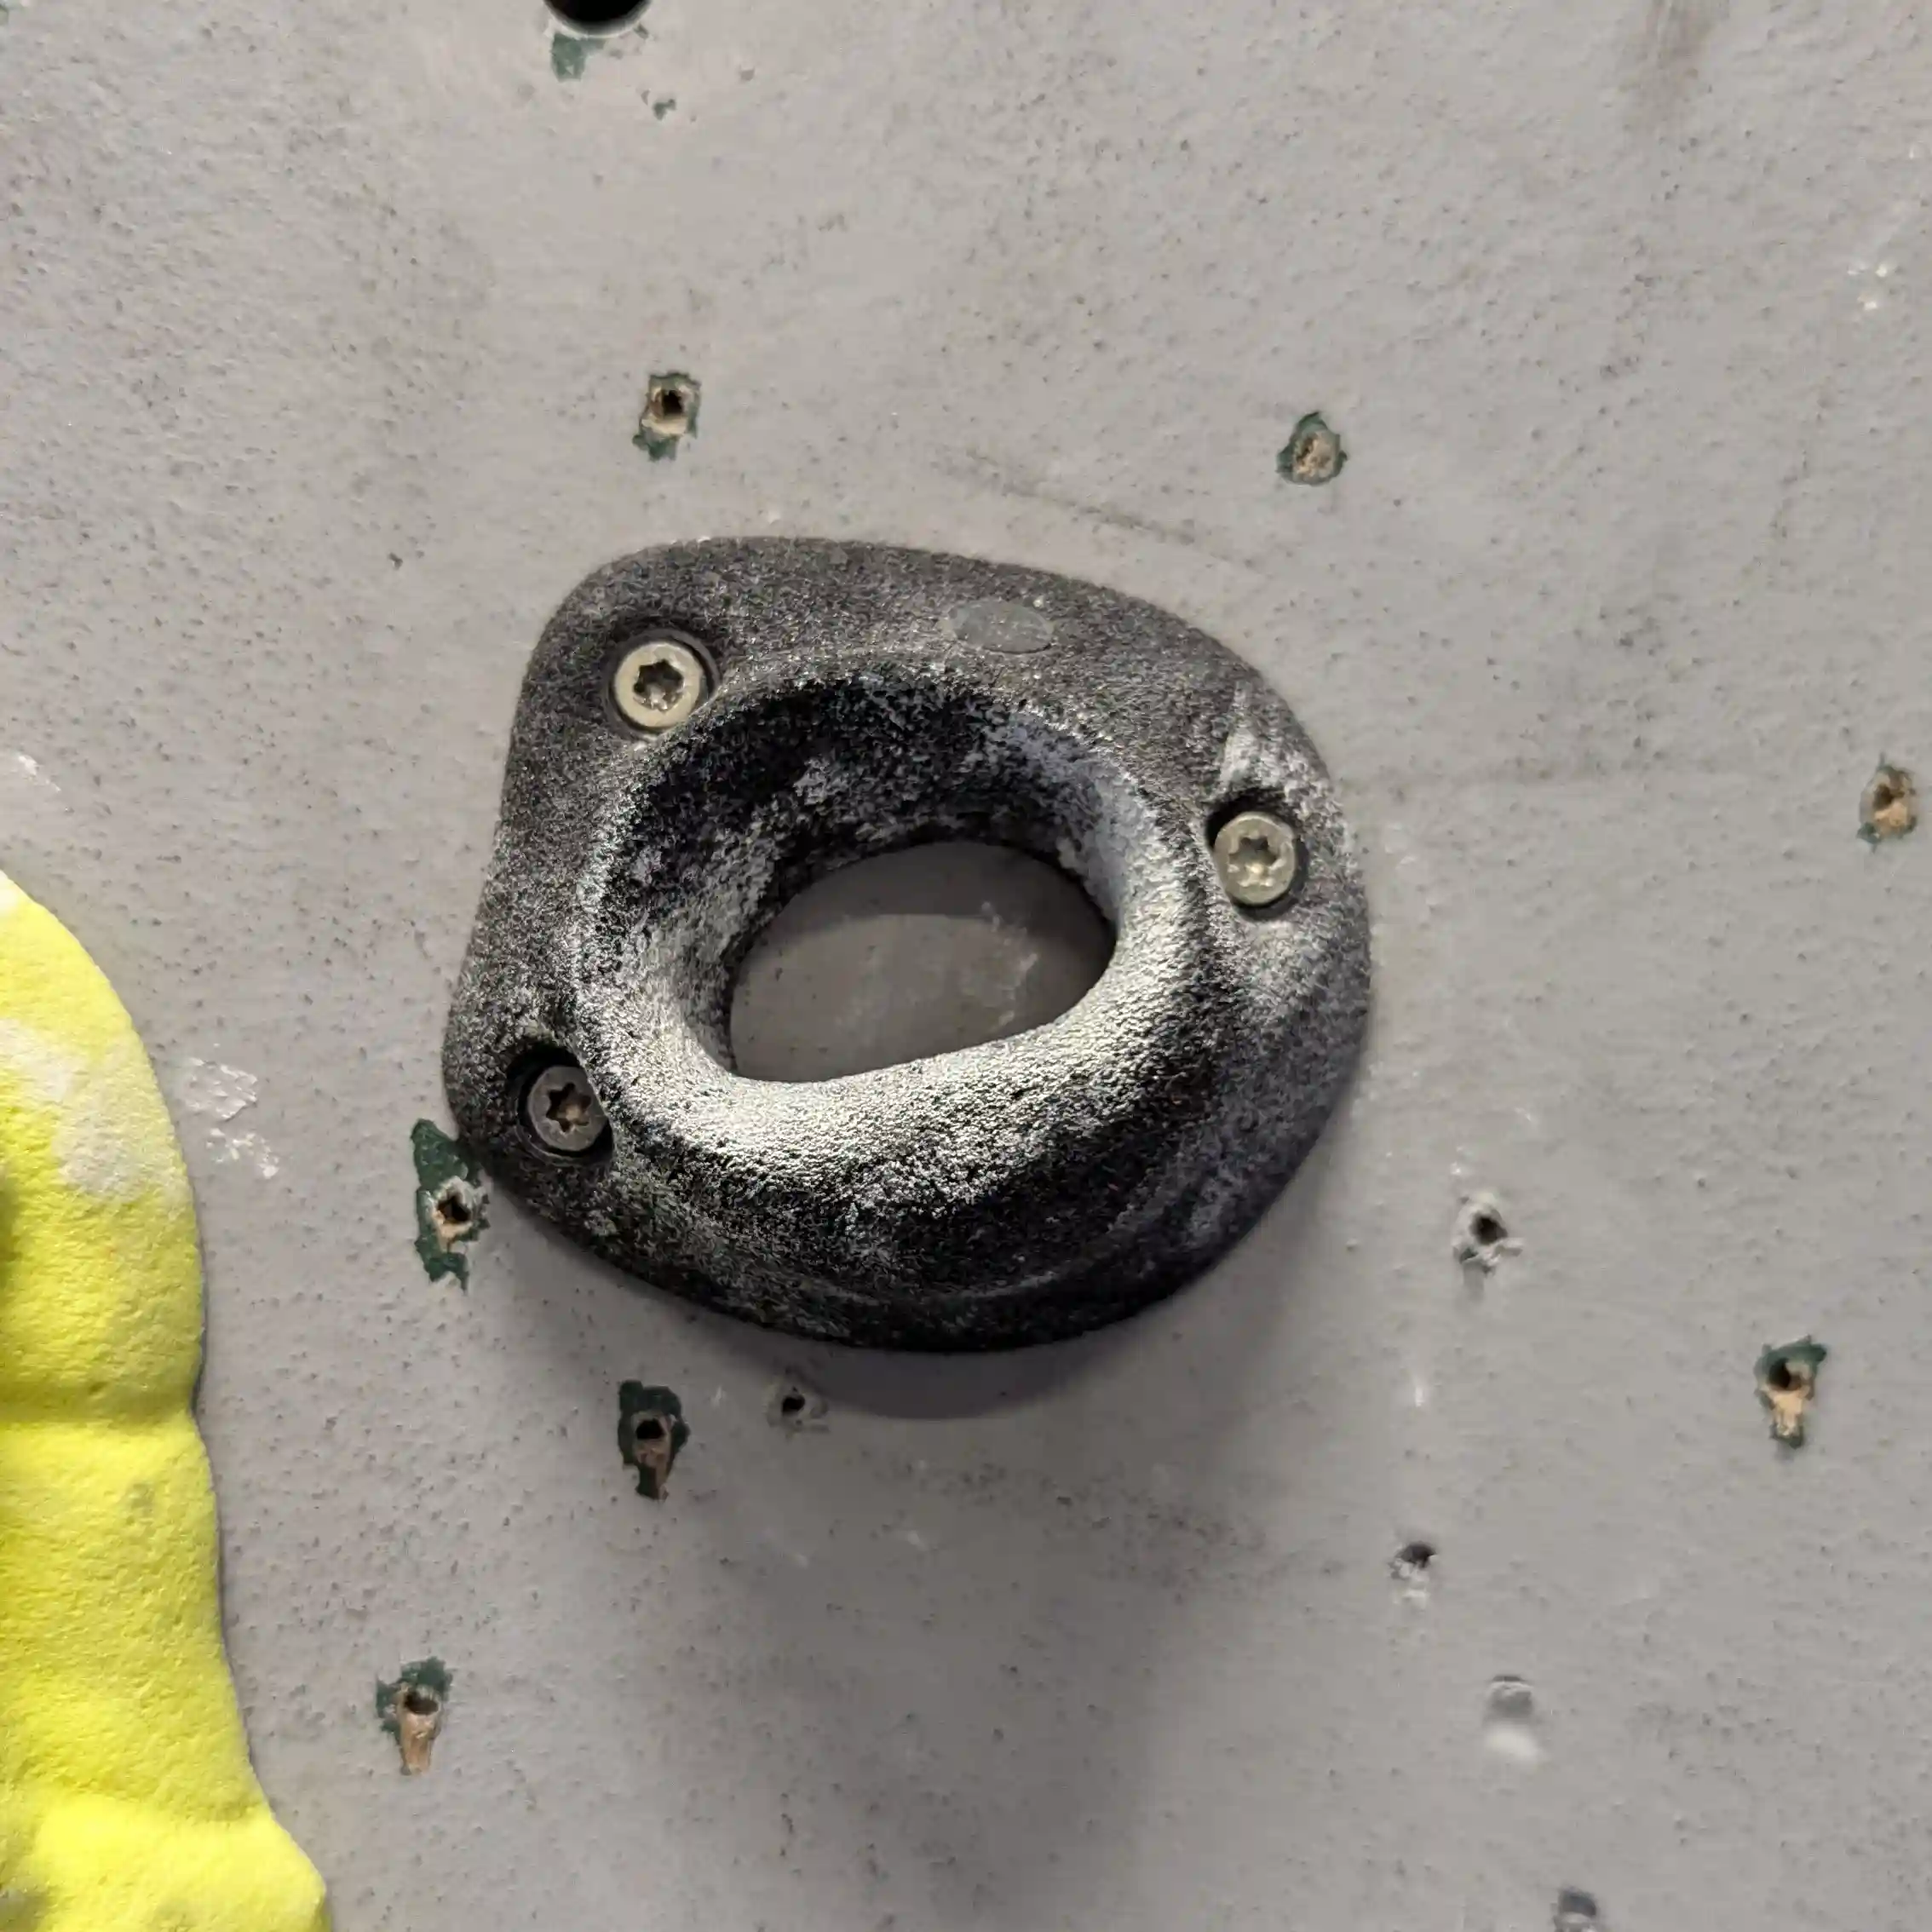
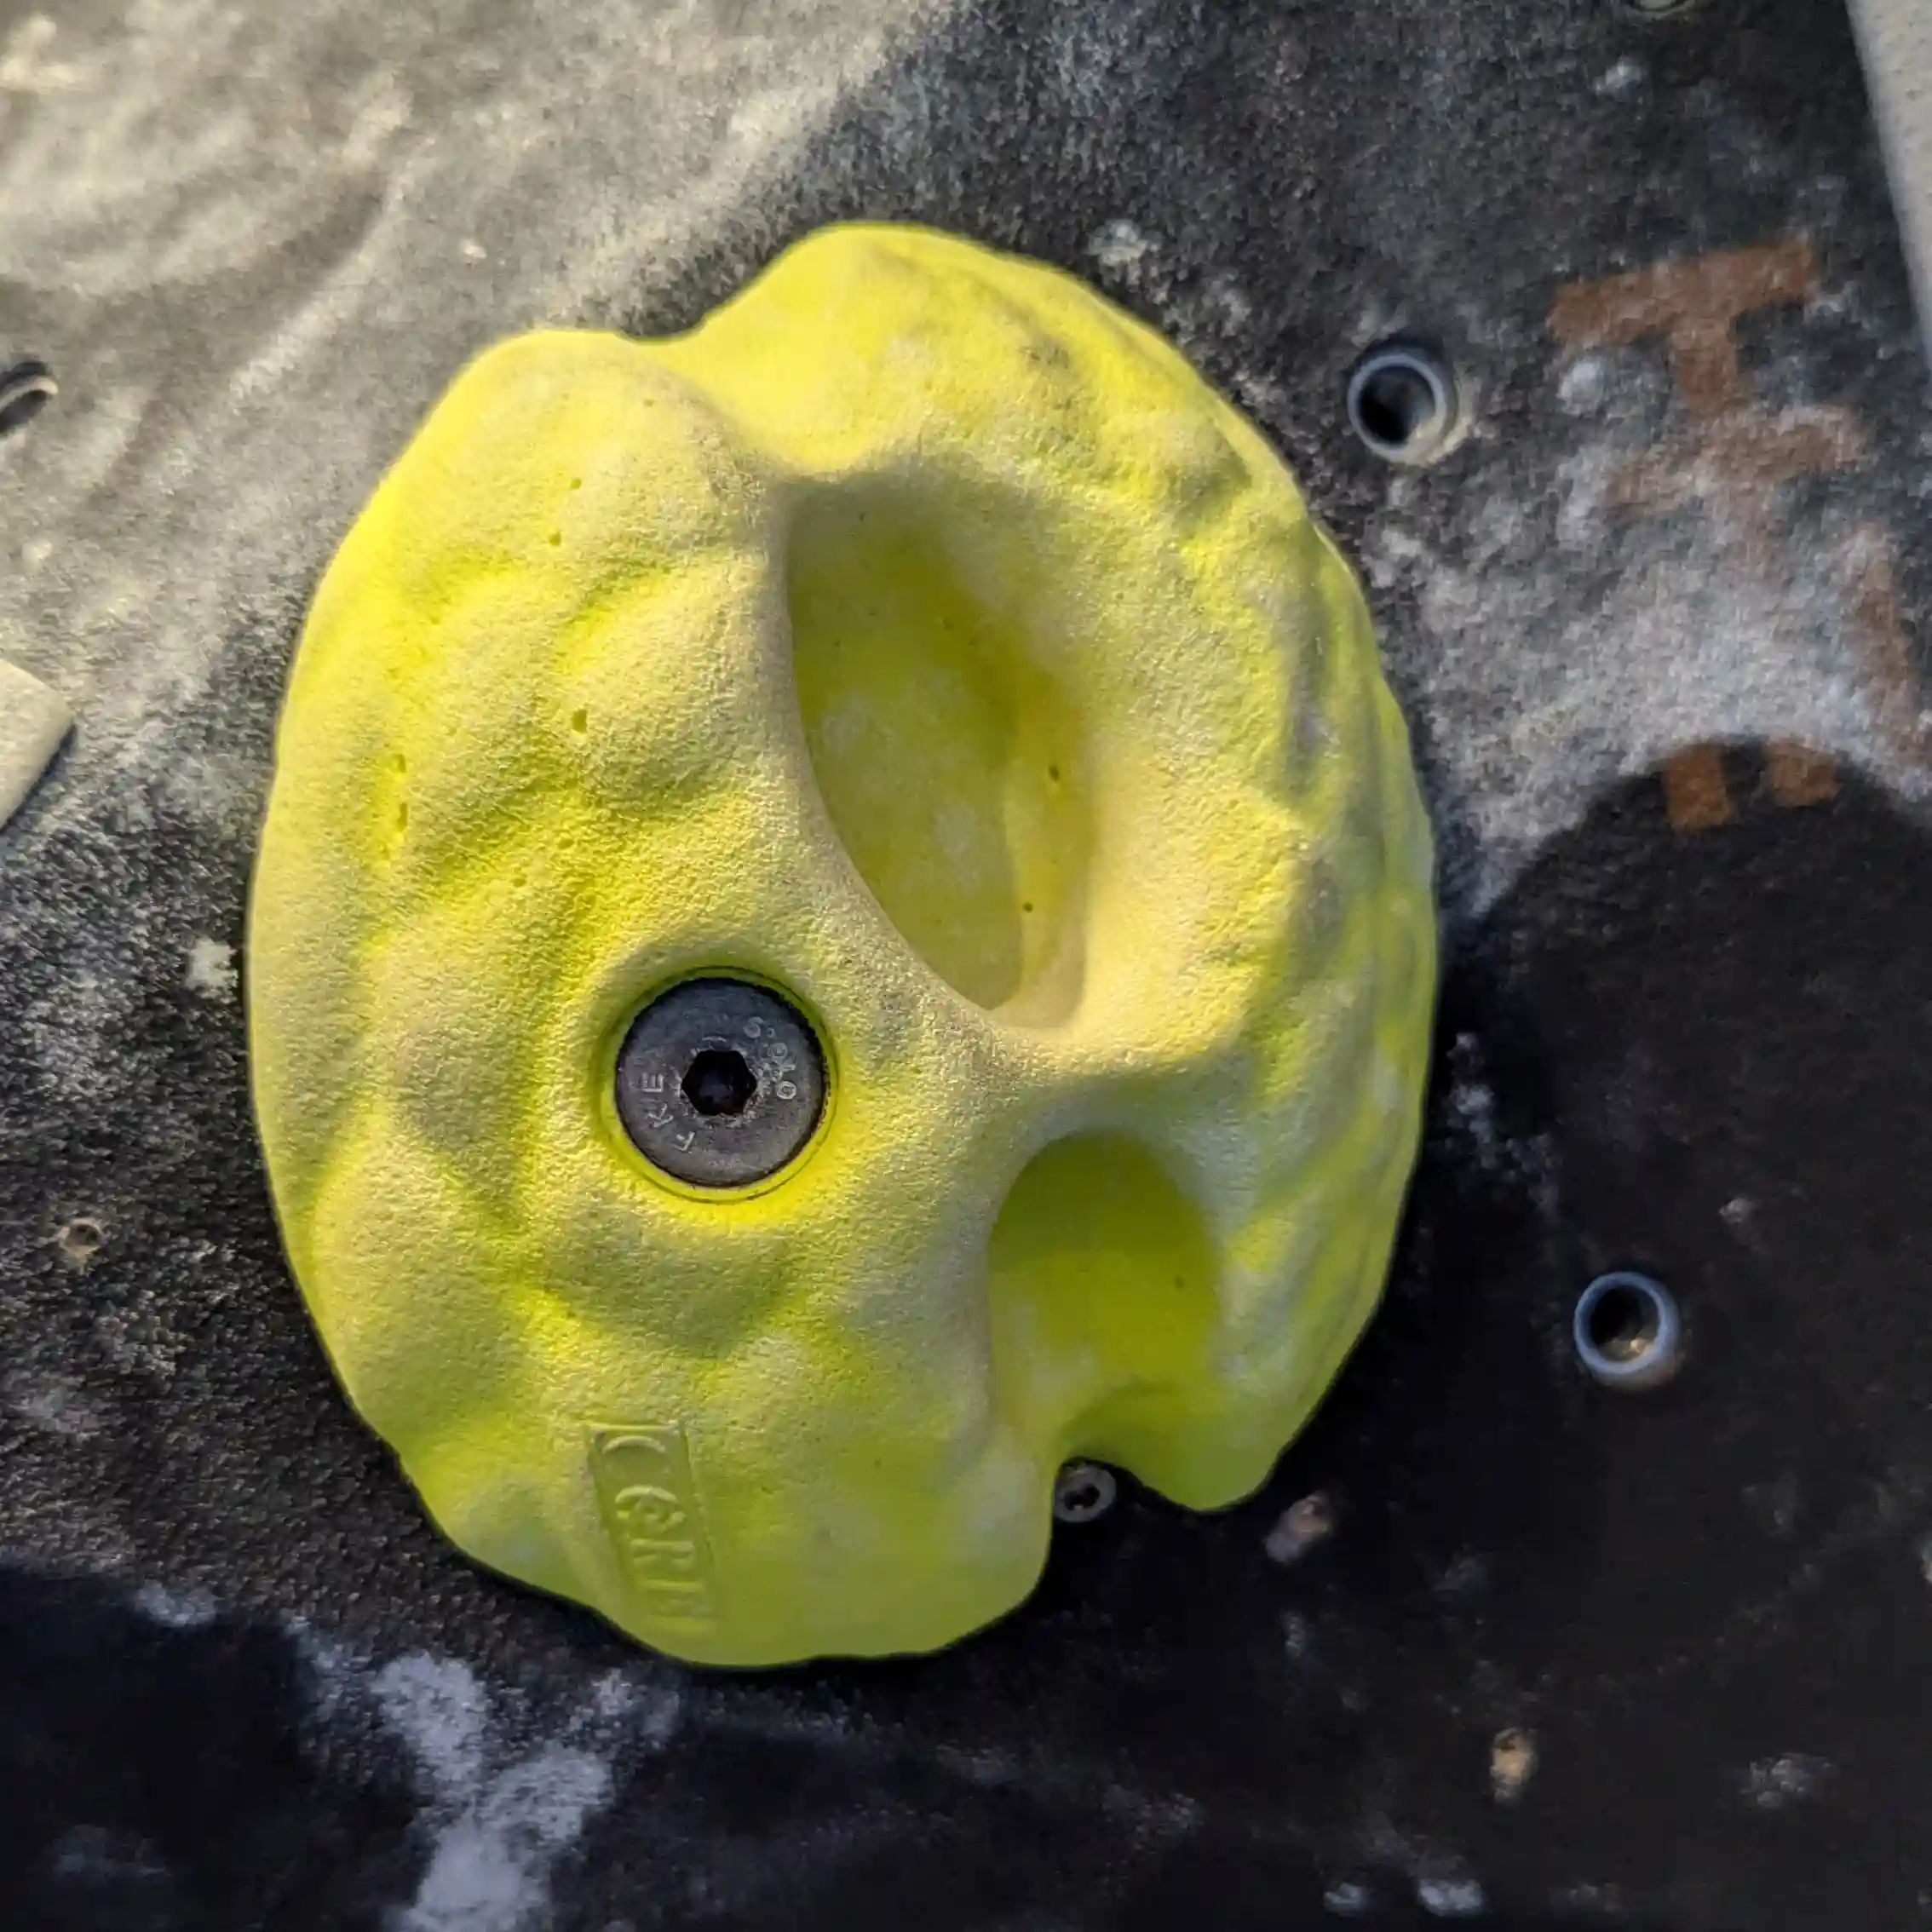
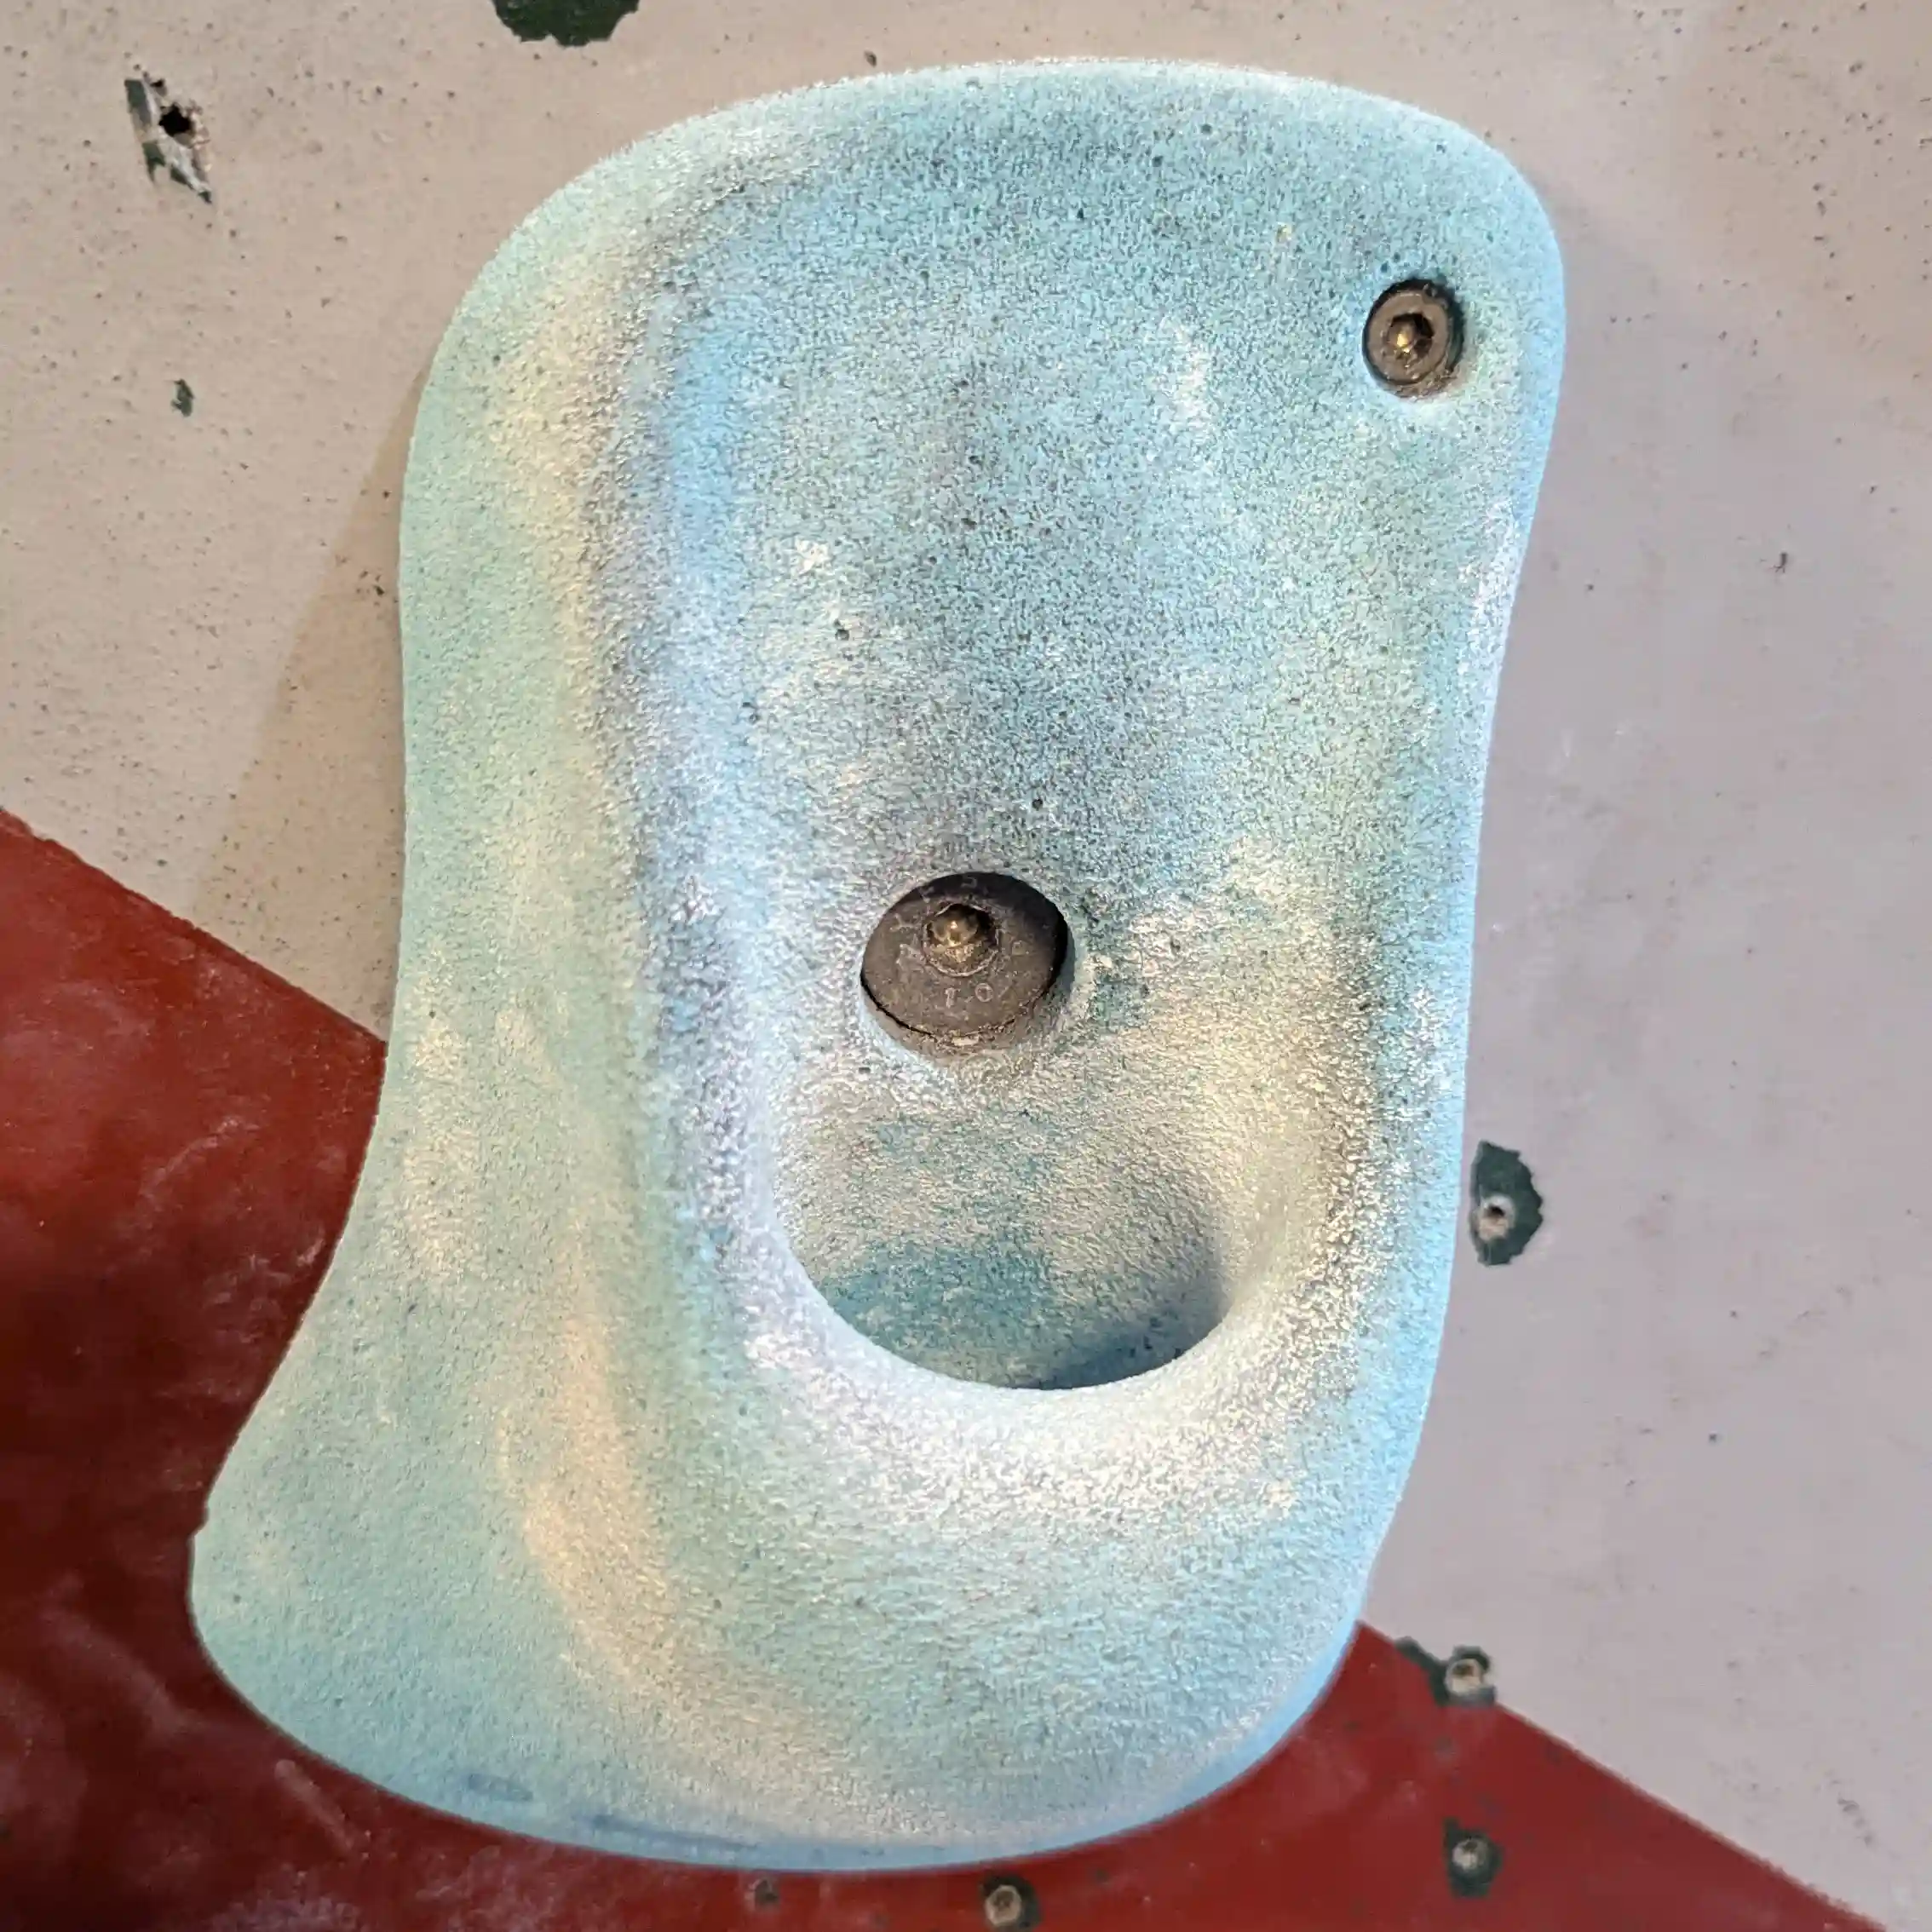
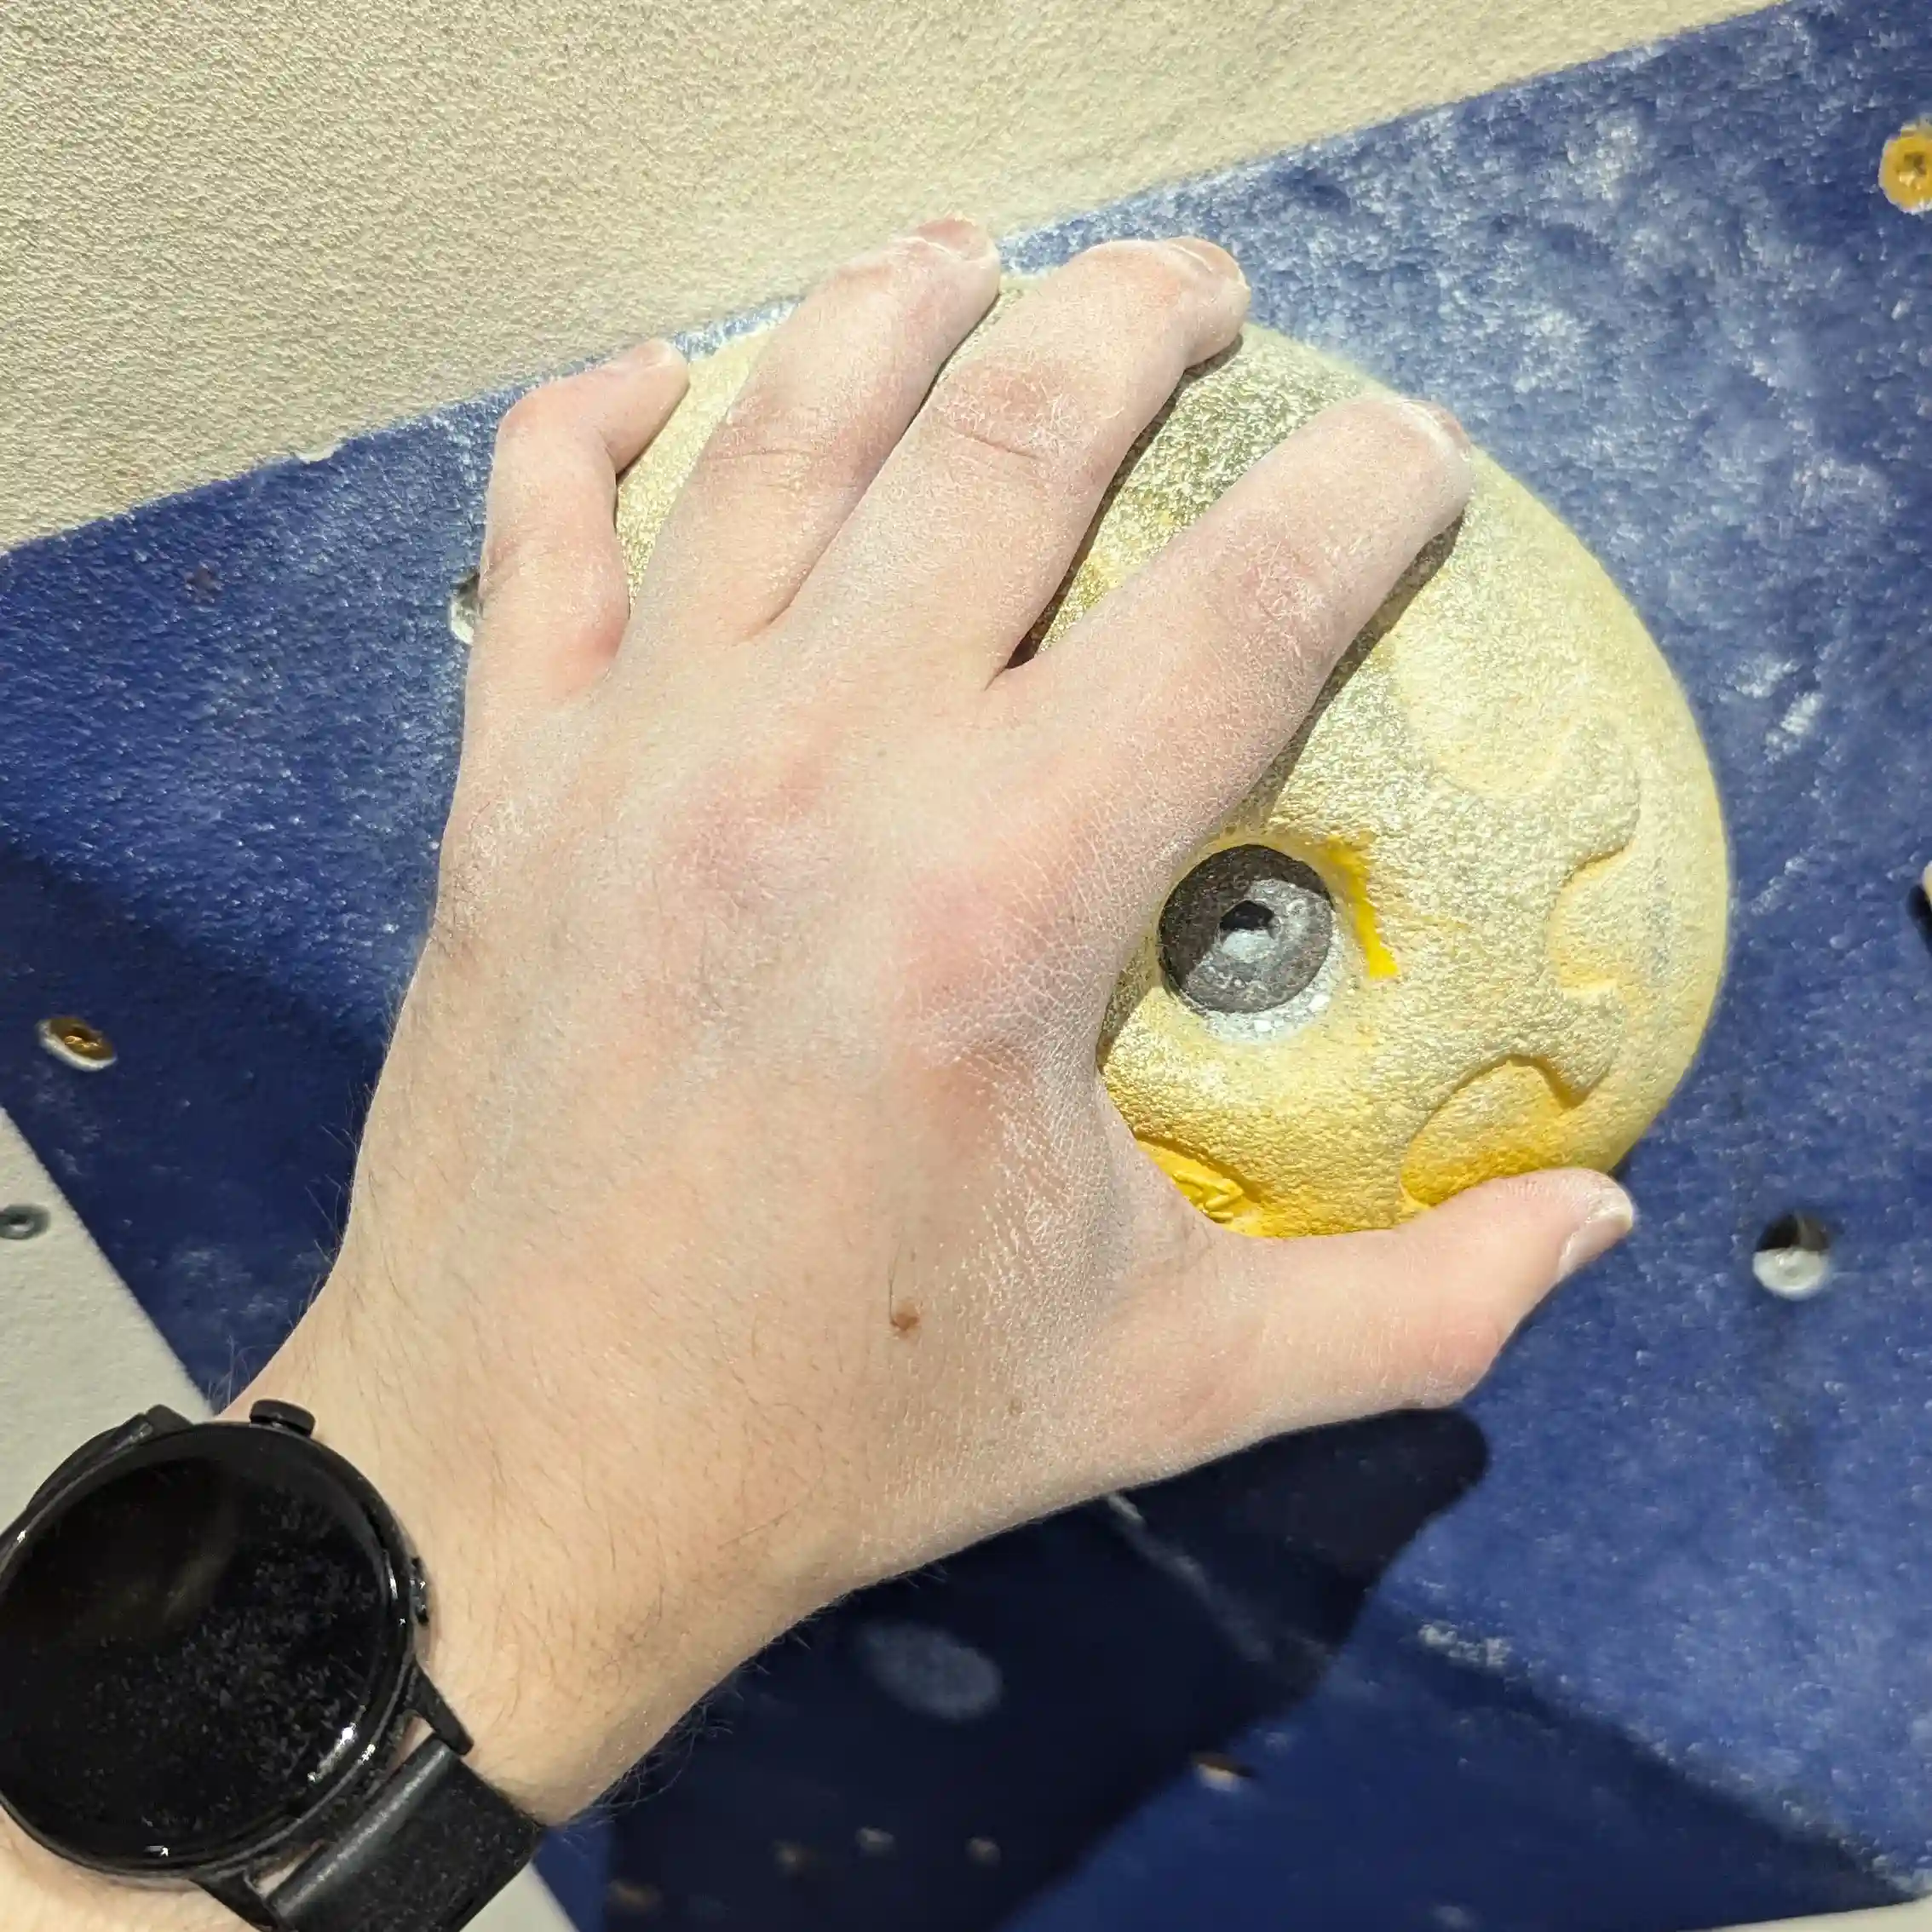
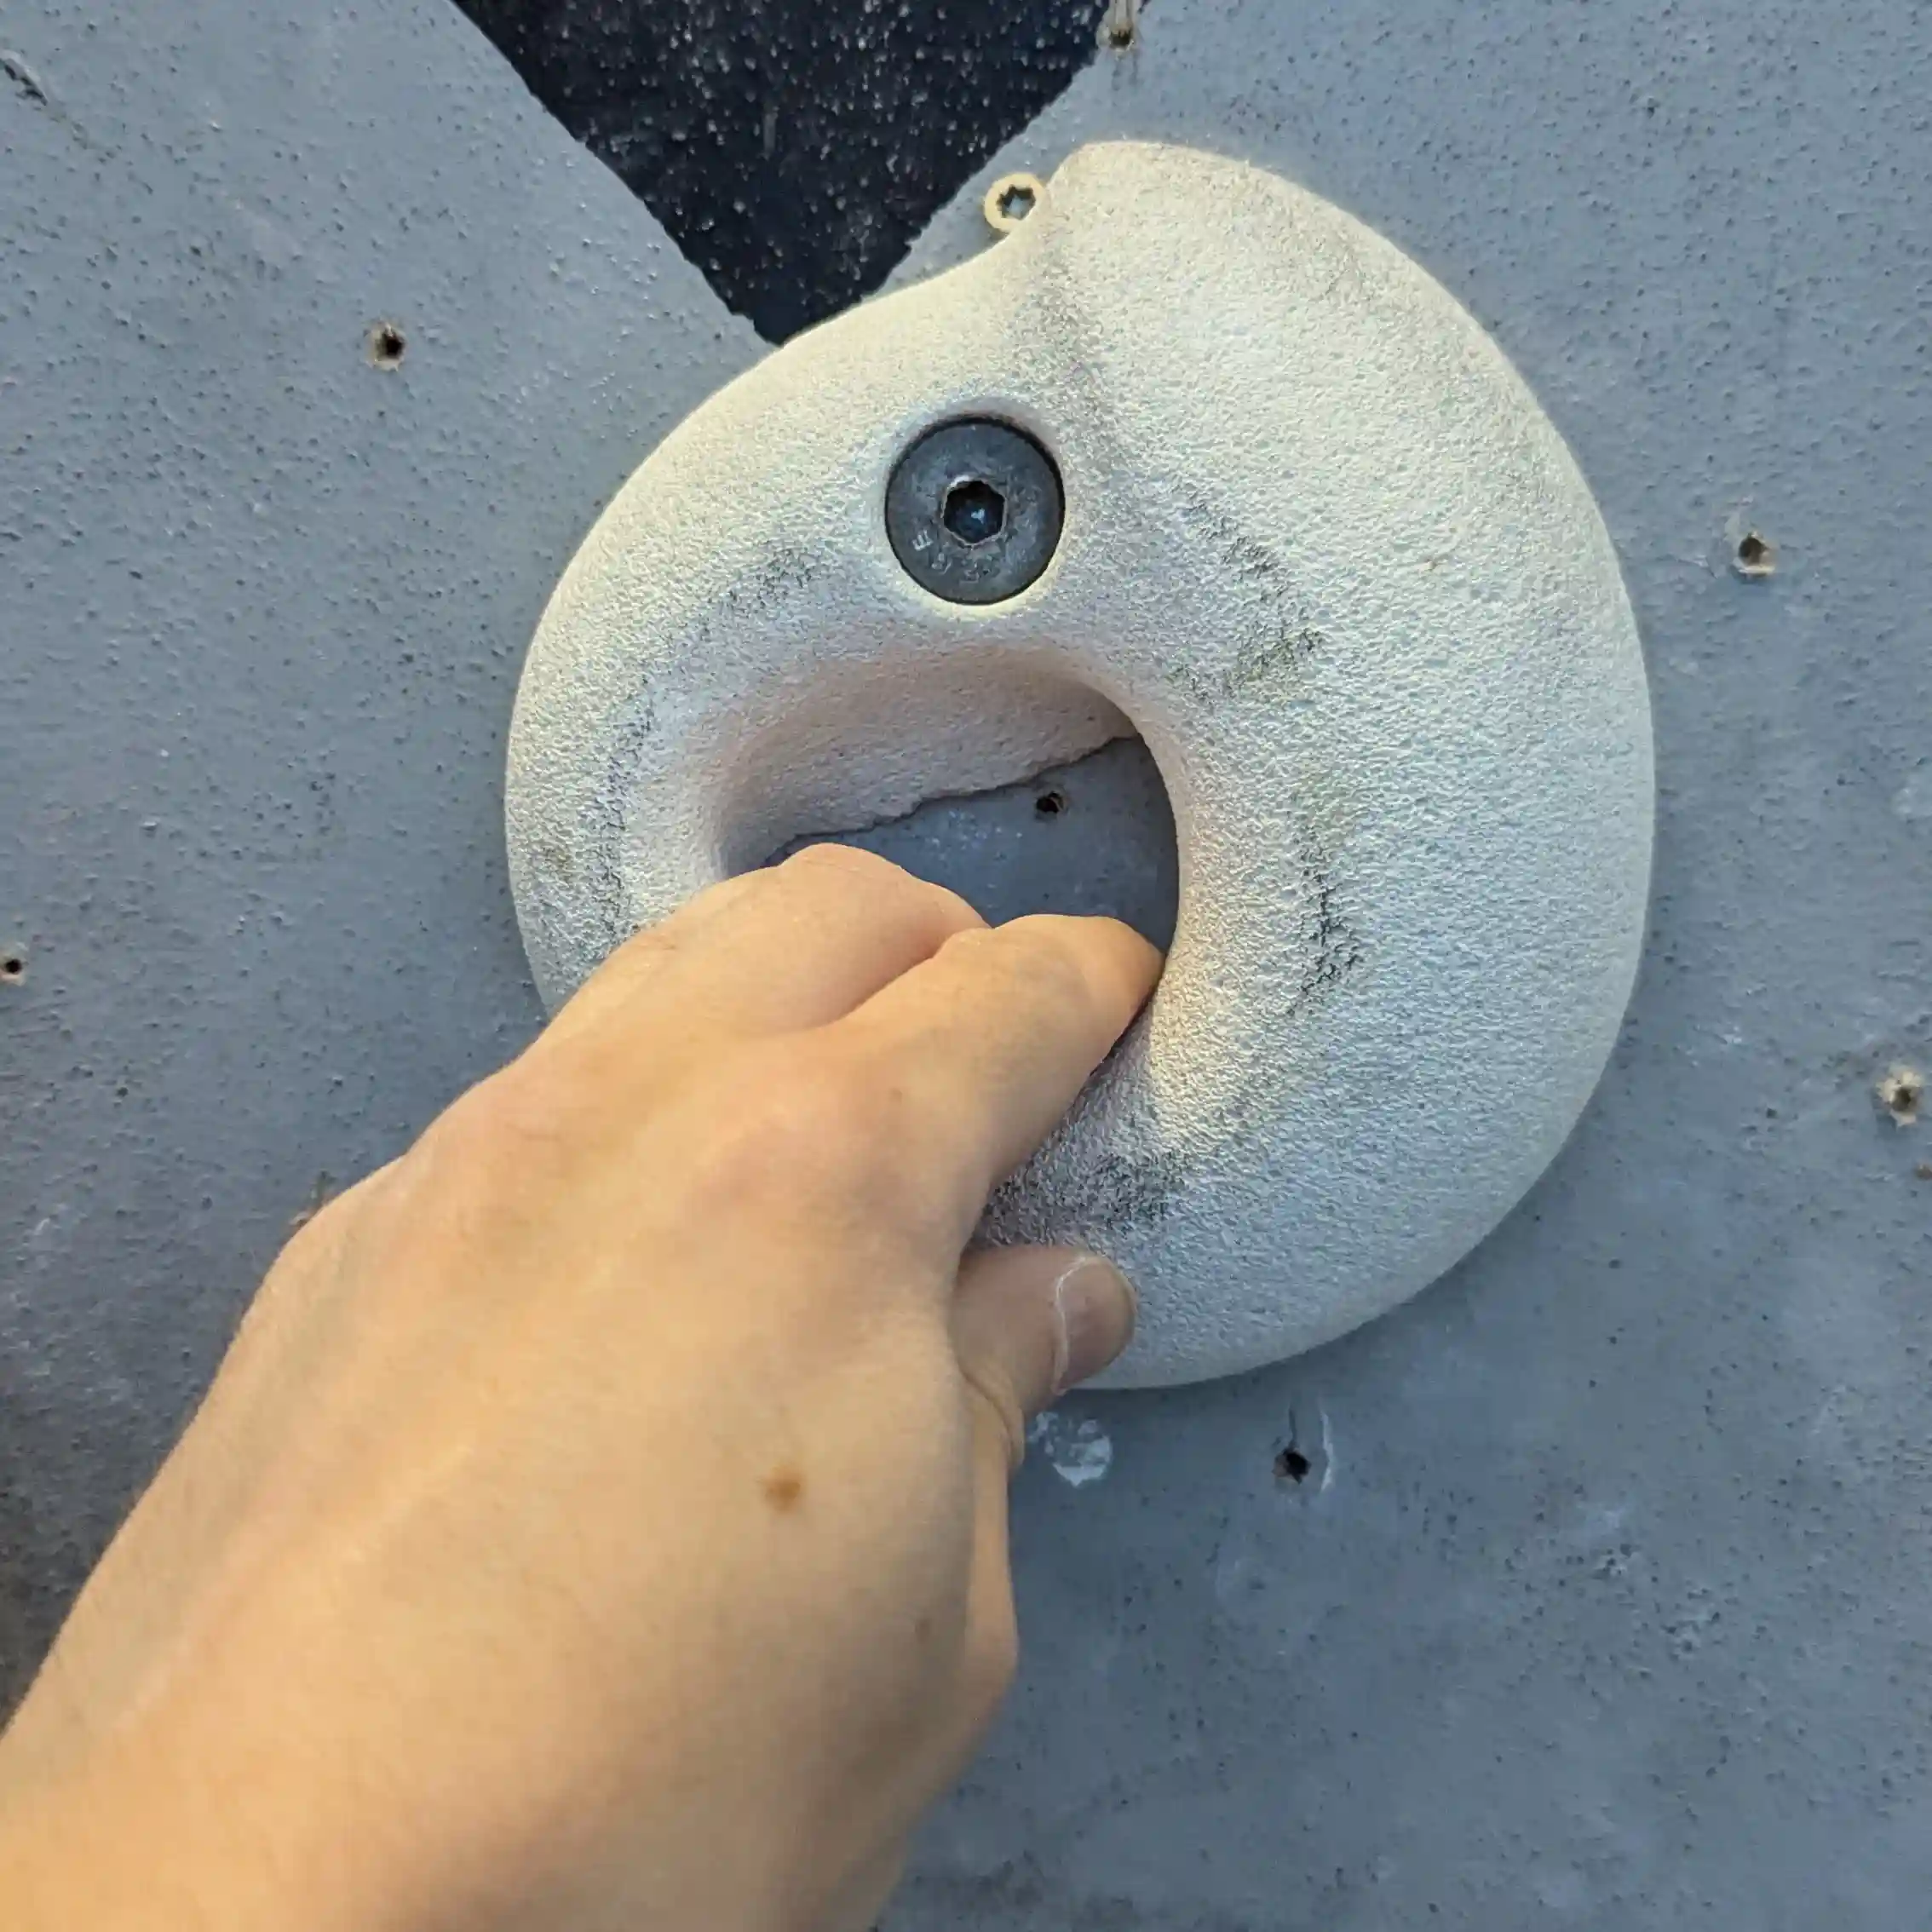
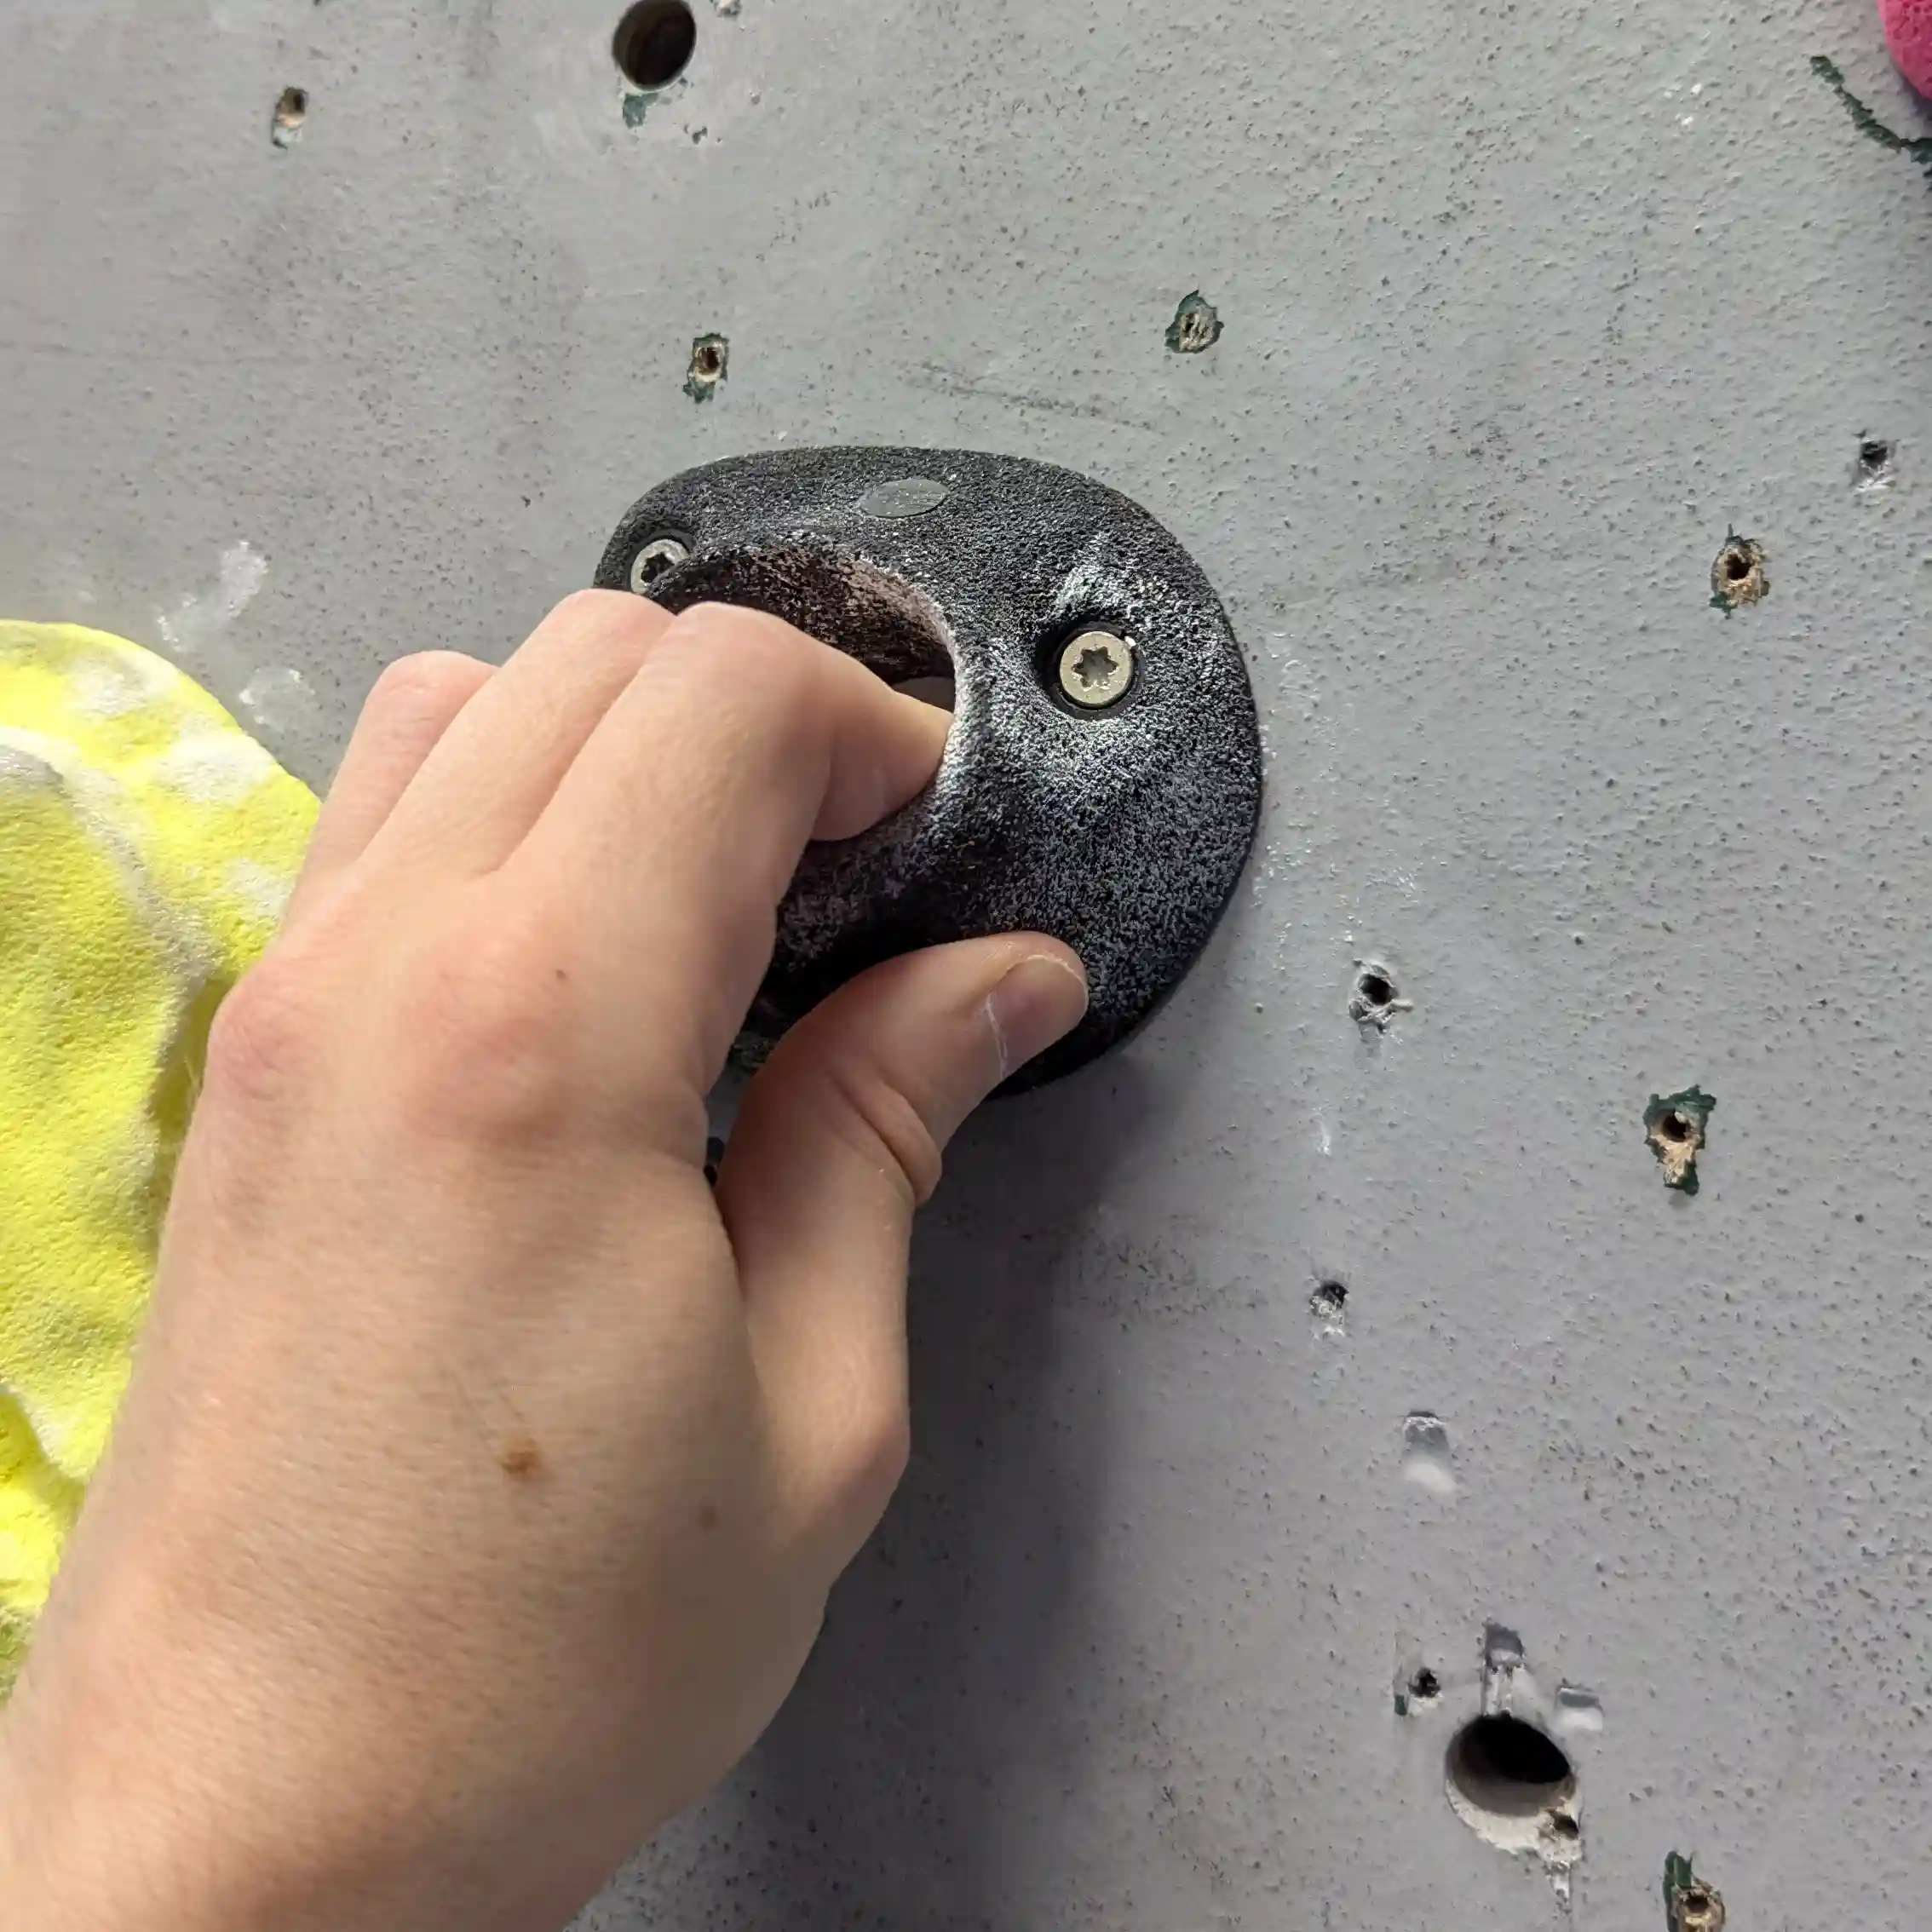
Hand Positions for Pocket holds
Pockets are quite easy to get your fingers into, however as I mentioned above, you need to have strong fingers to put a lot of your body weight onto them. If you can, climb up the route first using any colour holds nearby and practice putting your fingers into the pocket and then slowly try to put some of your body weight through your hands / fingers and then try to pull up to the next hold if it feels ok.
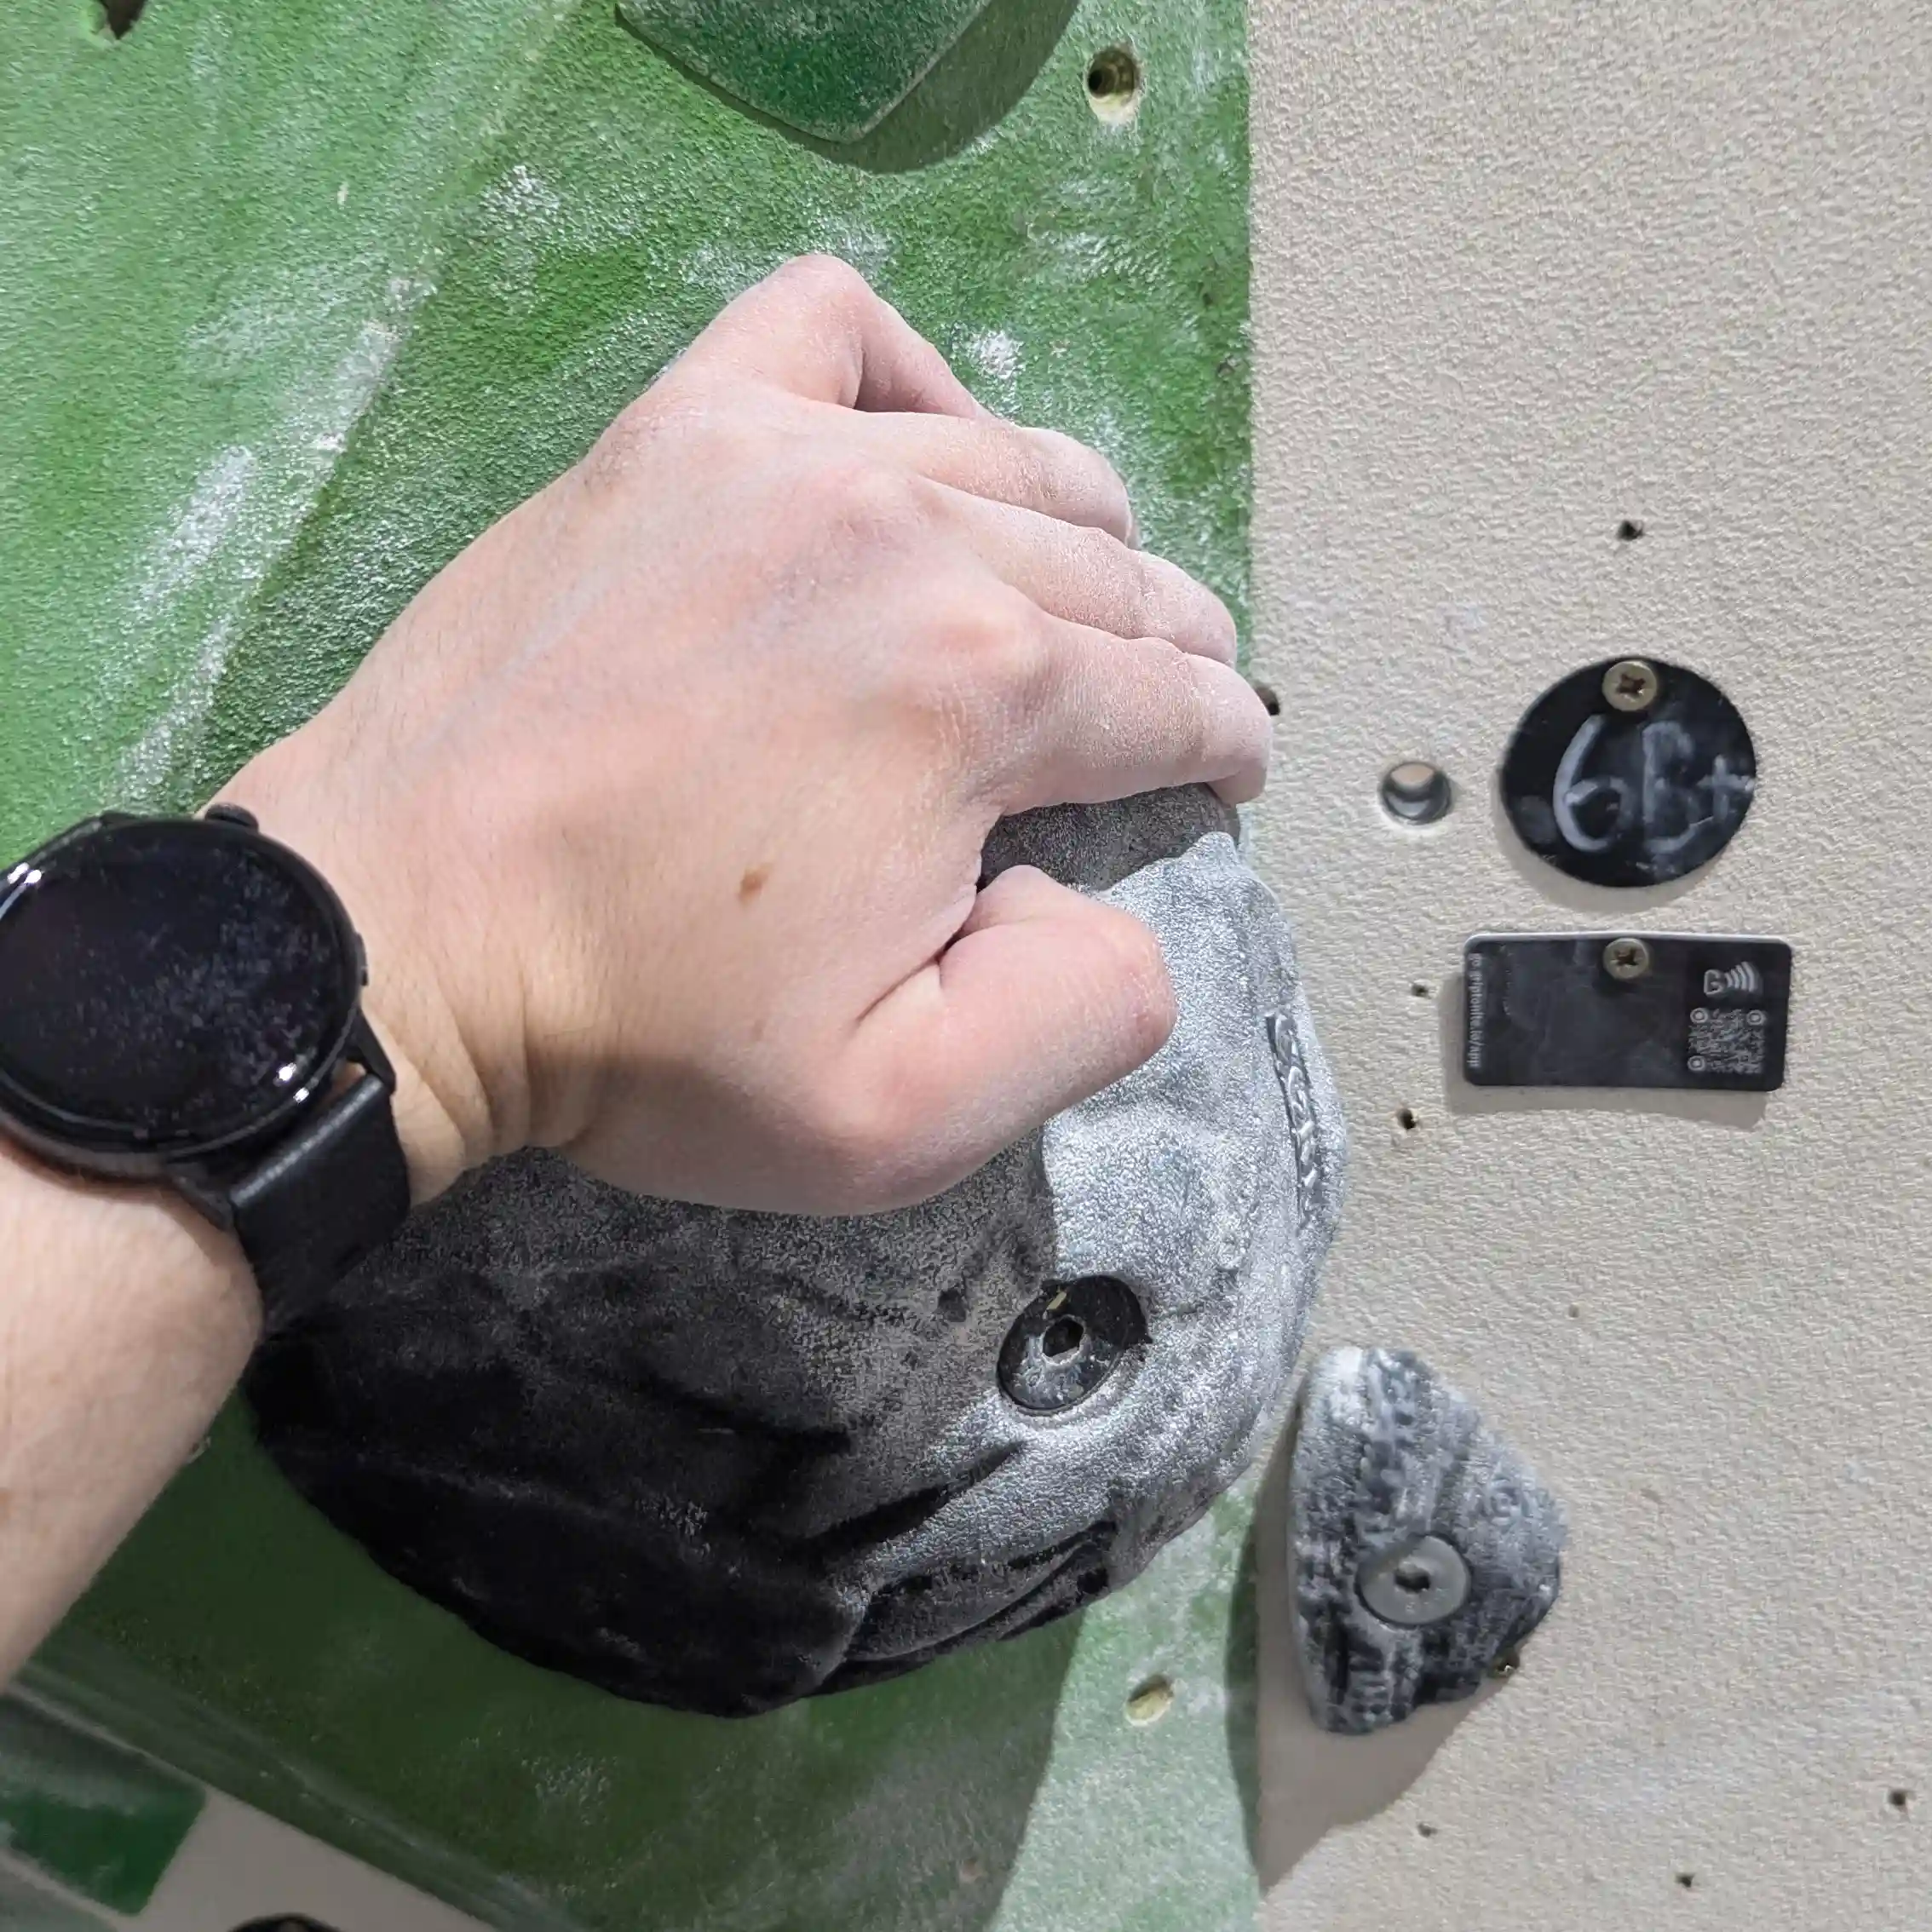
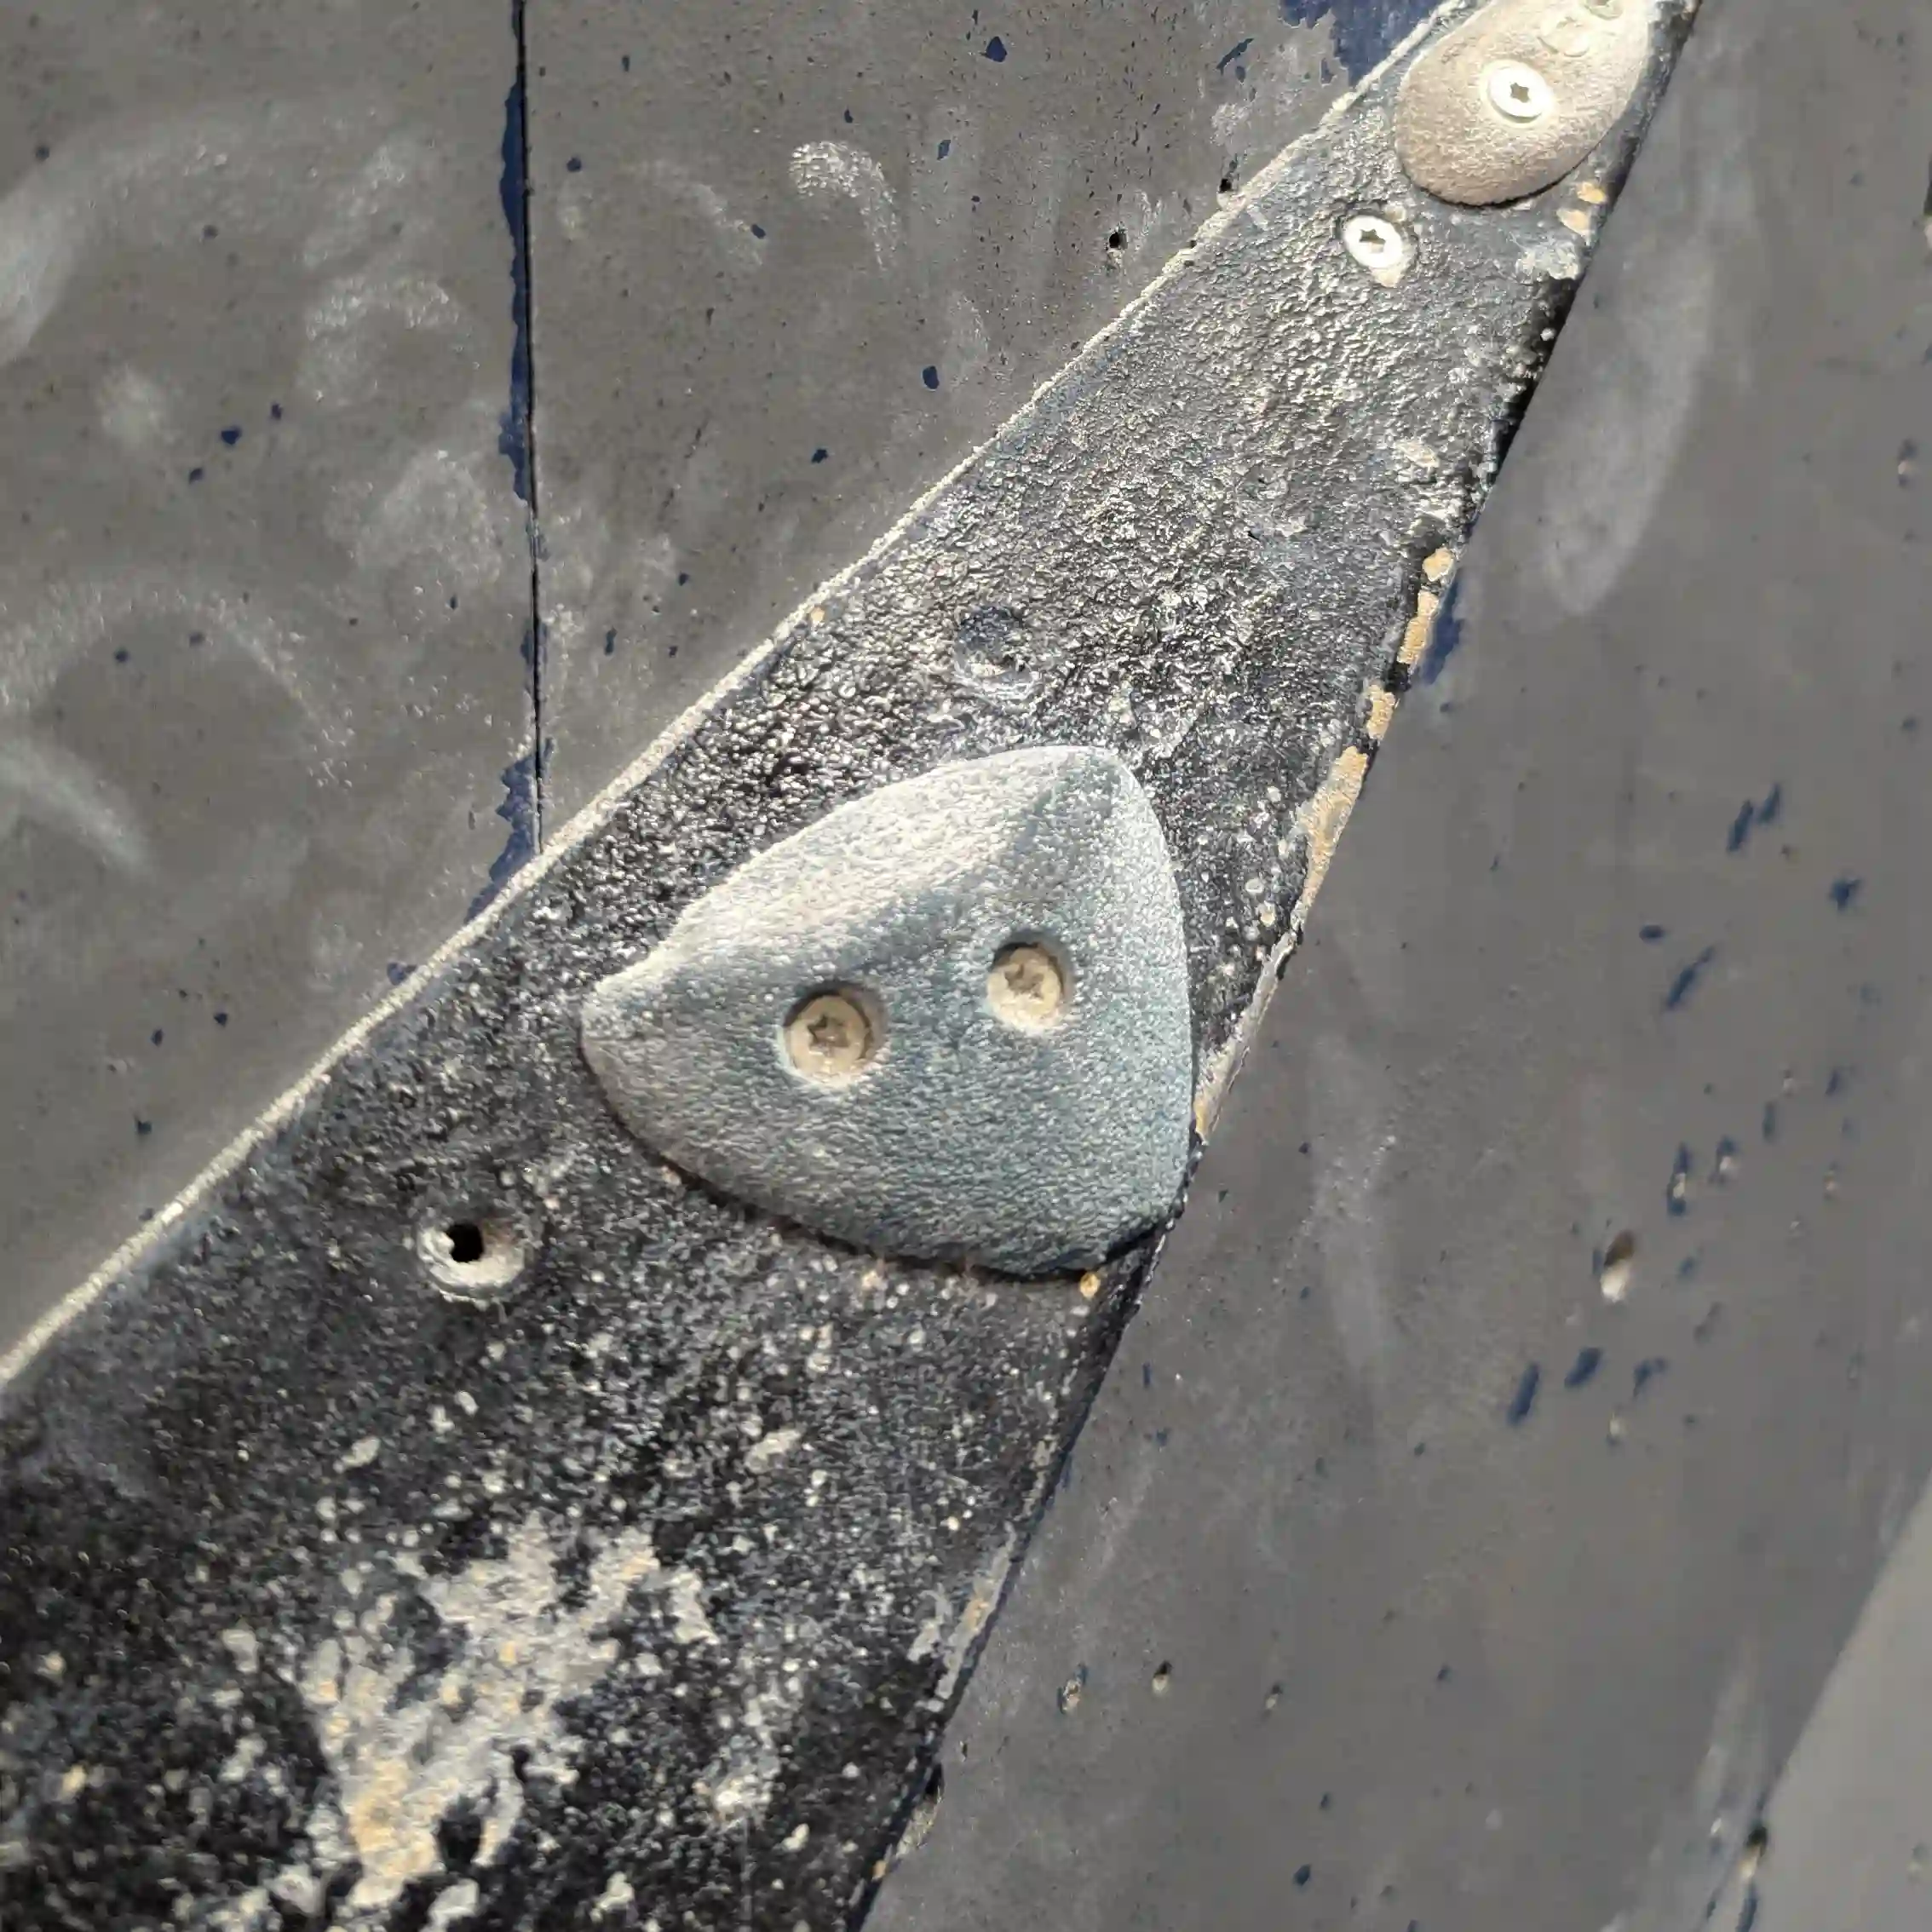
Crimps
Typically you'll find crimps on more difficult routes, this is because they can be (but not always) very difficult to hold onto. If you're a beginner, the first time you try a crimp type hold your hand will more than likely just ping straight off the hold, or you'll find it really difficult to pull yourself up to get to the next hold. This is because crimps generally require you to only use part of your finger tips to hold on!
Don't worry about this as it's something you can work on to build strength in your fingers. There are plenty of ways to train finger strength. One way is to simply hang from a vertical bar for short periods of time; 30, 45 or 60 seconds.
Crimps for the most part, come in three different varieties which are ordered in difficulty, full crimp being the hardest to hold:
- Open handed crimps
- Half crimps
- Full crimps
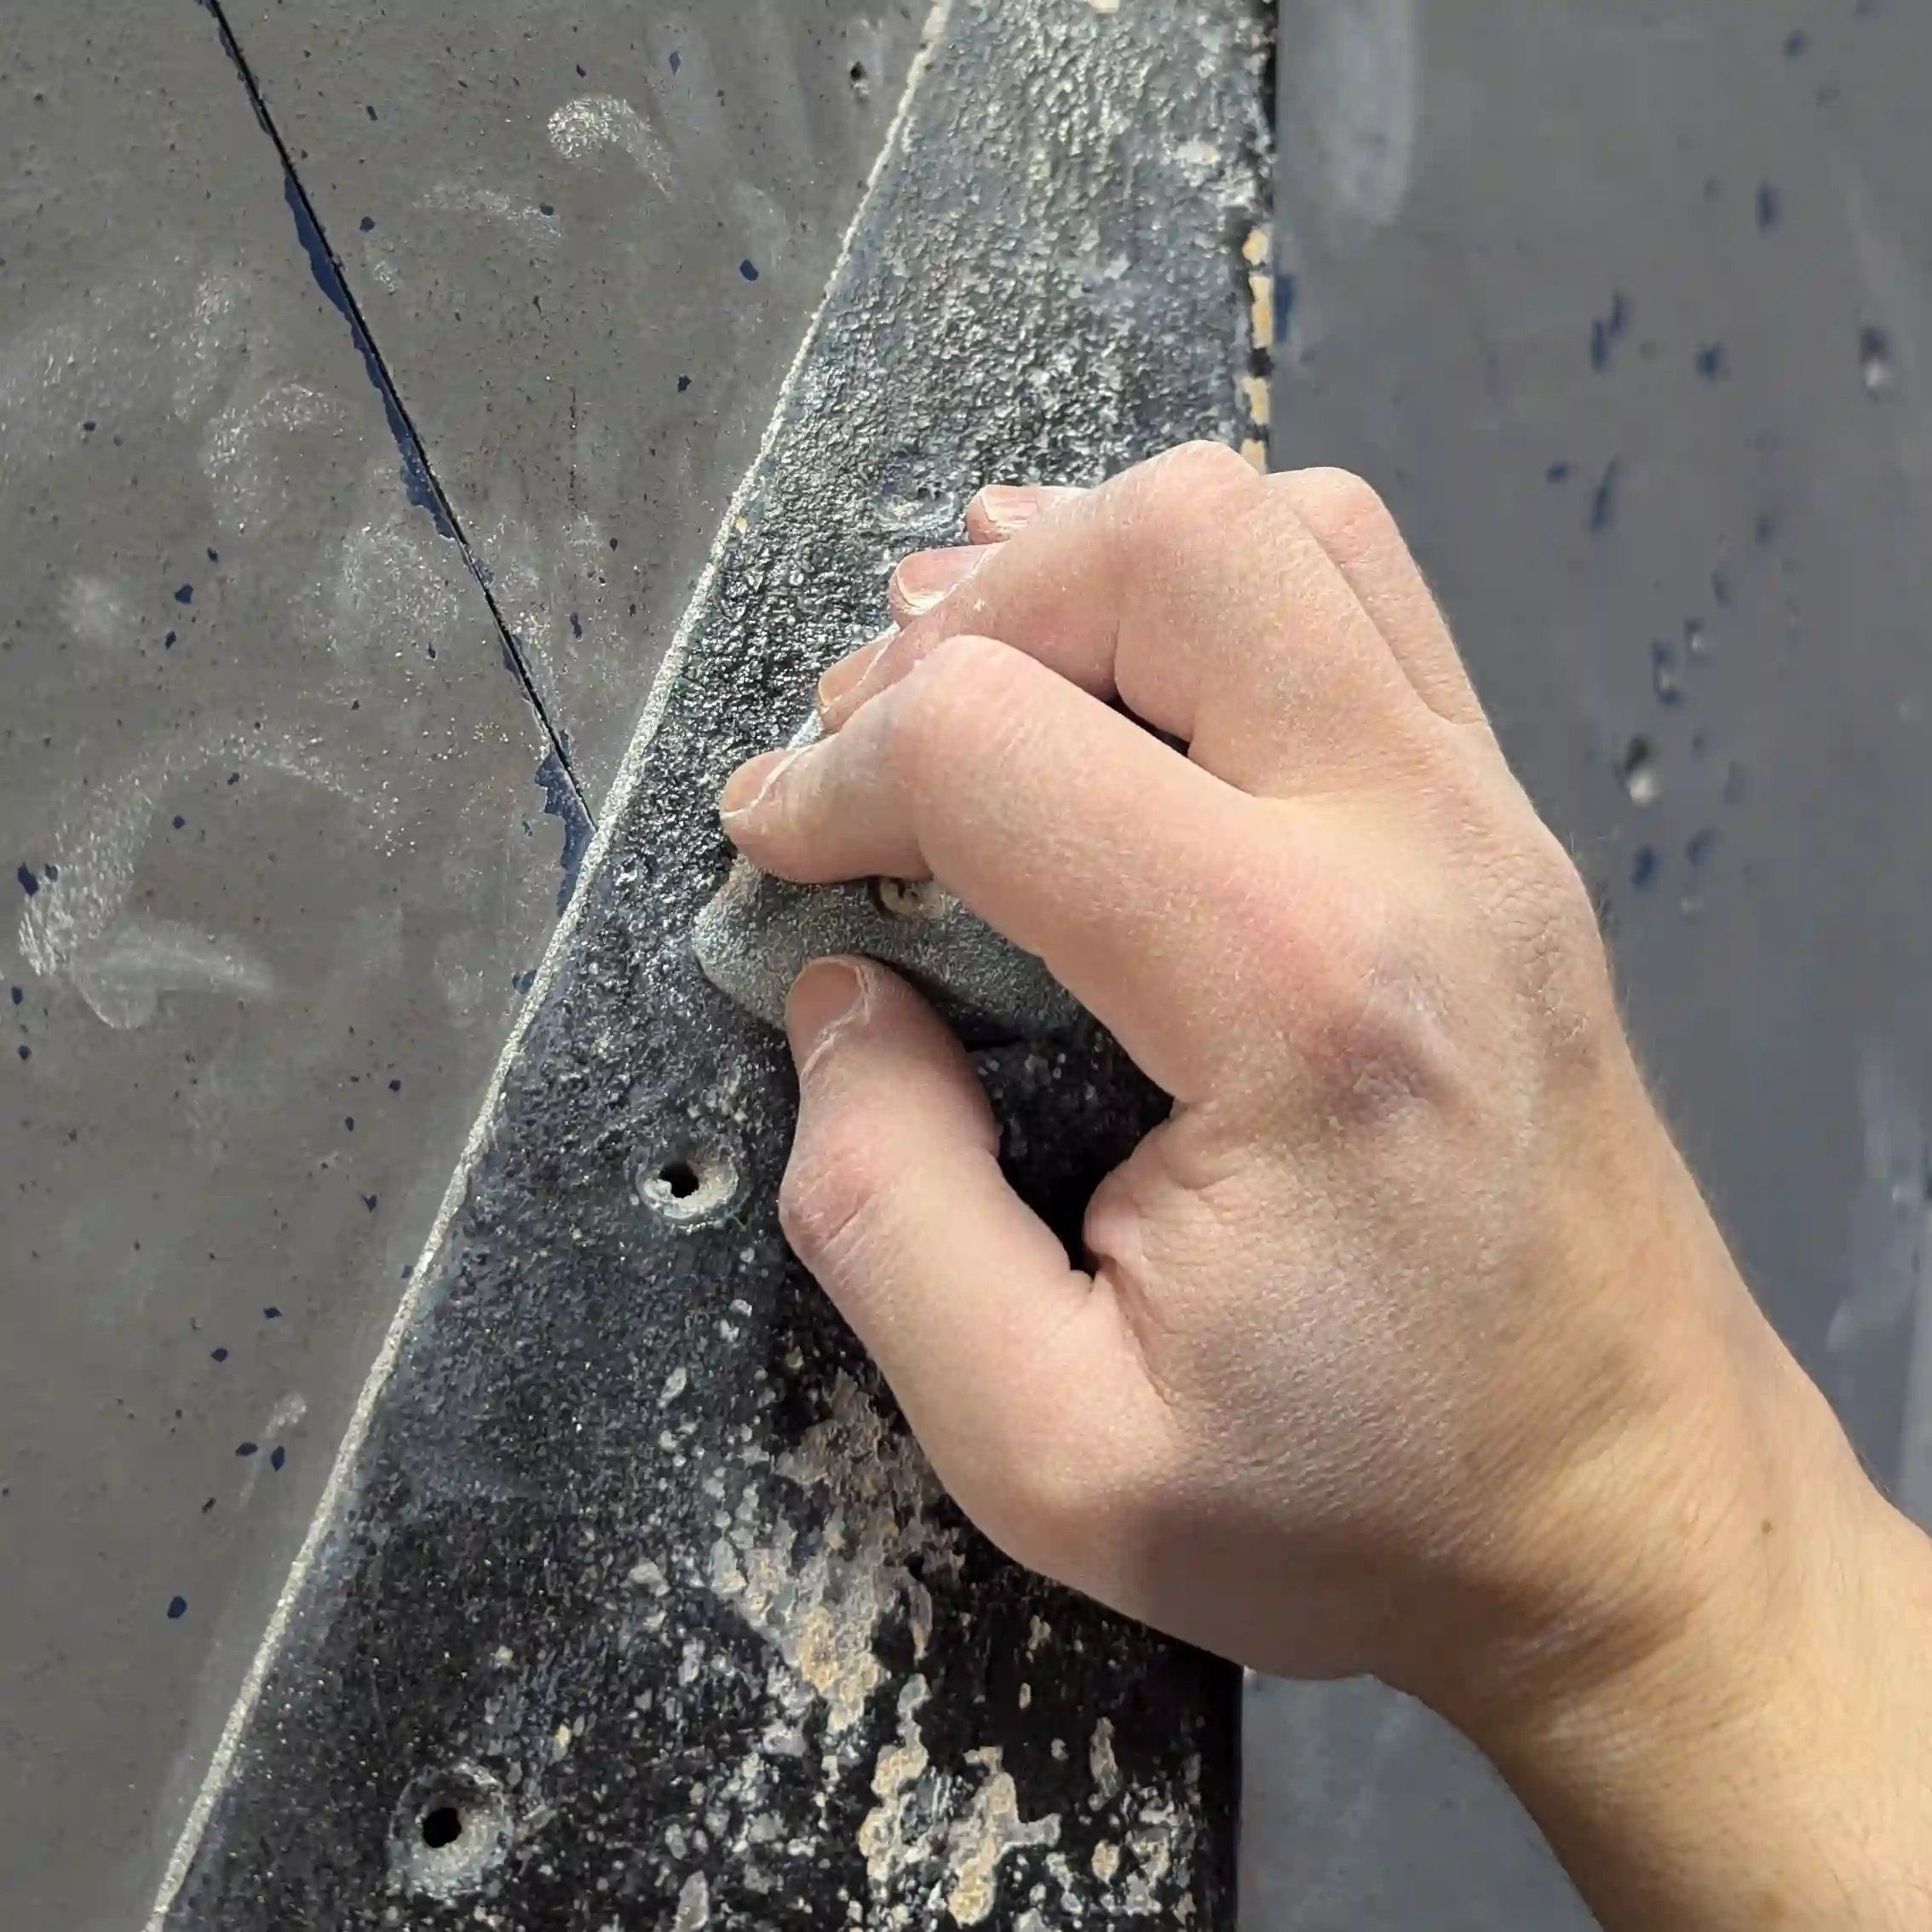
Hand Positions for Crimp holds
Whats next?
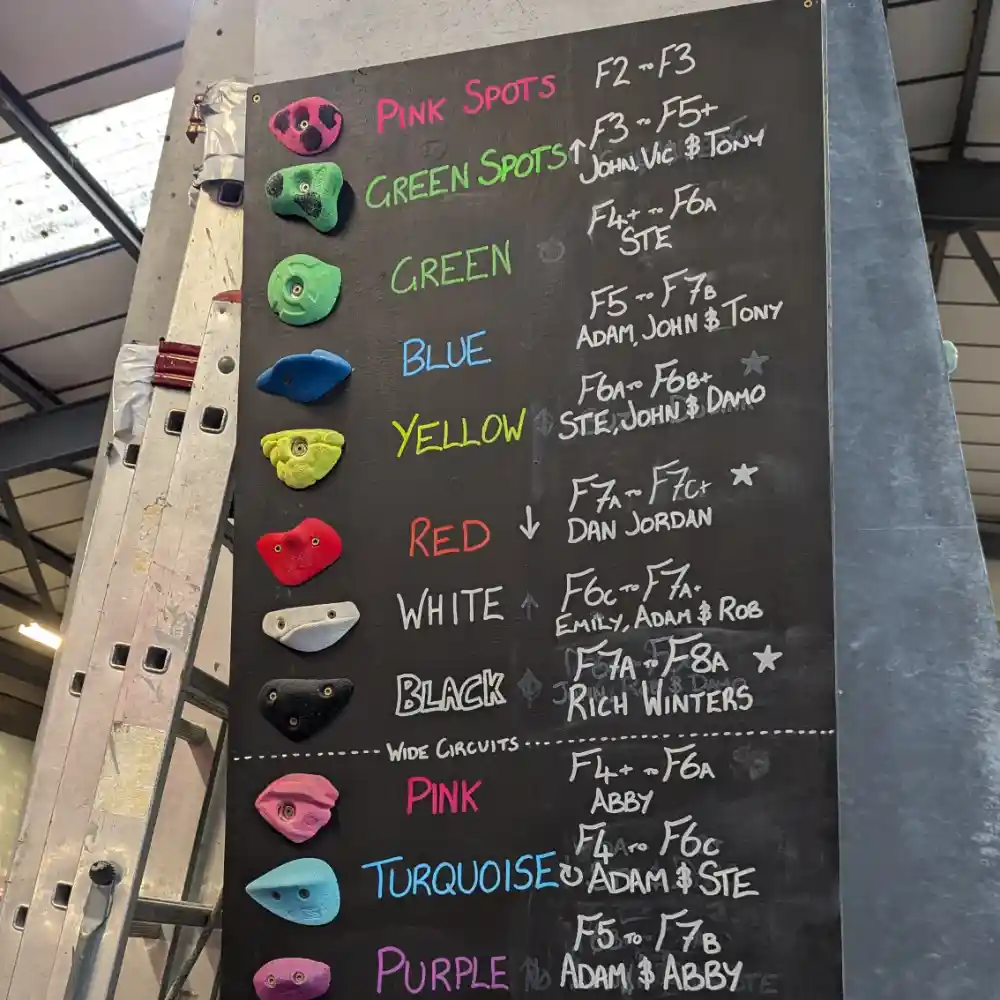
Climbing Grades
Those tags with numbers and letters tell you how difficult a route is. This guide explains all.
View Guide